Managing Multiple LocalStack Docker Containers in Commandeer
# Managing Multiple LocalStack Docker Containers in Commandeer
LocalStack is an extremely popular service that allows developers to have a mocked out version of AWS on their local machine. The benefits of this are two-fold, there is no cost to using the AWS resources because it is a mock version on your computer, and because it is running on your computer it is very fast and you don't even need an internet connection to work.
As of version 1.6 in Commandeer, you can now seamlessly switch between different instances of LocalStack, and even different Docker image versions. This is very helpful for developers that want to have multiple environments setup for dev and staging, or even for different projects. In this tutorial, we are going to explain how to get this working.
In this example, we will do the following.
- Create a LocalStack account pointing to version 0.12.5
- Create a LocalStack account pointing to version 0.11.3
- Switch between them
To get started, you can download Commandeer here. It comes with a free 15-day trial, so you can try before you buy. Available on Mac, Windows, and Linux.
# Setup our first account
When you first open Commandeer and go to the LocalStack dashboard. You will be presented with the option to start up a container. Below you can see the zero state of the LocalStack Dashboard when you initially arrive at it.
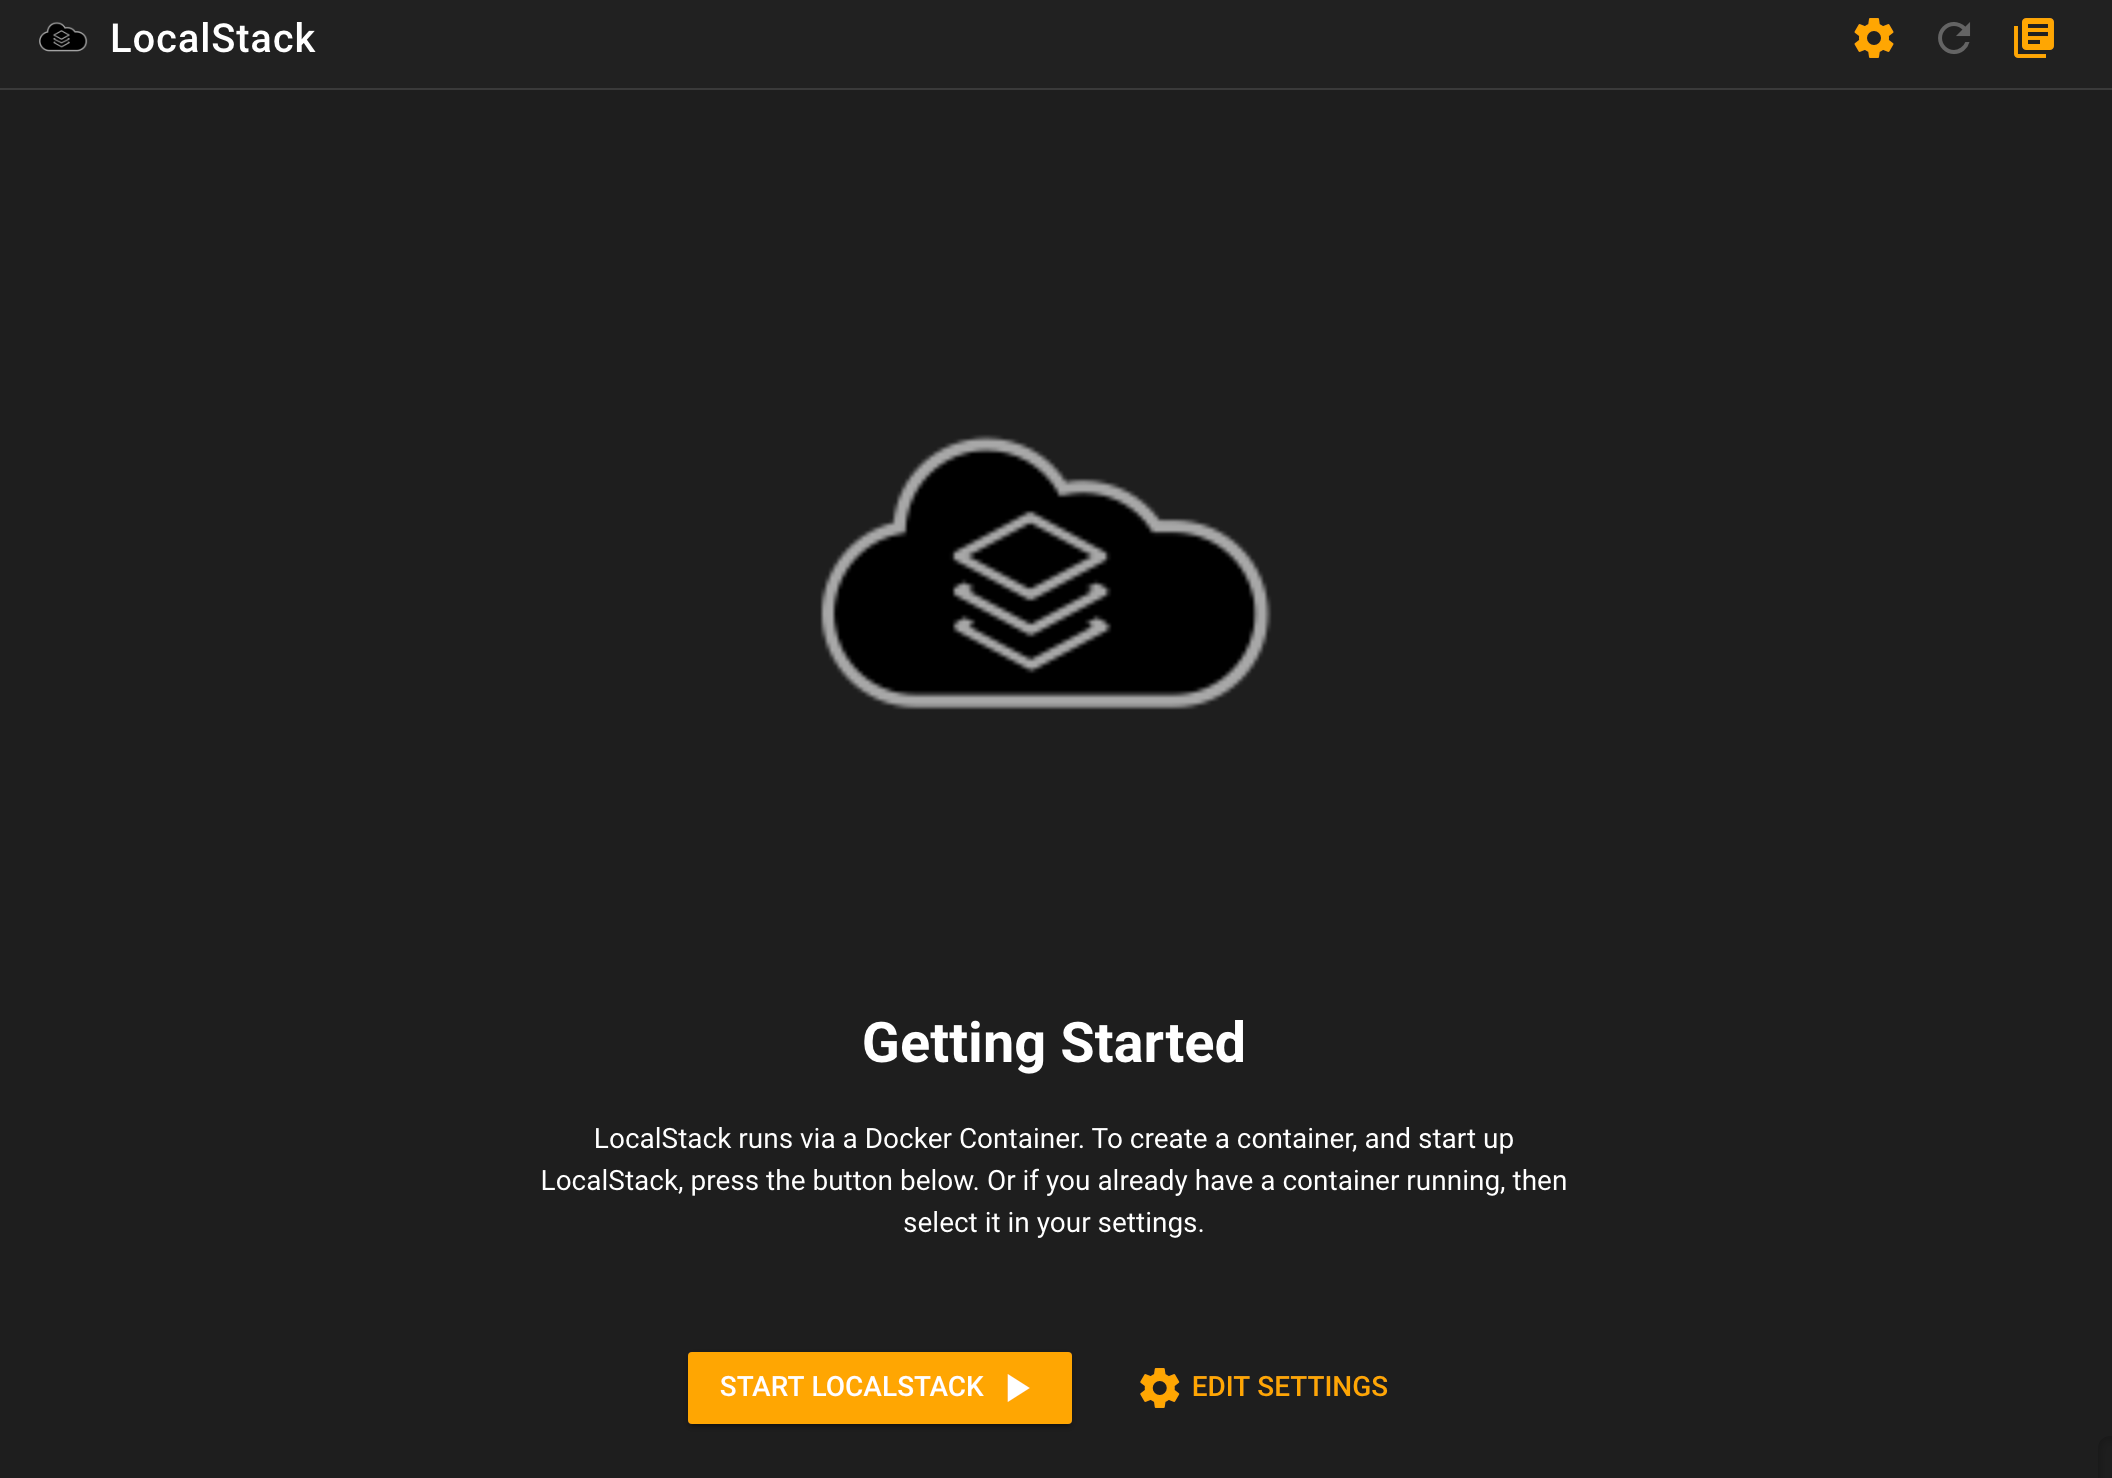
LocalStack Dashboard
If you press the cog in the upper right hand corner, you can see the LocalStack settings for this account. It will currently default to the 0.12.5 Docker Image. If you already have a running container, then you can select it from the dropdown.
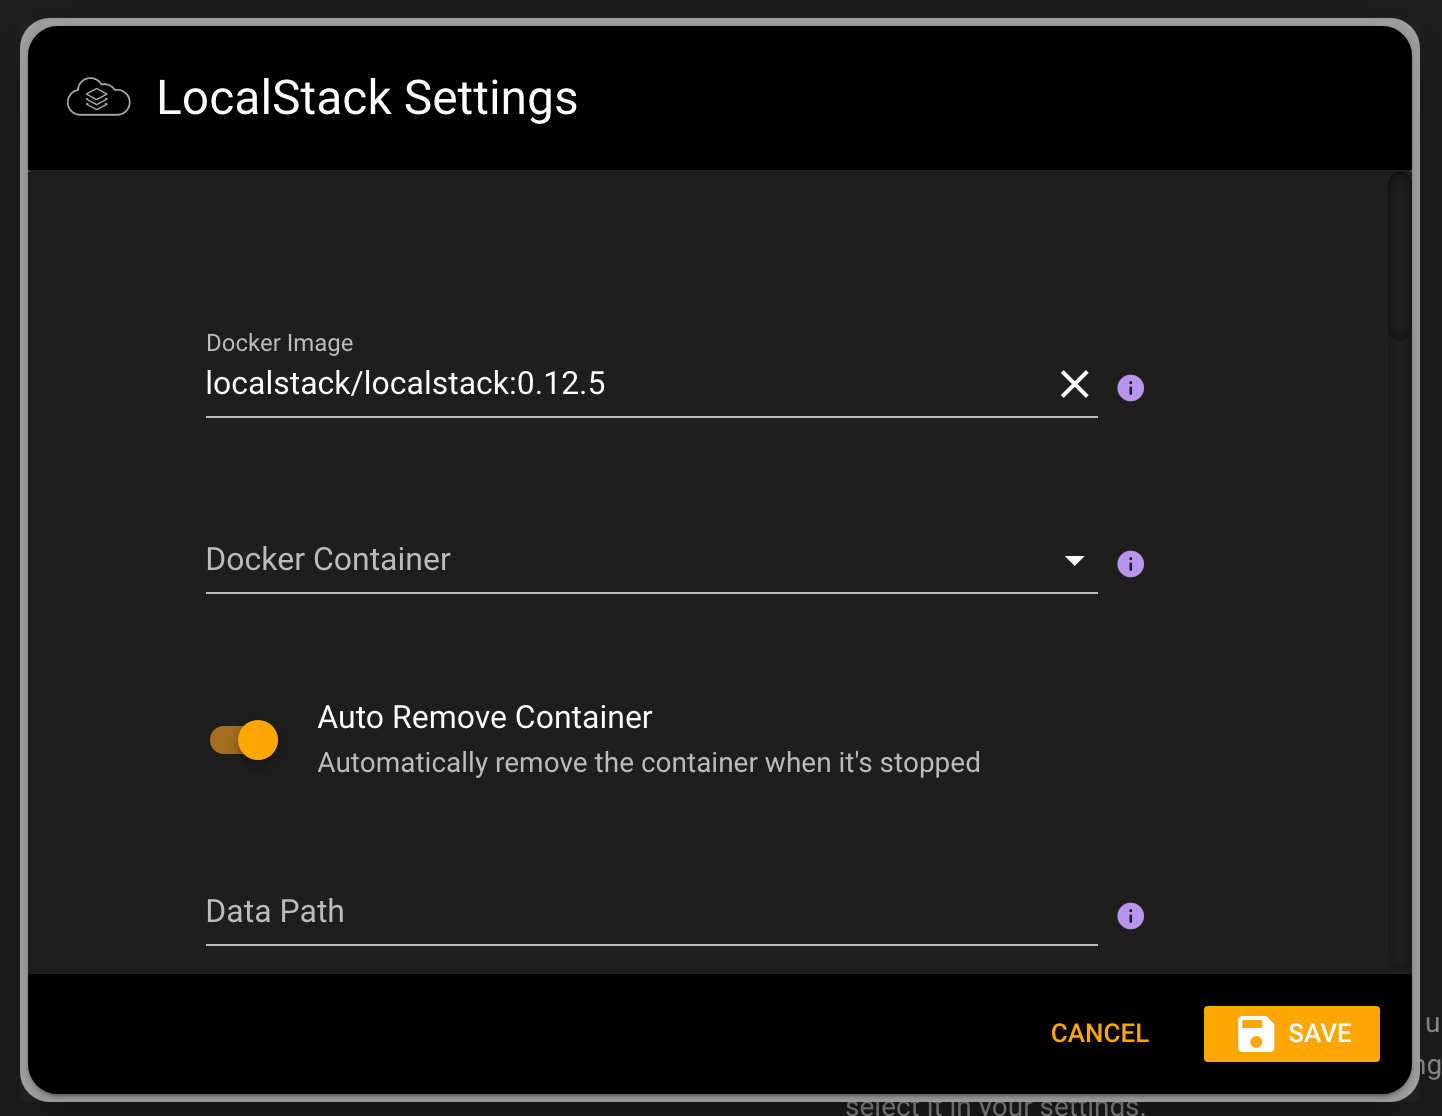
LocalStack settings
In this example, we will create a new container, by pressing the 'Start LocalStack button on the zero state page This will then create a Docker Container called commandeer-localstack-local, which uses the name of the current account you are connected to. If you have changed the name of the account, it will use whatever name you have provided. Below you can see that the LocalStack Dashboard is now populated with all the information about your LocalStack instance. In the treeview on the left you can see that your container is running. This is shown both under the Docker section, as well as in the LocalStack section.

LocalStack Dashboard while running.
To verify that it is all working, we can go to the DynamoDB dashboard, and create a table. This creates the table in your LocalStack environment. It works just like being connected to AWS, but it is on your local machine, so it is super fast, and most importantly free!
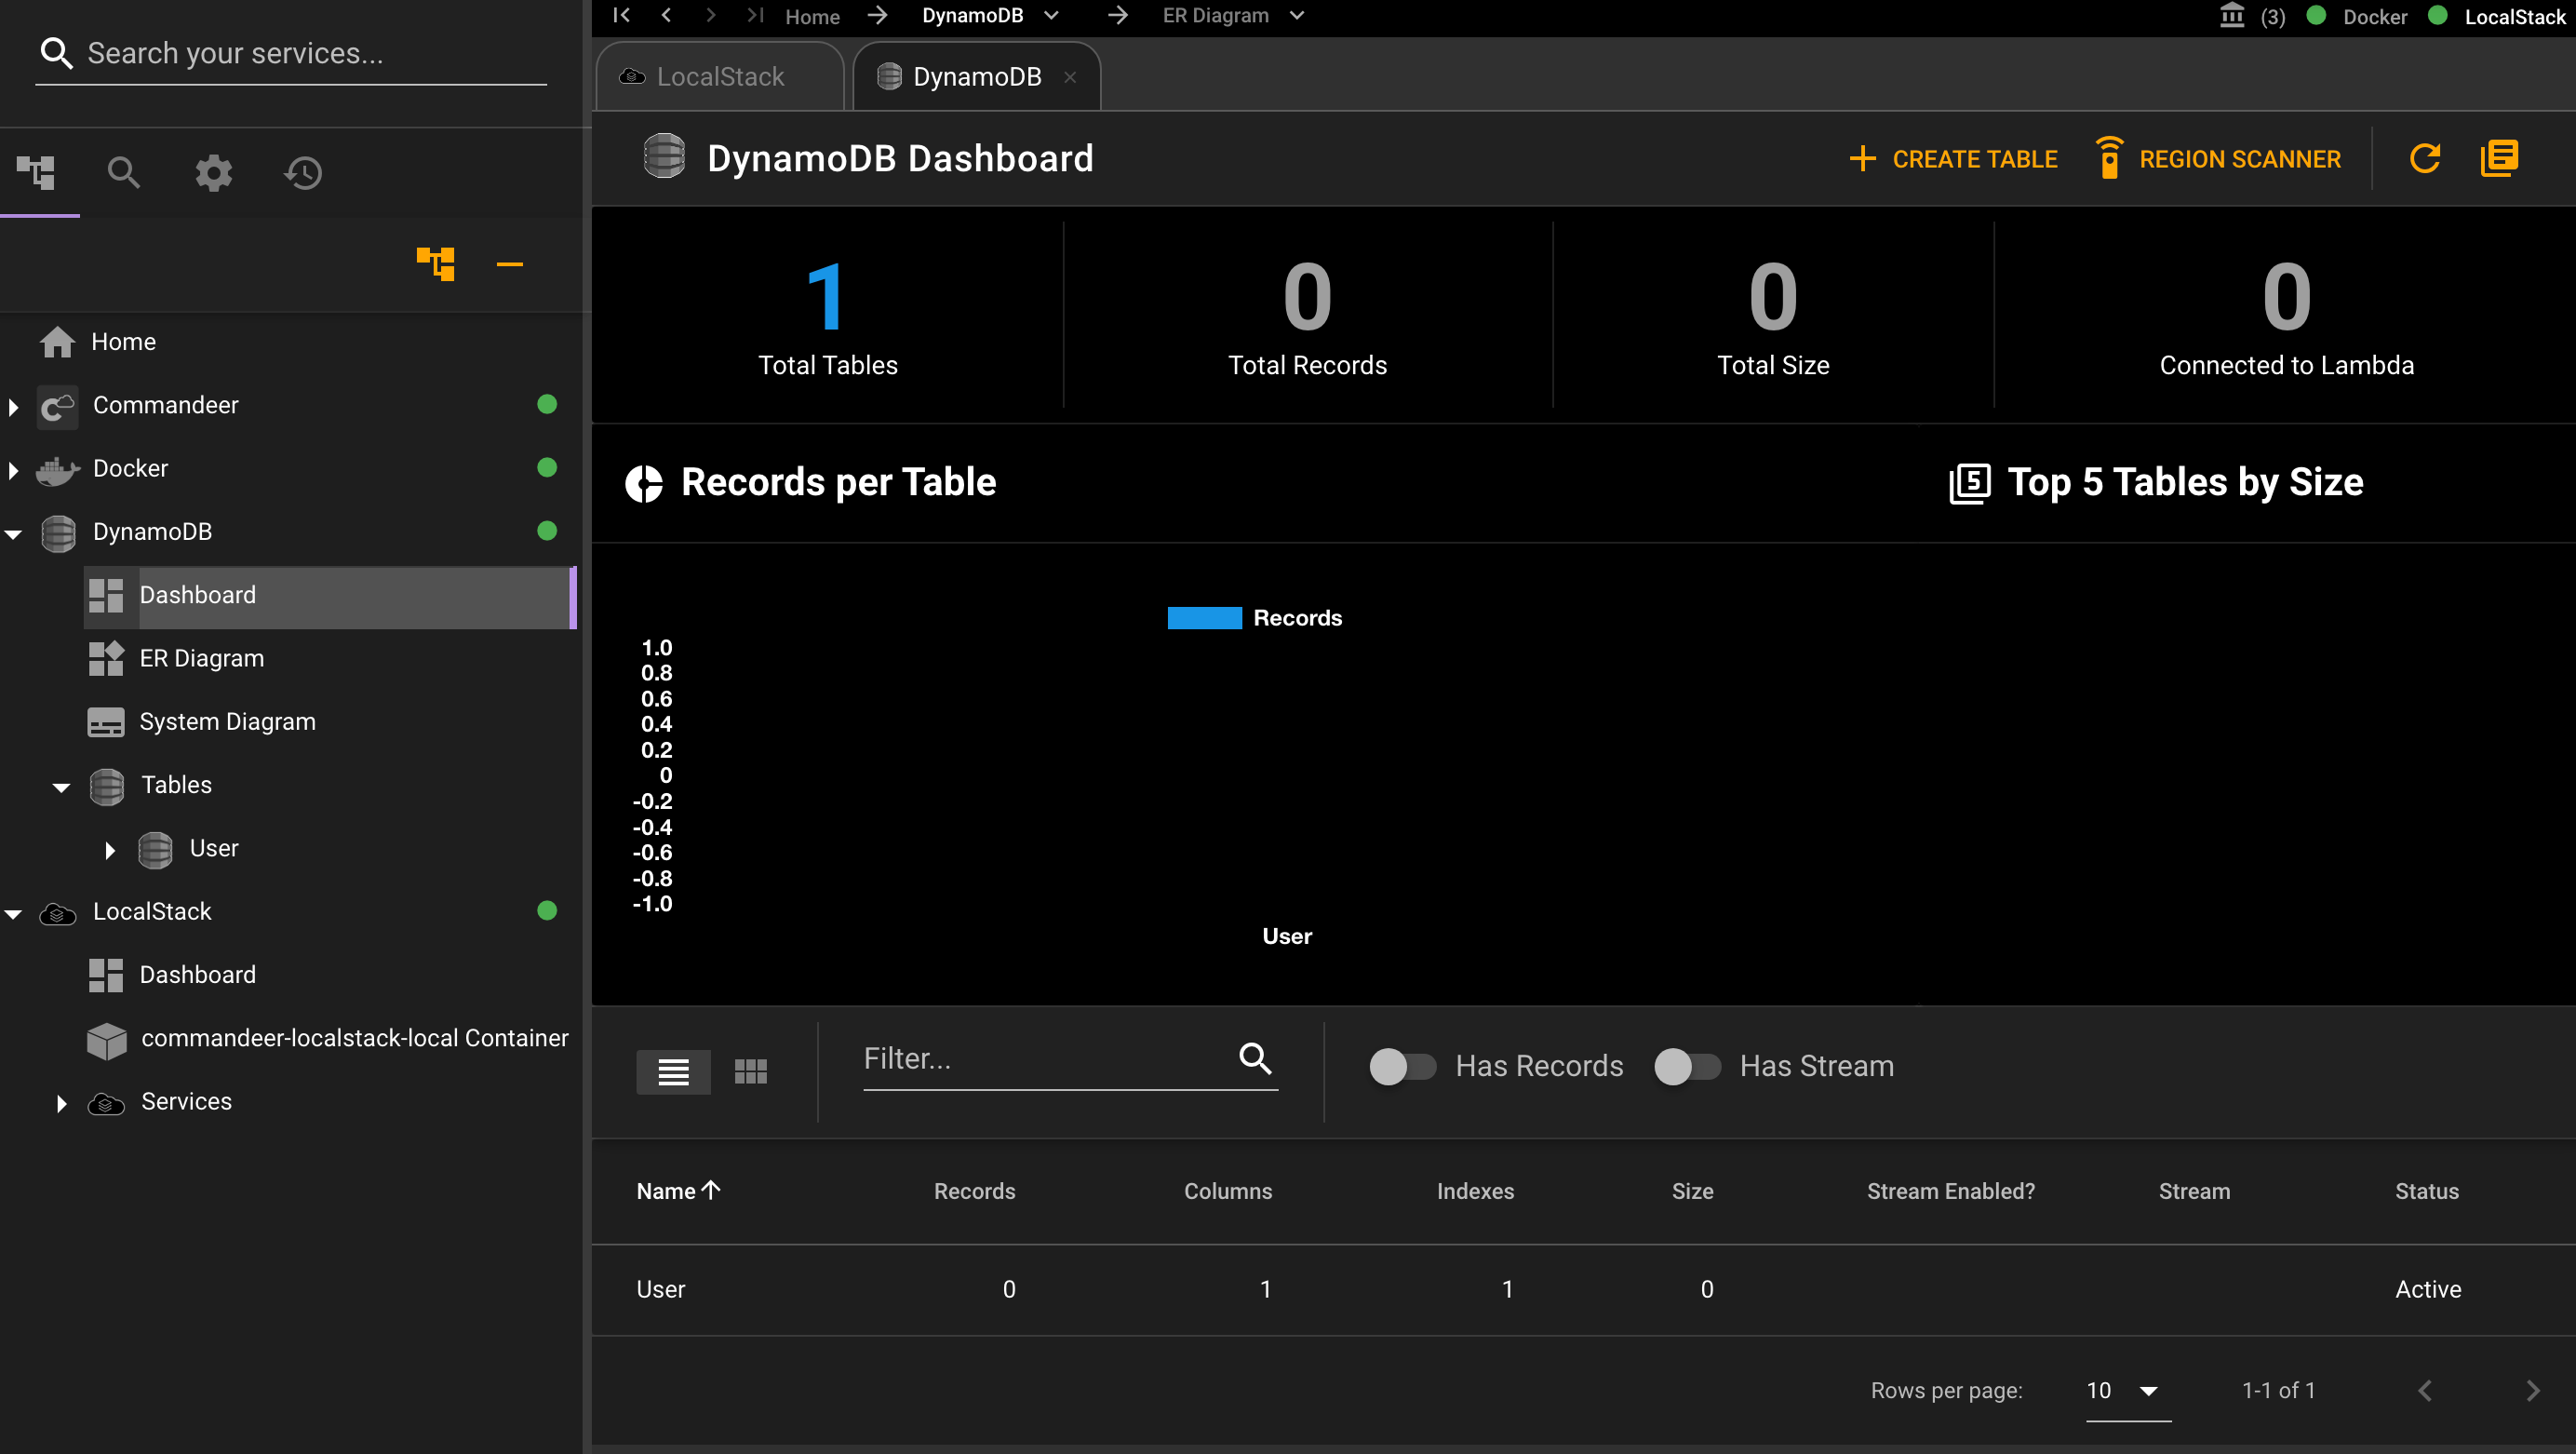
DynamoDB Dashboard with the newly created User table
# Setup our second account
To create the second account you need to
- press the add button in the top left of the app
- name your new account (we called ours local-2 for this example)
- toggle the Local? button to true

Creating a second local account
Now when you head over to the LocalStack Dashboard, you will see that it is back at the zero state. For this example, we are going to change the image version to 0.11.3. You could keep it the same as the other version of course. But let's say that you are working on two different projects, and they are pinned to different versions of LocalStack. You will also need to scroll down on the settings, and change the port to a different port. In this case, I am setting the port to 1111.

LocalStack Settings with the Docker Image pointed to version 0.11.3 and port set to 1111
Now, click the start button, and you will see the dashboard, with the new container running. Below you can see that there are now two containers running in the side navigation on the left. You can also see all the information on the LocalStack Dashboard about which container is being used, and on what port.

Localstack Dashboard pointing to the commandeer-loaclstack-local-2 Container
Now if we go to the DynamoDB Dashboard, you will see that there are no tables, because this is hitting a different LocalStack instance.
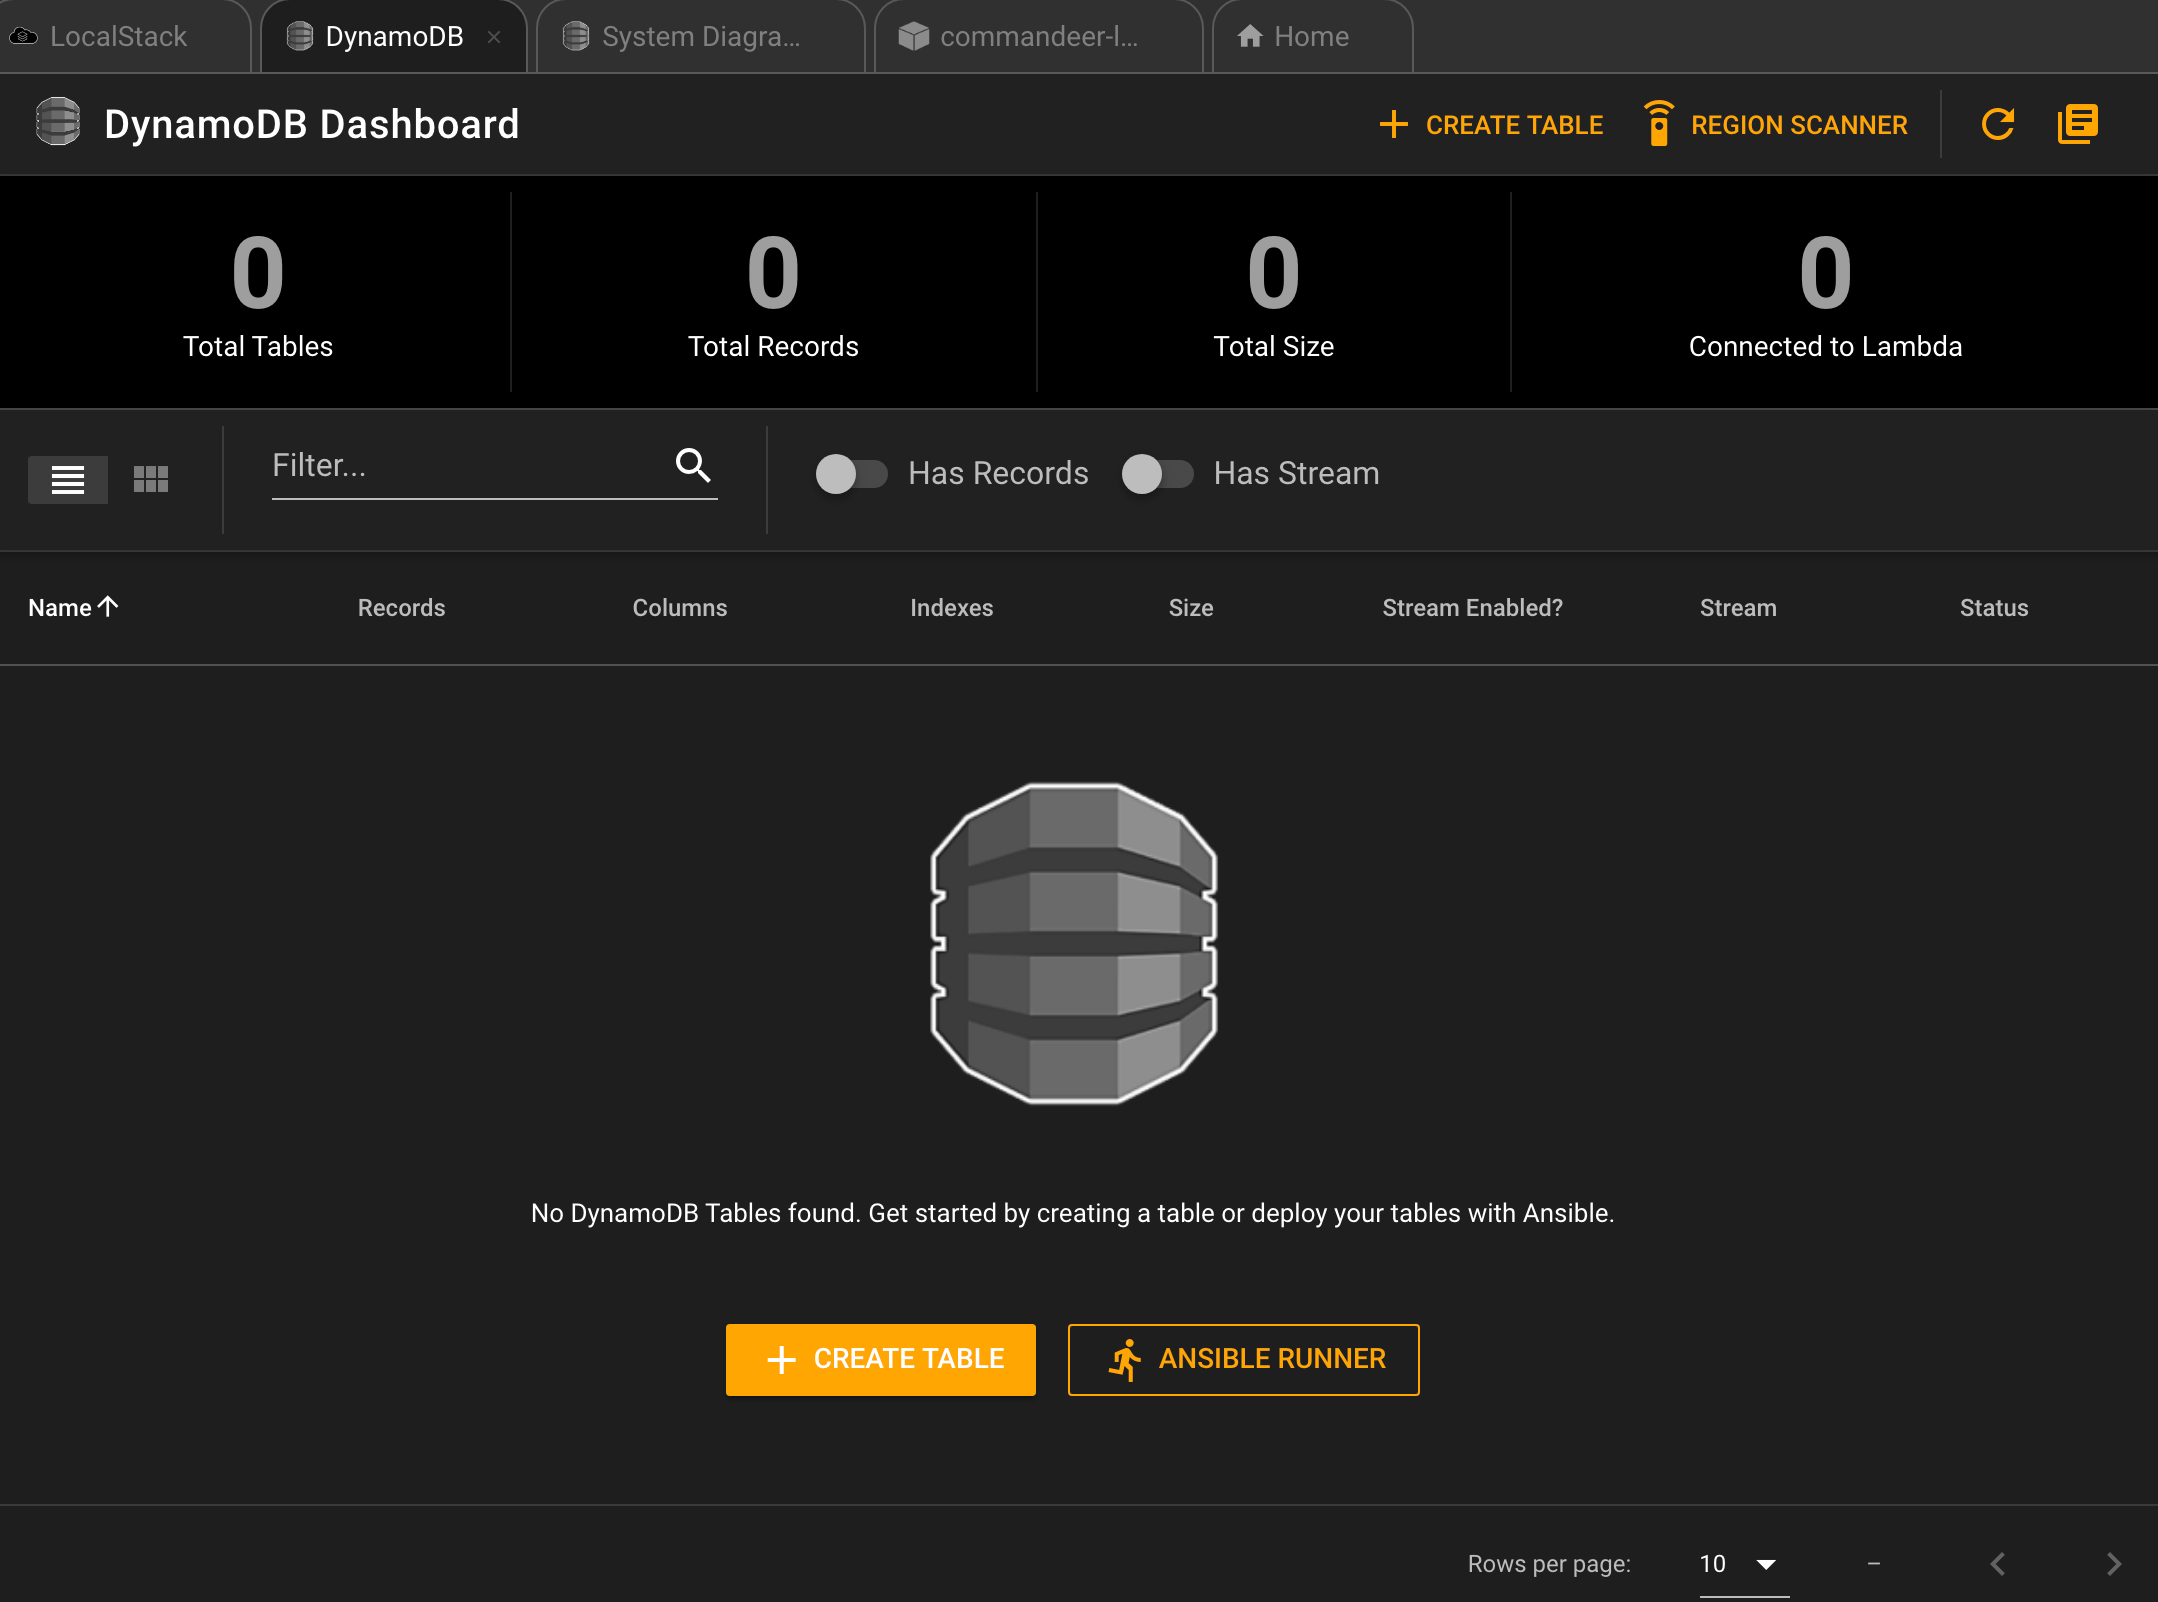
DynamoDB Dashboard for the local-2 Account - No Tables!!!
# Switching between the accounts
Below you can see a video of switching between the local and local-2 accounts while on the DynamoDB dashboard page. You can see the local account has the User table we created, and that local-2 has no tables.
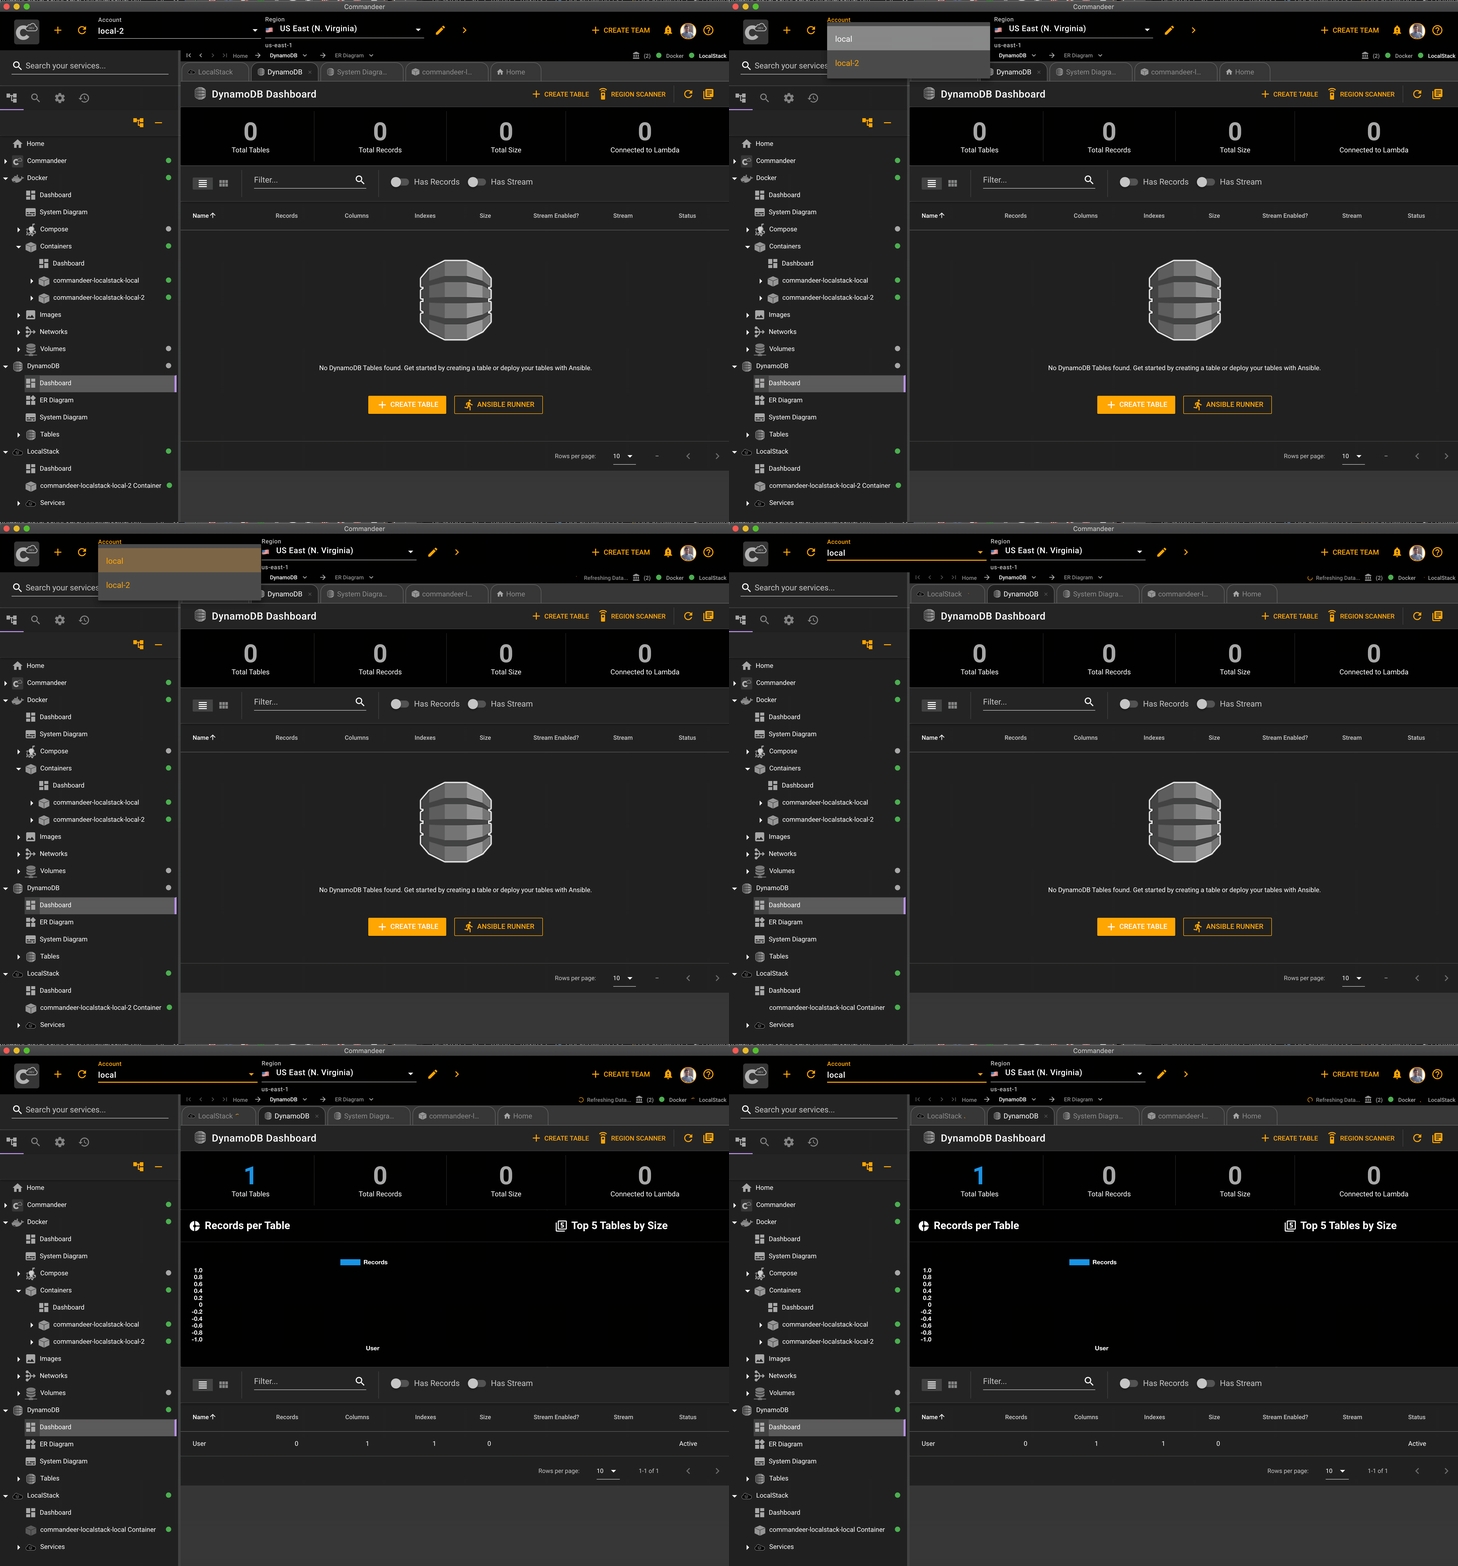
Switching between two local accounts
# Conclusion
This is a really exciting feature that some of our power users have been asking for for a while. We would love to hear how you all are using this new feature to better manage your LocalStack environments. If you have any other suggestions for how to make our tool even more powerful for your day to day work, feel free to add a feature request on our GitHub Issues. Happy developing!
