How To: Create 5 LocalStack AWS Environments in 5 minutes using Commandeer
# How To: Create 5 LocalStack AWS Environments in 5 minutes using Commandeer
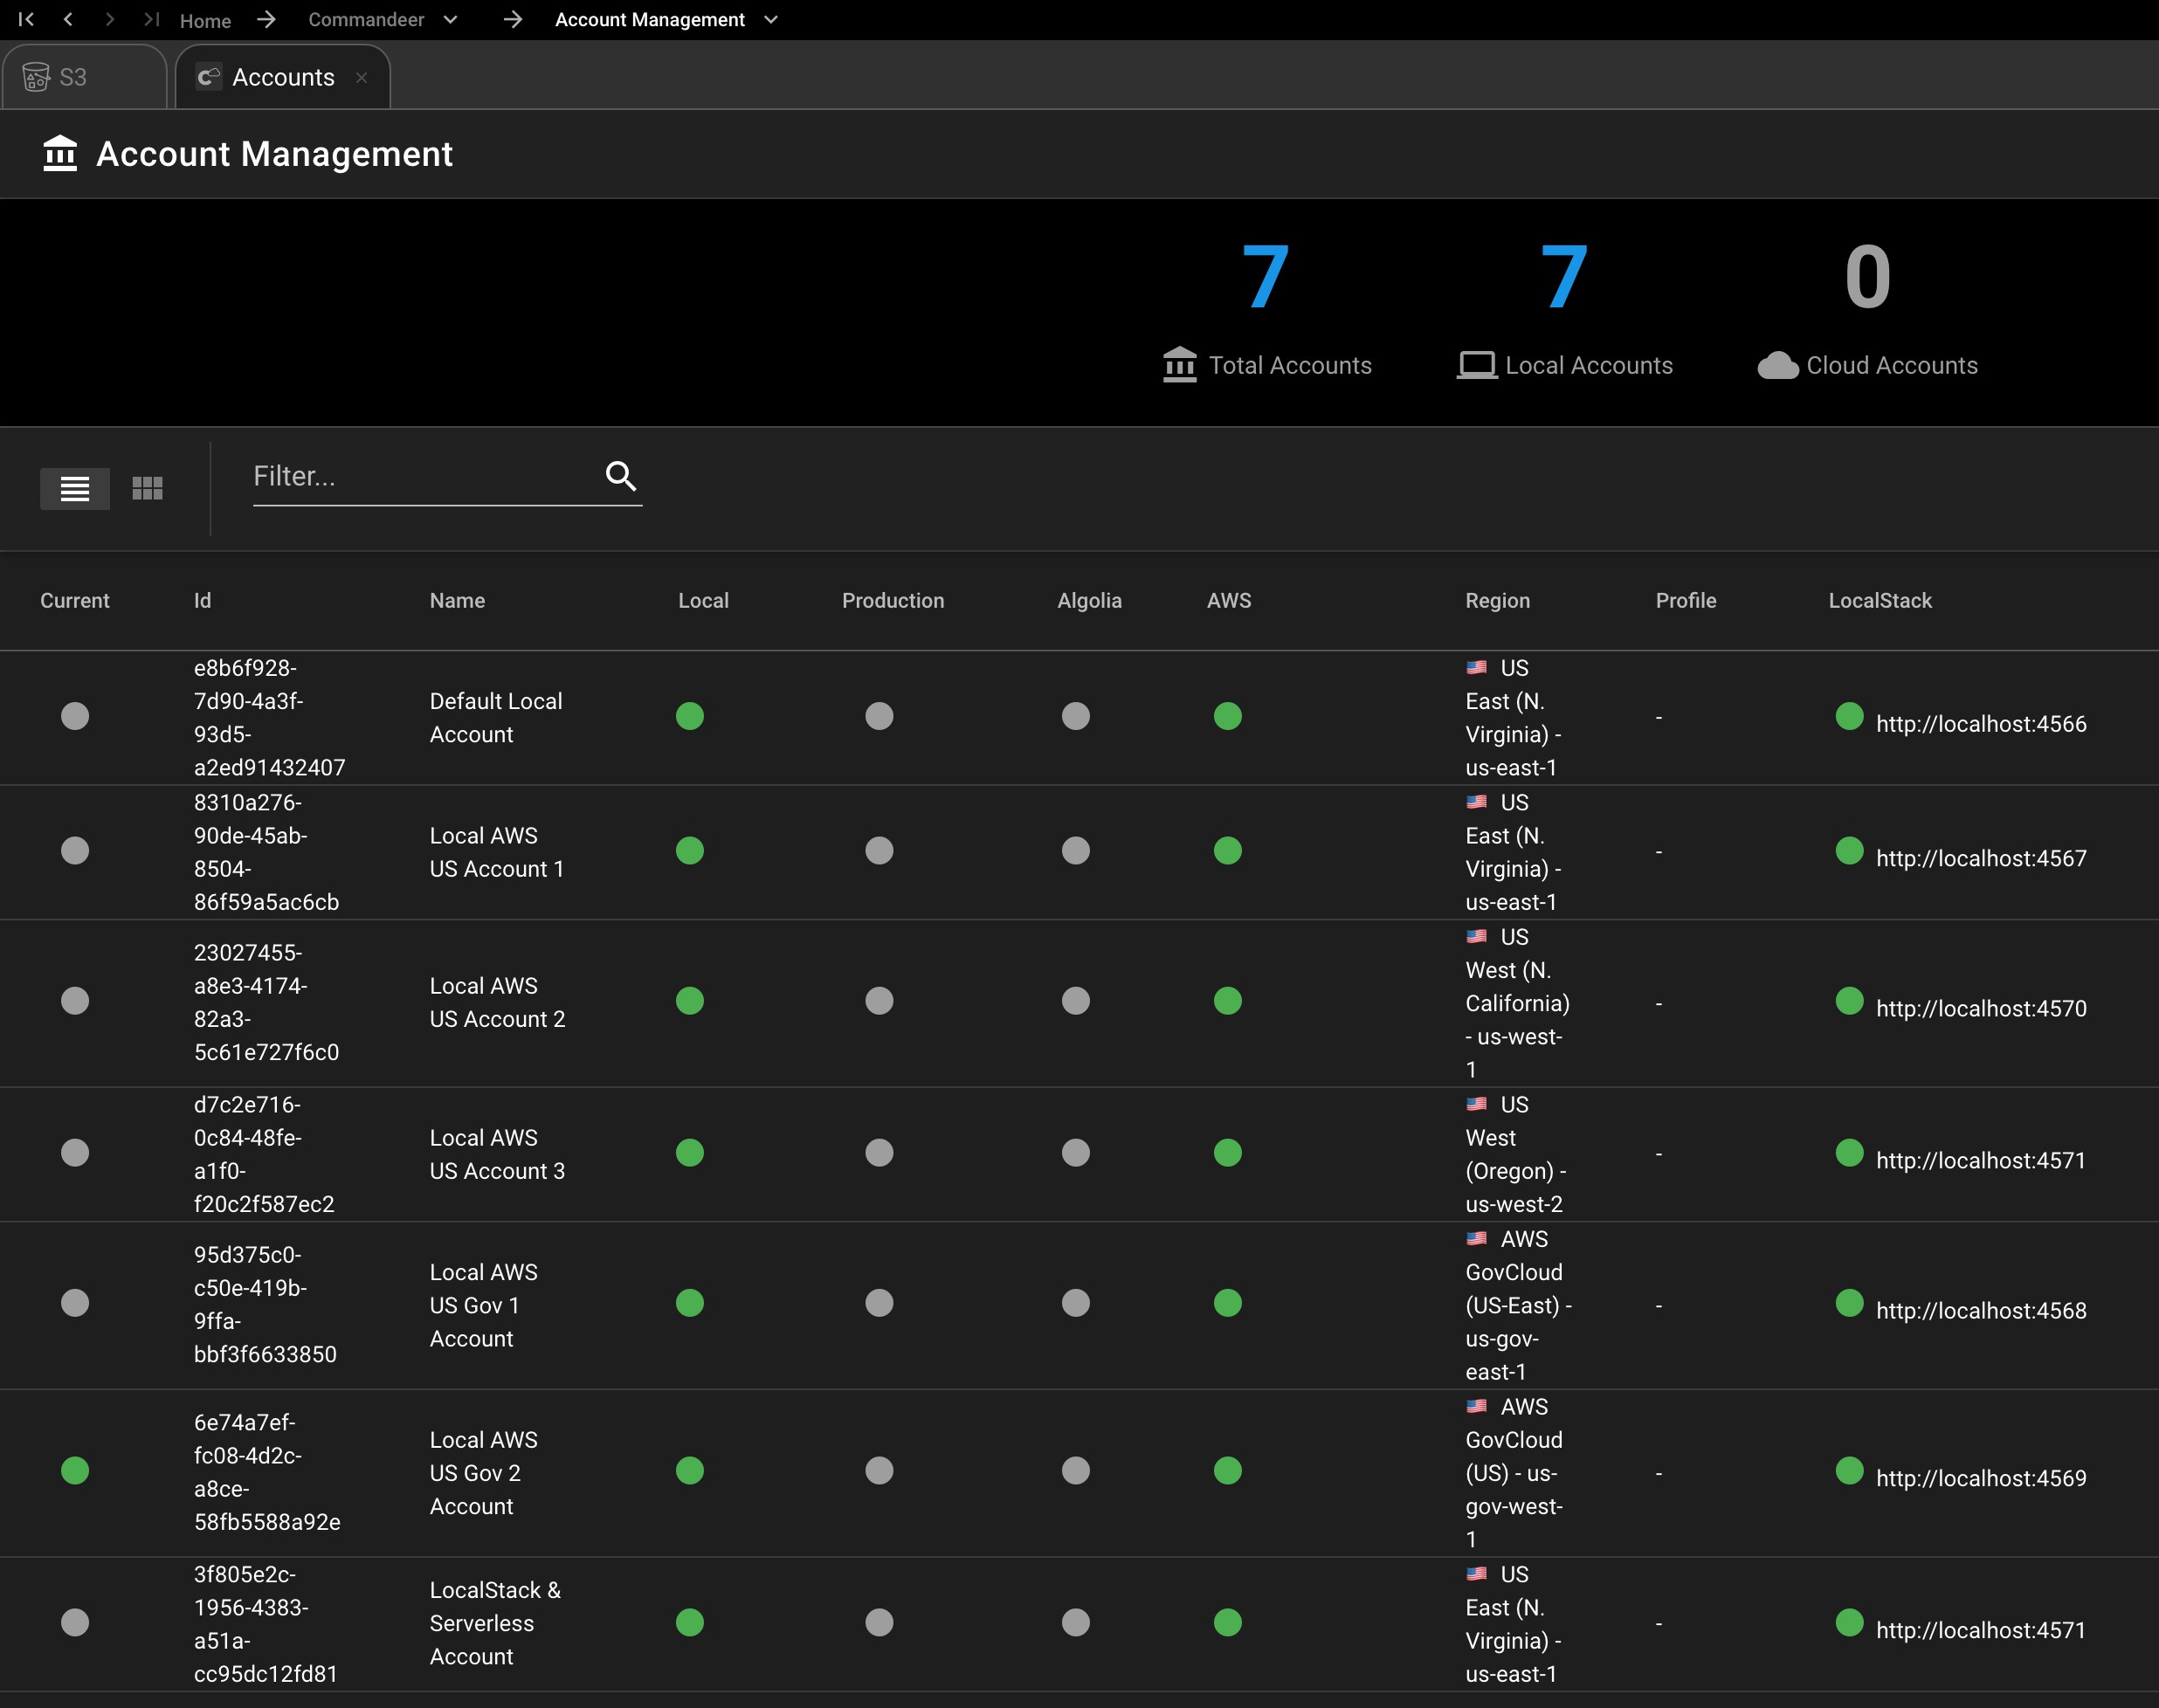
In this tutorial we will setup 5 different accounts in Commandeer. They are maintained in our open source GitHub repo here. In 5 minutes, you will be able to manage all your LocalStack instances in separate accounts within Commandeer.
# Tools Needed
- Commandeer - Download Free 2 week Trial
- LocalStack - installs via Commandeer
- Docker - If you don't have this running, you can read here to easily install it.
# Information about Commandeer Account Files
Each account in Commandeer is represented as json. Below you can see the Default Local Account which we automatically setup when you install Commandeer. You can see the layout of it here.
{
  "name": "Default Local Account",
  "description": "Default Region: US East 1 - us-east-1, LocalStack Port: 4566",
  "isLocal": true,
  "aws": {
    "region":"us-east-1",
    "accessKeyId":"LOCAL",
    "secretAccessKey":"LOCAL",
    "apigatewayEndpoint": "http://localhost:4566",
    "appSyncEndpoint": "http://localhost:4566",
    "cloudFormationEndpoint": "http://localhost:4566",
    "cloudwatchEndpoint": "http://localhost:4566",
    "cloudwatchLogsEndpoint": "http://localhost:4566",
    "cloudwatchEventsEndpoint": "http://localhost:4566",
    "cognitoEndpoint": "http://localhost:4566",
    "dynamoEndpoint": "http://localhost:4566",
    "ec2Endpoint": "http://localhost:4566",
    "ecsEndpoint": "http://localhost:4566",
    "iamEndpoint": "http://localhost:4566",
    "lambdaEndpoint": "http://localhost:4566",
    "s3Endpoint": "http://localhost:4566",
    "s3Prefix": "",
    "snsEndpoint": "http://localhost:4566",
    "sqsEndpoint": "http://localhost:4566"
  },
  "localstack": {
    "autoRemove": false,
    "dockerImageName": "localstack/localstack:0.12.11",
    "url": "http://localhost:4566"
  }
}
The interface for this file is as shown below. Each services that is integrated into Commandeer has it's own section.
export interface IAccount extends ITrackable {

  autoExecuteHistory: boolean;
  isLocal: boolean;
  isProduction: boolean;
  name: string;
  route?: any;

  // owner of the account
  user?: IUser;

  // services
  algolia?: IAccountAlgolia;
  appSync?: IAccountAppSync;
  ansible?: ISettingAnsible;
  athena?: IAccountAthena;
  aws?: IAccountAws;
  bash?: IAccountBash;
  circleci?: ISettingCircleci;
  dockerCompose?: IAccountDockerCompose;
  dockerExec?: IAccountDockerExec;
  dynamo?: IAccountDynamo;
  firebase?: IAccountFirebase;
  localstack?: IAccountLocalstack;
  postgres?: IAccountPostgres;
  redis?: IAccountRedis;
  sendgrid?: IAccountSendgrid;
  serverless?: ISettingServerless;
  slack?: IAccountSlack;
  twilio?: IAccountTwilio;

  // helpers for determining the status of connected
  // sub accounts
  hasAlgolia?: boolean;
  hasAppSync?: boolean;
  hasAthena?: boolean;
  hasAws?: boolean;
  hasBash?: boolean;
  hasDocker?: boolean;
  hasDatabase?: boolean;
  hasFirebase?: boolean;
  hasLocalstack?: boolean;
  hasMongo?: boolean;
  hasPostgres?: boolean;
  hasRedis?: boolean;
  hasSendgrid?: boolean;
  hasSlack?: boolean;
  hasTwilio?: boolean;
}
We will share the interface files on our open-source repo shortly. Now, to get into creating the five files.
# 1. Download the Commandeer Accounts Templates GitHub Repo Page to your Computer
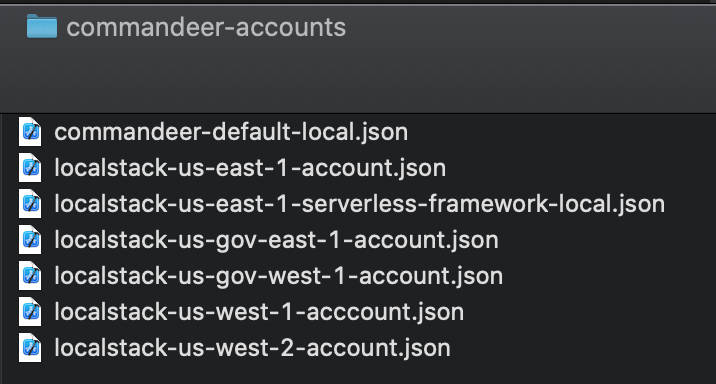
You will be presented with the following accounts template files.
commandeer-default-local.json
localstack-us-east-1-account.json
localstack-us-east-1-serverless-framework-local.json
localstack-us-gov-east-1-account.json
localstack-us-gov-west-1-account.json
localstack-us-west-1-acccount.json
localstack-us-west-2-account.json
You can see the contents in the localstack-us-east-1-account file below
{
  "name": "Local AWS US Account 1",
  "description": "Default Region: US East 1 - us-east-1, LocalStack Port: 4566",
  "isLocal": true,
  "aws": {
    "region":"us-east-1",
    "accessKeyId":"LOCAL",
    "secretAccessKey":"LOCAL",
    "apigatewayEndpoint": "http://localhost:4567",
    "appSyncEndpoint": "http://localhost:4567",
    "cloudFormationEndpoint": "http://localhost:4567",
    "cloudwatchEndpoint": "http://localhost:4567",
    "cloudwatchLogsEndpoint": "http://localhost:4567",
    "cloudwatchEventsEndpoint": "http://localhost:4567",
    "cognitoEndpoint": "http://localhost:4567",
    "dynamoEndpoint": "http://localhost:4567",
    "ec2Endpoint": "http://localhost:4567",
    "ecsEndpoint": "http://localhost:4567",
    "iamEndpoint": "http://localhost:4567",
    "lambdaEndpoint": "http://localhost:4567",
    "s3Endpoint": "http://localhost:4567",
    "s3Prefix": "",
    "snsEndpoint": "http://localhost:4567",
    "sqsEndpoint": "http://localhost:4567"
  },
  "localstack": {
    "autoRemove": false,
    "dockerImageName": "localstack/localstack:0.12.11",
    "url": "http://localhost:4567"
  }
}
We currently need to set all the ports in aws, but by launch of this feature, we should. You can adjust the ports and versions of the Docker Image accordingly.
# 2. Upload the files to Commandeer
Select the `Upload Account .json File' menu item or press the 'Upload...' button on the Accounts Dashboard.

And upload the files. You want. Here you can see some sample files in MacOS finder.
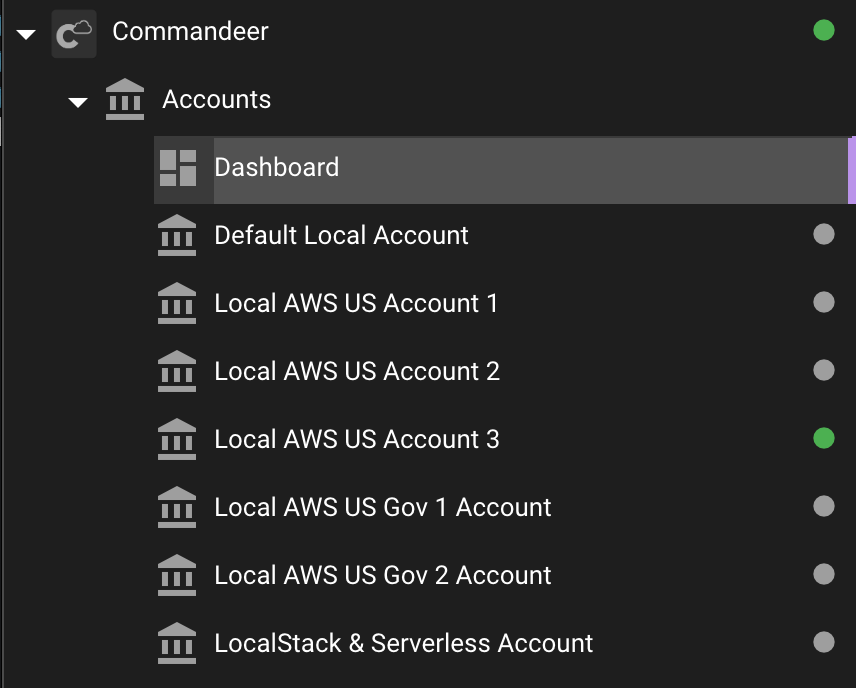
Once uploaded, they will appear in Commandeer.
# 2. Start LocalStack in each Account
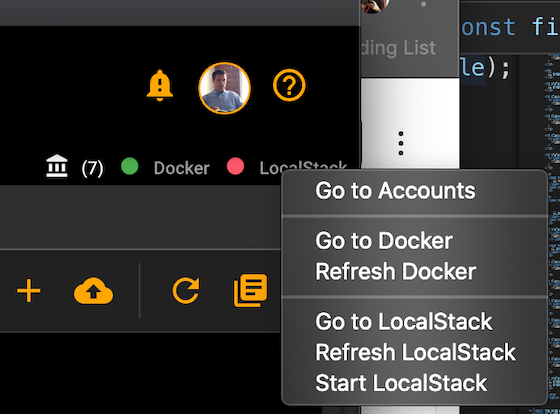
For each account, you can switch into it in the top dropdown and then right click the status bar and select 'Start LocalStack' or start it form the LocalStack Dashboard.
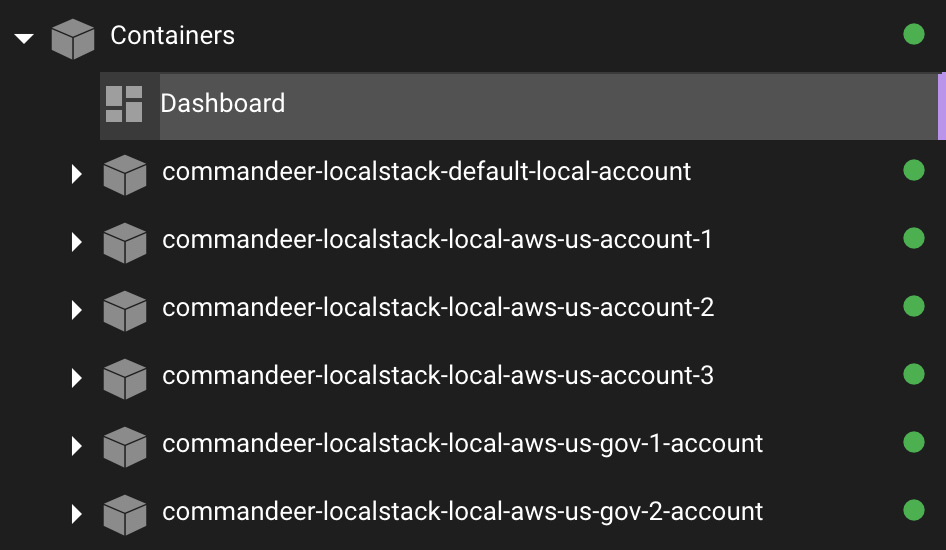
Once, they are all started, you can view each individual Docker container in Commandeer.
# 3. Test out each Account
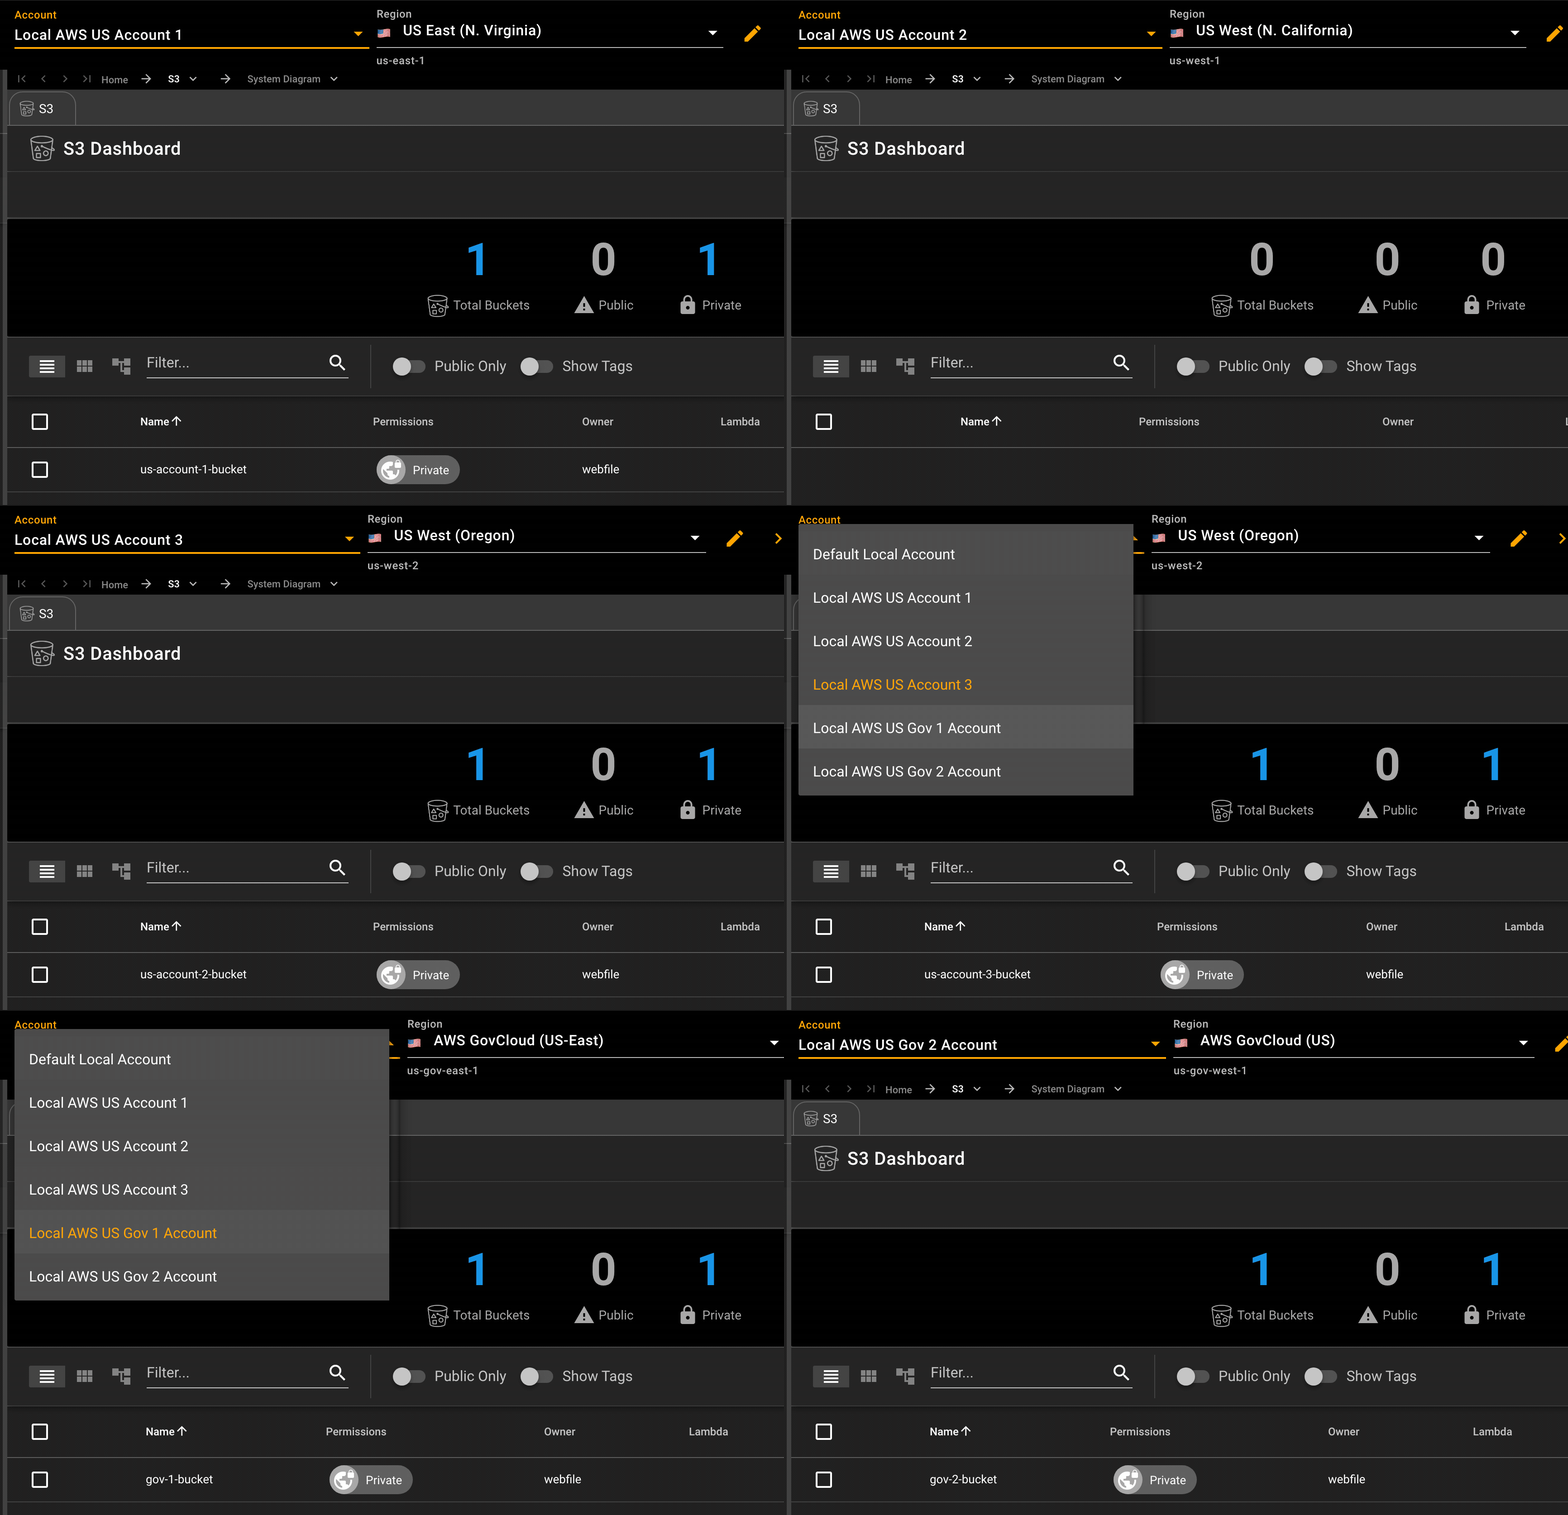
To test out that each account is connected to it's own running container with different regions, we can add a different bucket into each container.
Below you can see the dialog to add a new bucket to the Local AWS US Gov 2 Account

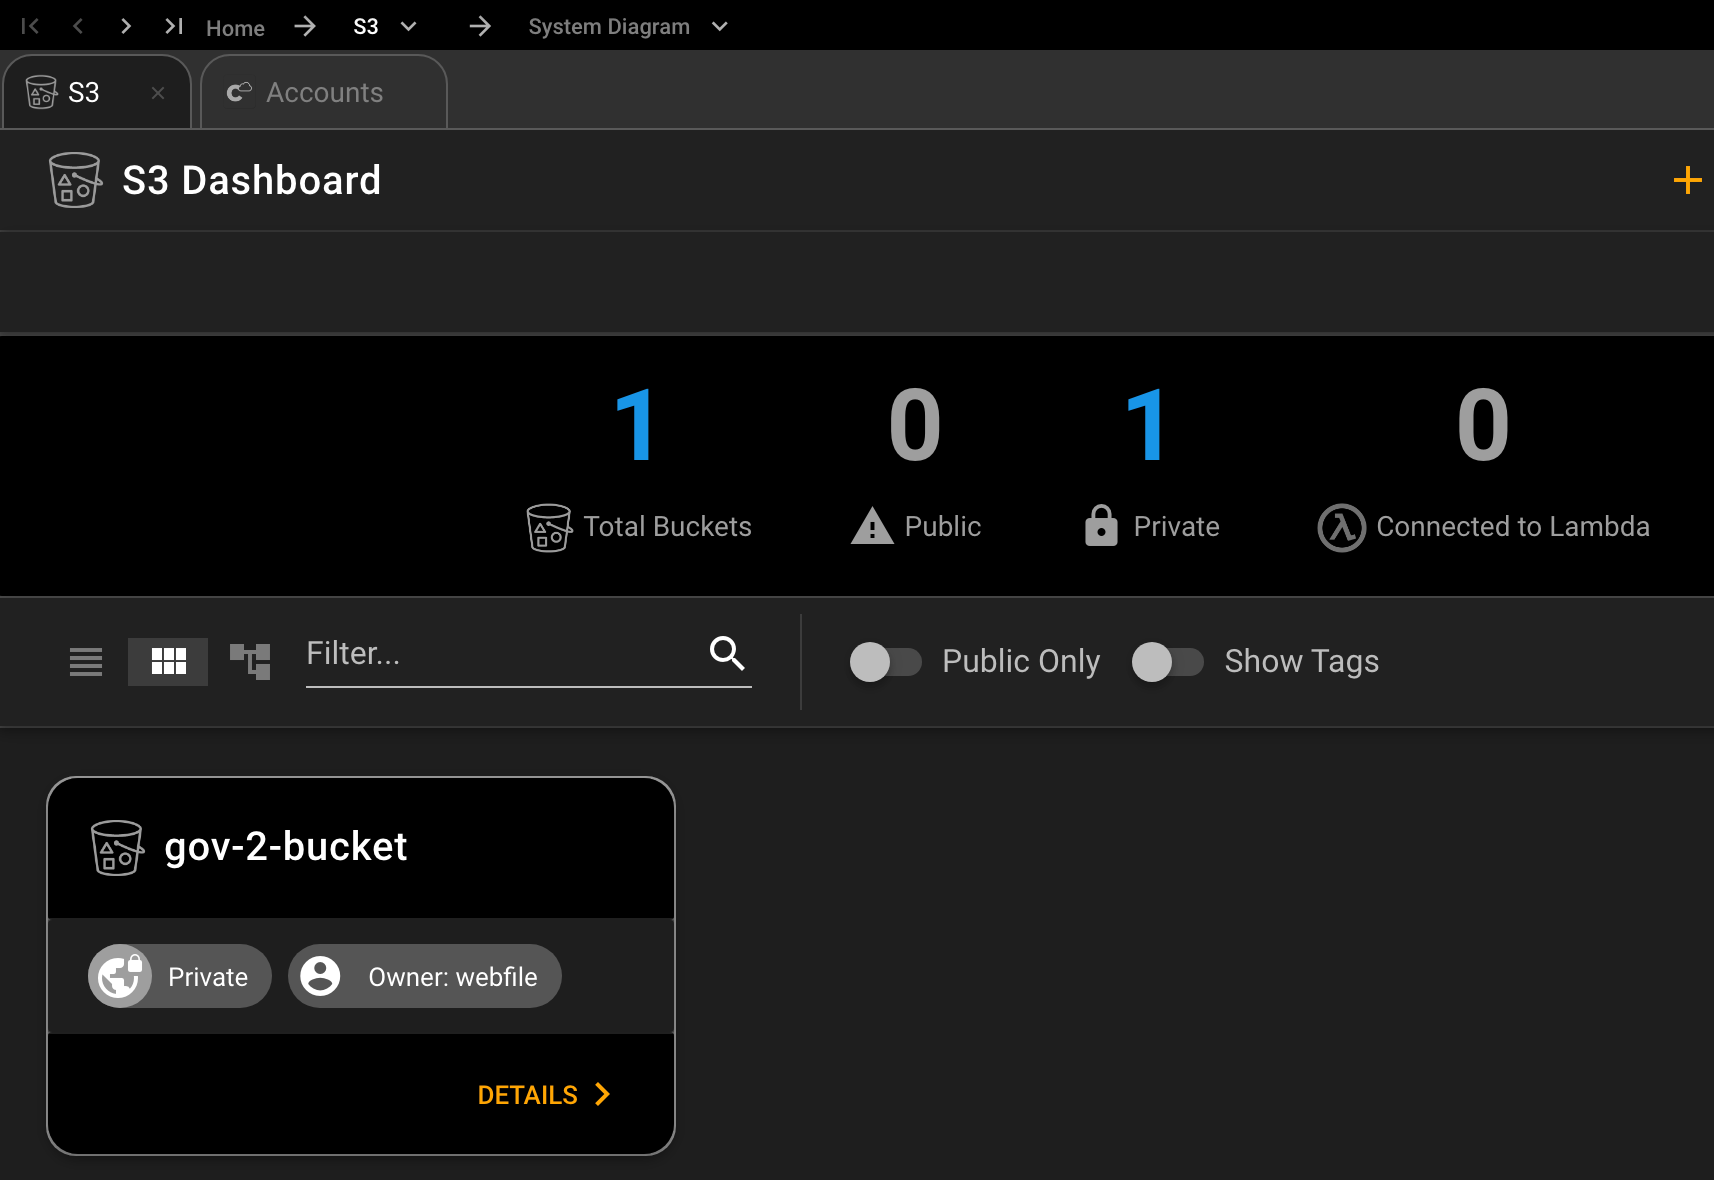
You can add your buckets via Commandeer, or any IaC tool of your choosing Below, you can see the bucket information for the bucket we added in US Gov 2.
 Once they are all added, you can then switch between accounts, and just see the data for the corresponding account as shown below.
# Conclusion
Using multiple instances of LocalStack is a great way to mimic different environments you might have, either for the same project, or for different projects. You can now manage many instances, not only from the setup perspective, but also viewing the underlying data in S3, DynamoDB, CloudWatch Logs, Redshift, Athena and more. Happy developing!
