Configuring LocalStack
# Configuring LocalStack
LocalStack behavior can be customized in the following ways:
- Configuring LocalStack using Environment Variables
- Setting LocalStack URLs in Commandeer
# LocalStack Environment Variables
LocalStack is configured primarily using environment variables. You can find the full list of available environment variables in the LocalStack readme.
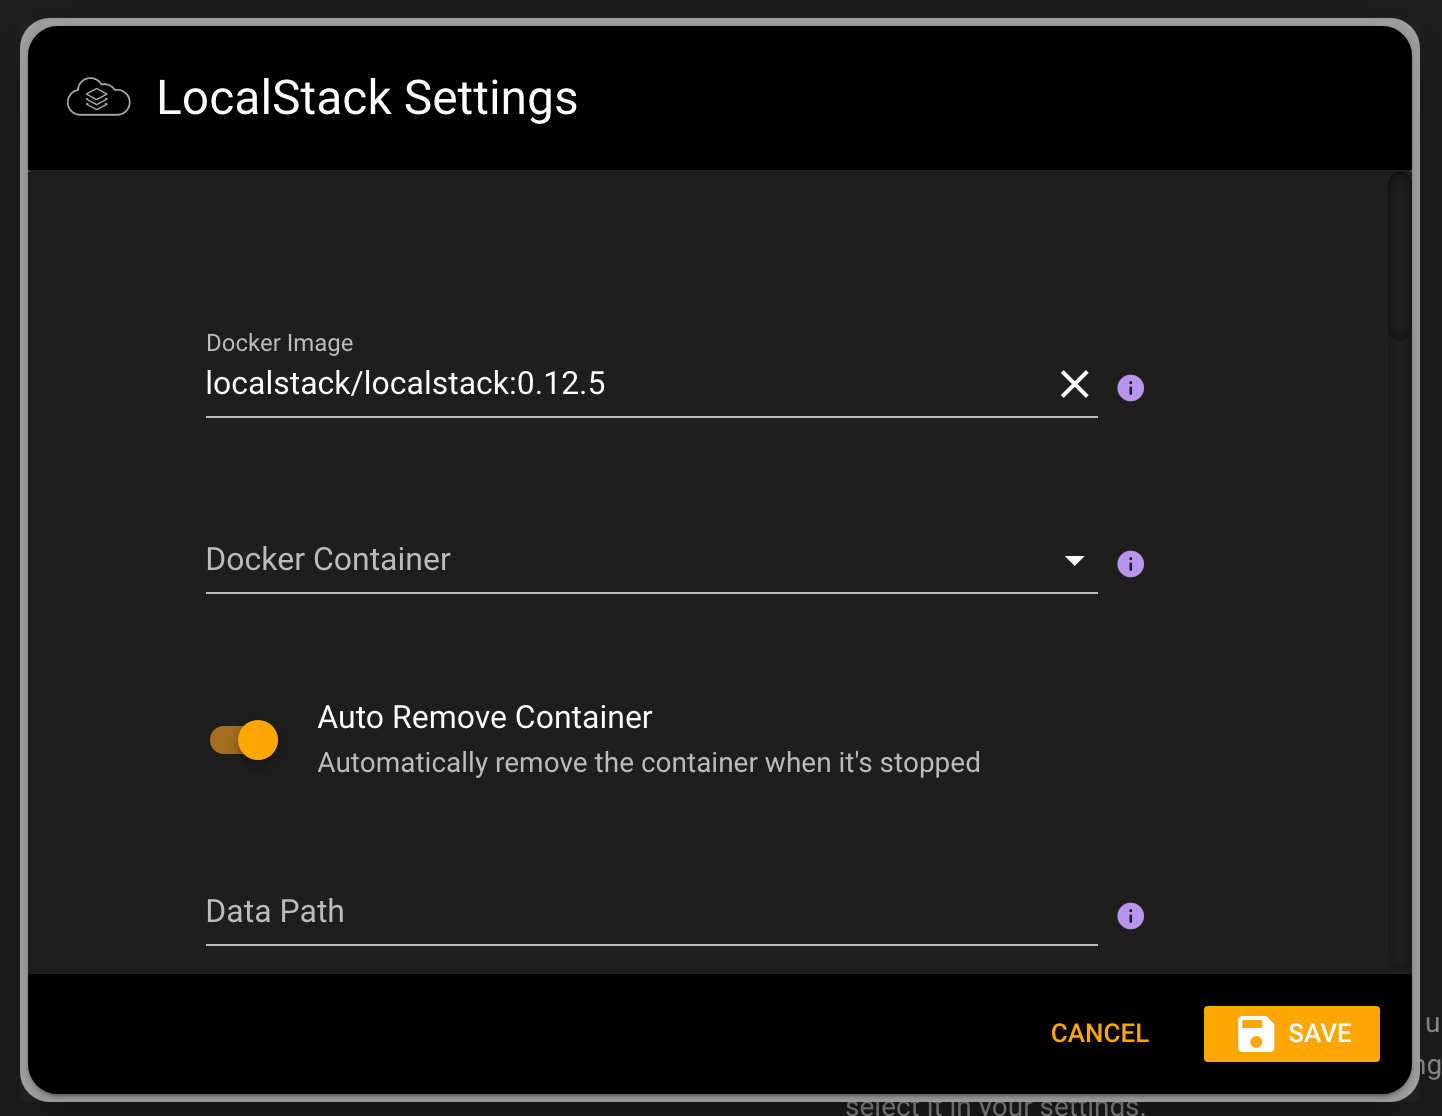
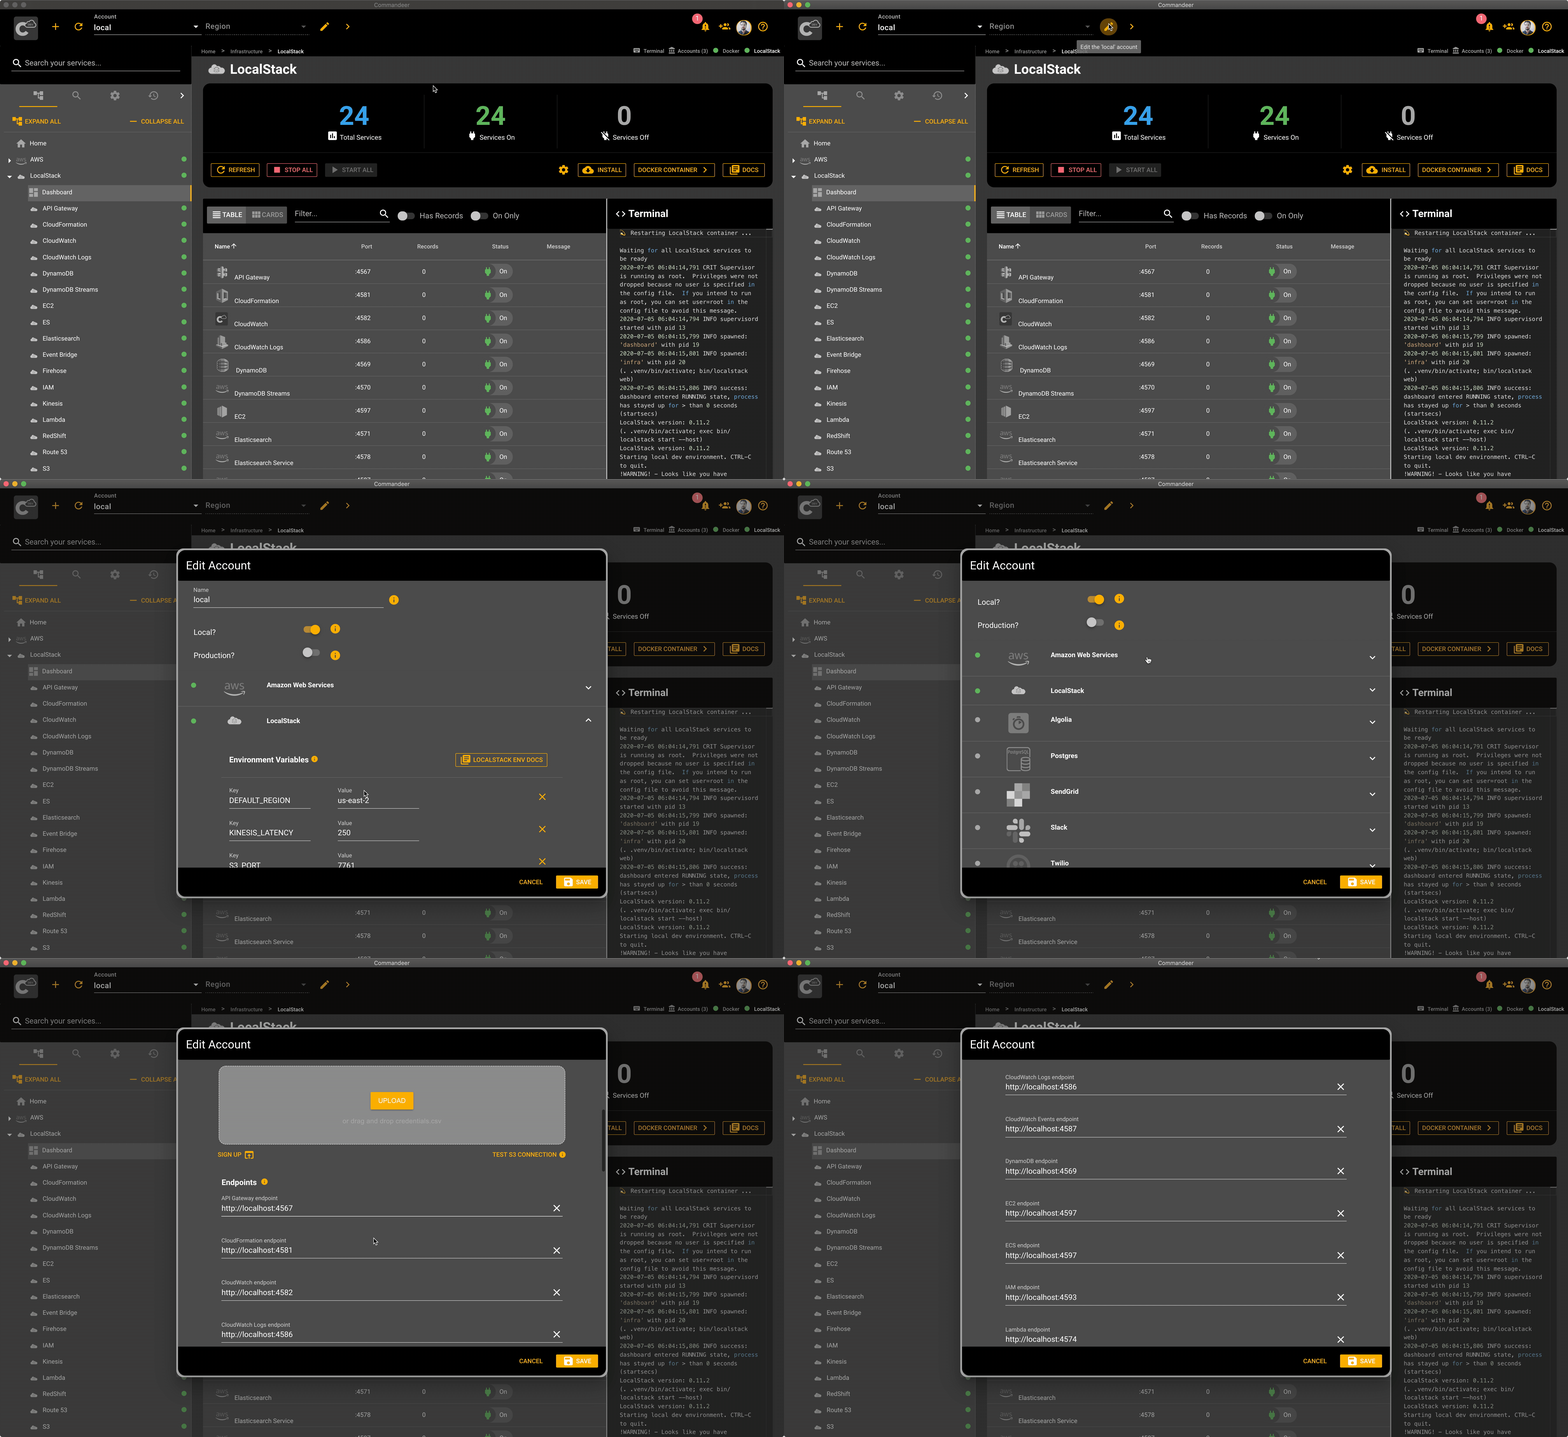
To specify your environment variables, simply navigate to LocalStack settings in Commandeer. You can click on the gear icon on the LocalStack Dashboard. Alternatively, click on the edit button on your local account and expand the LocalStack section. You can add new environment variables by clicking on the Add button, adding the key and the value and hitting save. Once the environment variables are saved, just restart LocalStack for the variables to take effect.

# LocalStack URLs in Commandeer
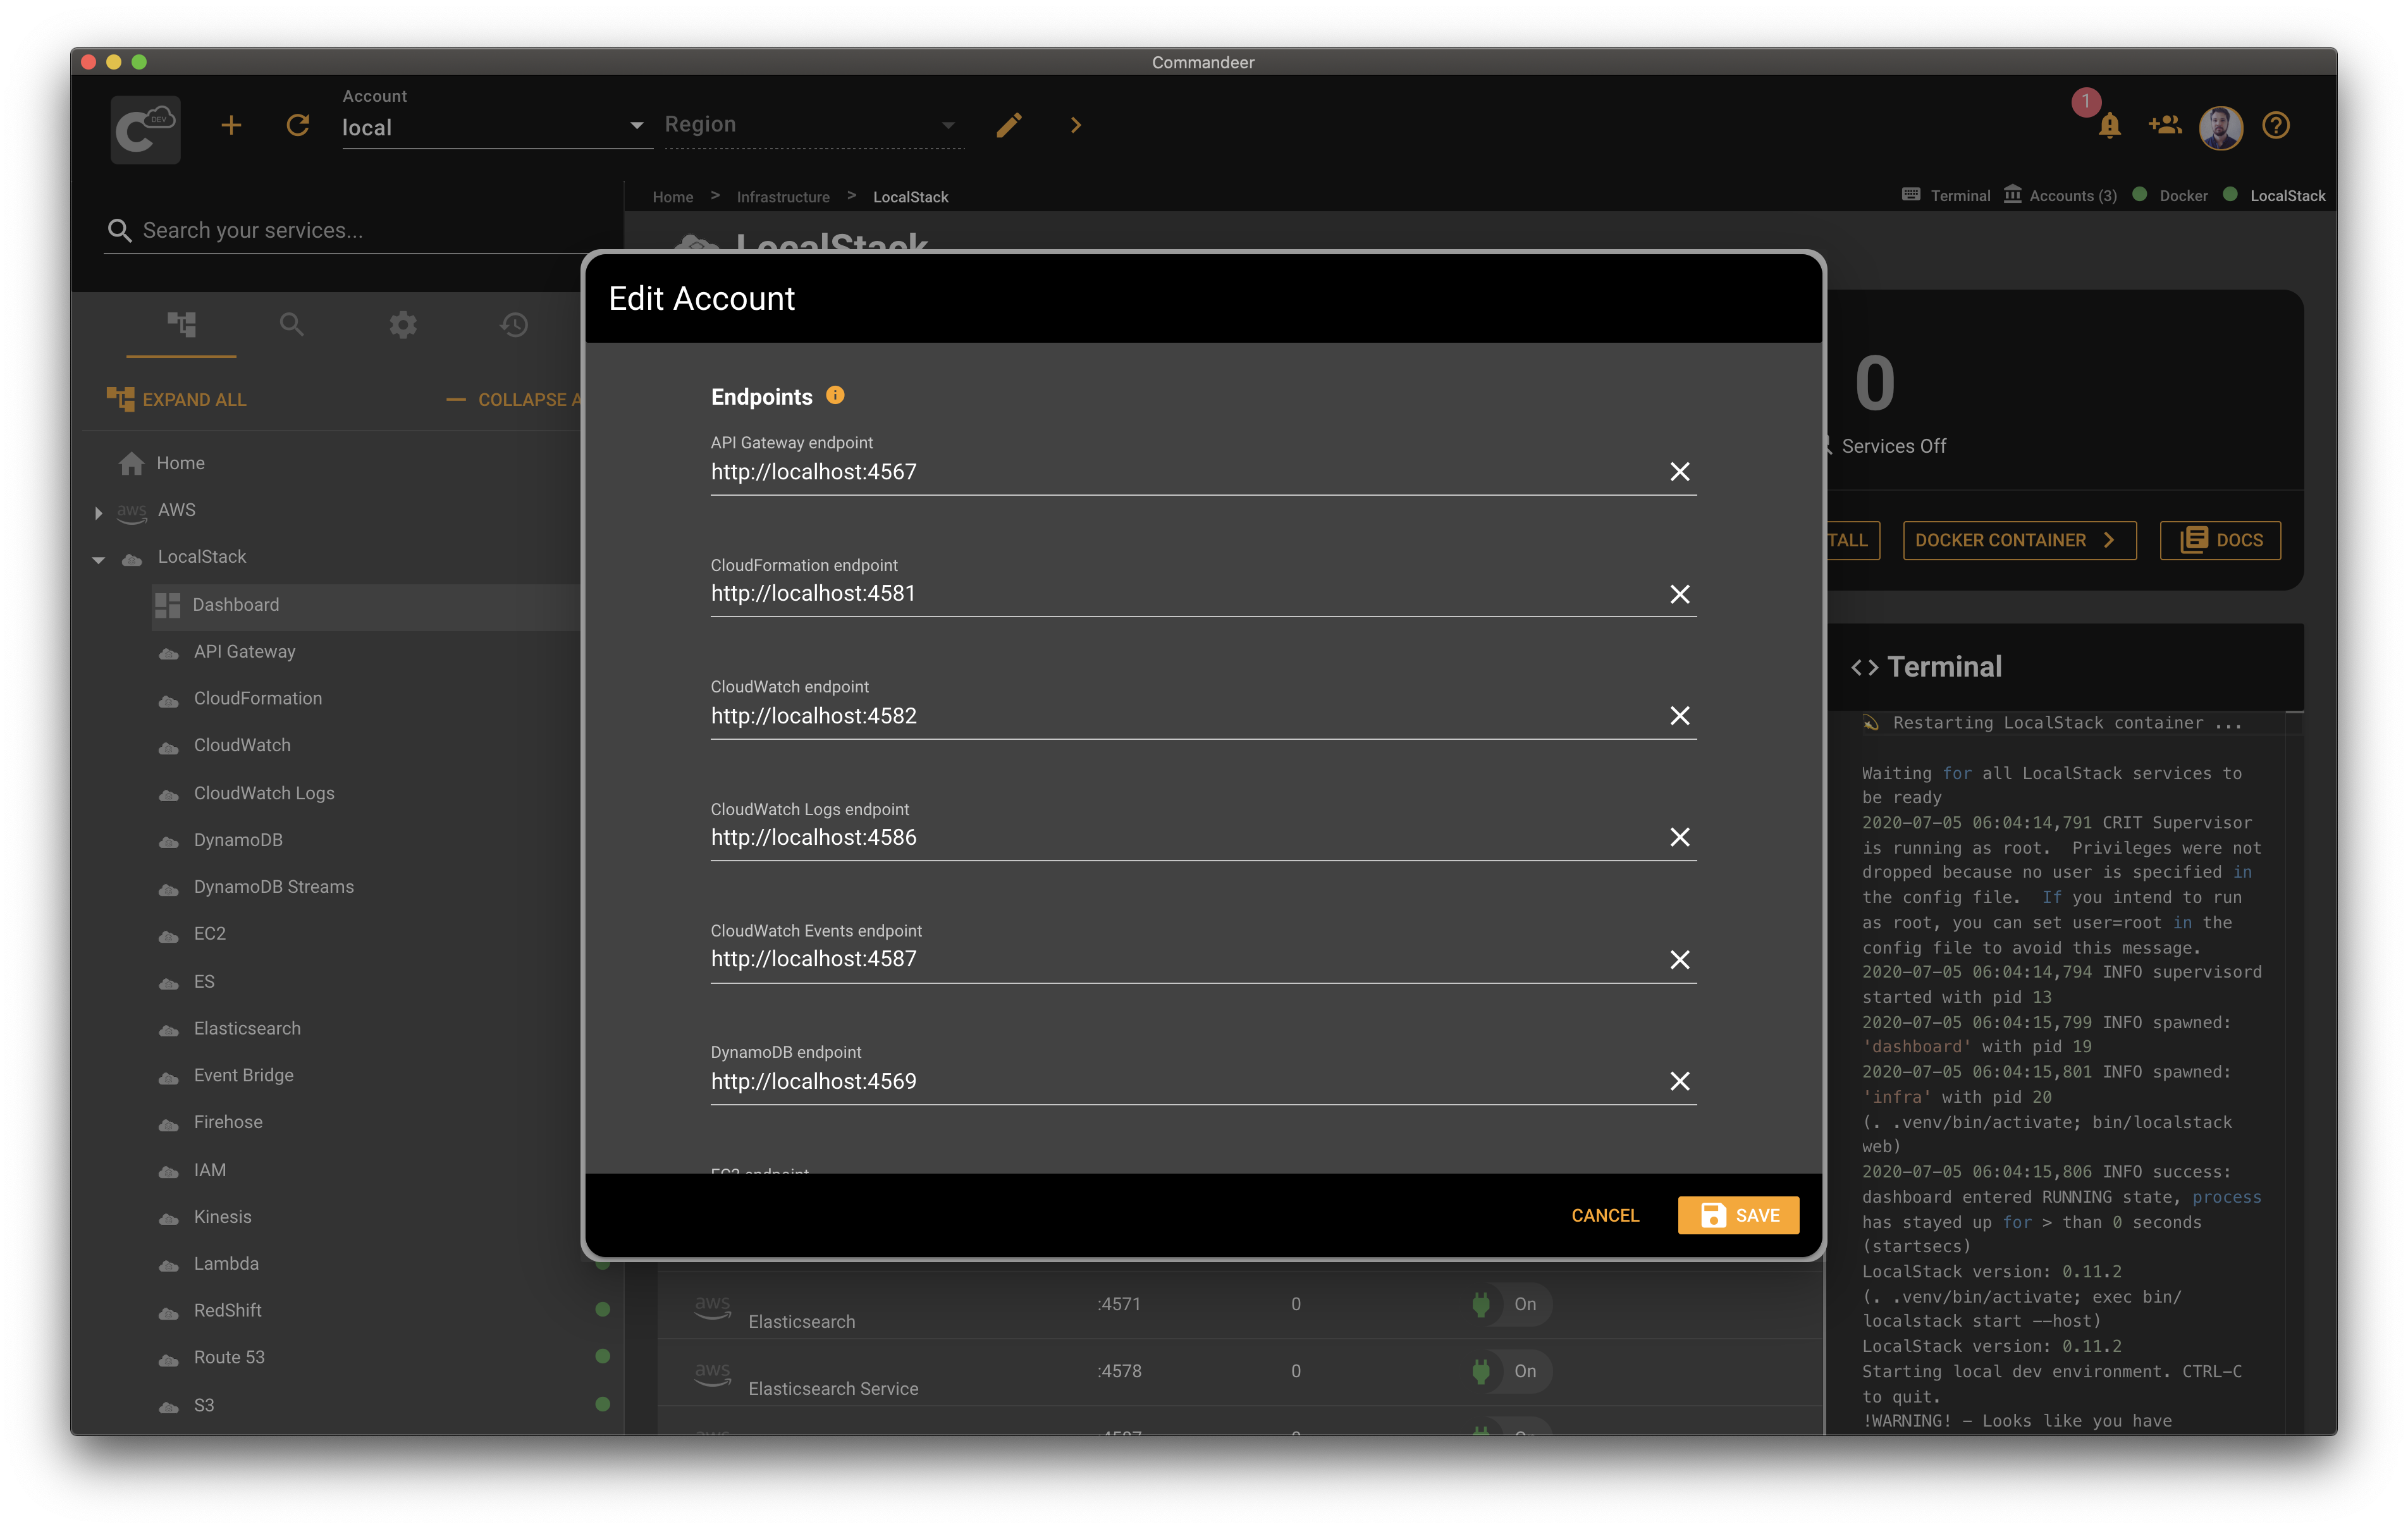
Commandeer automatically points all AWS services to LocalStack when the local account is selected. That being said, there are some cases when you need to customize the URLs Commandeer points to. For example, if your LocalStack is running on a remote server. In this case, open your local account by clicking the edit button next to the selected account in Commandeer. Then expand the AWS section, and edit the URLs under the Endpoints section. Once you hit save, Commandeer will start using the URLs specified in your account settings.

Here is a quick overview of the LocalStack section and the AWS section in the account edit dialog.

# Conclusion
Commandeer provides deep integration with LocalStack. You can fully customize LocalStack using environment variables. Commandeer also allows you to edit AWS endpoints allowing you to point to any location where LocalStack is running.
