Create a DynamoDB Table with Commandeer
... About 2 min
# Create a DynamoDB Table with Commandeer in 4 Easy Steps
Whenever your application requires setting up a DynamoDB table for persistent storage, you want to perform this process without any glitches.Using the Commandeer desktop app enables you to create DynamoDB tables in both your LocalStack and AWS cloud environments without having to write a script, saving you time and effort.
# What you’ll learn
In this tutorial, you'll learn how to create DynamoDB tables using the Commandeer desktop app.
# Prerequisites
Install the Commandeer - Available on on Mac, Windows, or Linux - Download App - 15 Day-free trial available | Getting Started Guide |
a. Open the app
b. Install LocalStack
LocalStack is installed automatically via Commandeer or connect to your existing running instance)
LocalStack Home Page | LocalStack Commandeer Integration | Managing Multiple LocalStack Instances
# 1. Choose LocalStack or AWS
Commandeer lets you create DynamoDB tables the same way in LocalStack as in a real AWS account. Just choose between your local account or an AWS account from the Account dropdown. Commandeer comes with the local account out of the box.
If you don't have your AWS account set up yet, you can follow our setup guide to obtain your AWS credentials.
# 2. Go to the DynamoDB Dashboard
On the left hand side, navigate to the dashboard.

# 3. Click the DynamoDB -> Create Table Menu Item
- Navigate to the 'DynamoDB Dashboard' in the side navigation of Commandeer
- Select the DynamoDB menu in the top
- Click 'Create Table'
- Name it AAA_Approved
Watch the 10-second animation below to see how to create your table.

# 4. Create Table Dialog
Here is the breakdown of the dialog itself.
Enter Name
Additional Settings (optional)
- Primary Key - REQUIRED
- Sort Key - (Optional)
- Provisioned Throughput for Read and Write
Save - save the table
Cancel - cancel the save process
# a. Enter Name
Next, enter a name for the table. In our case
name: AAA_Approved.
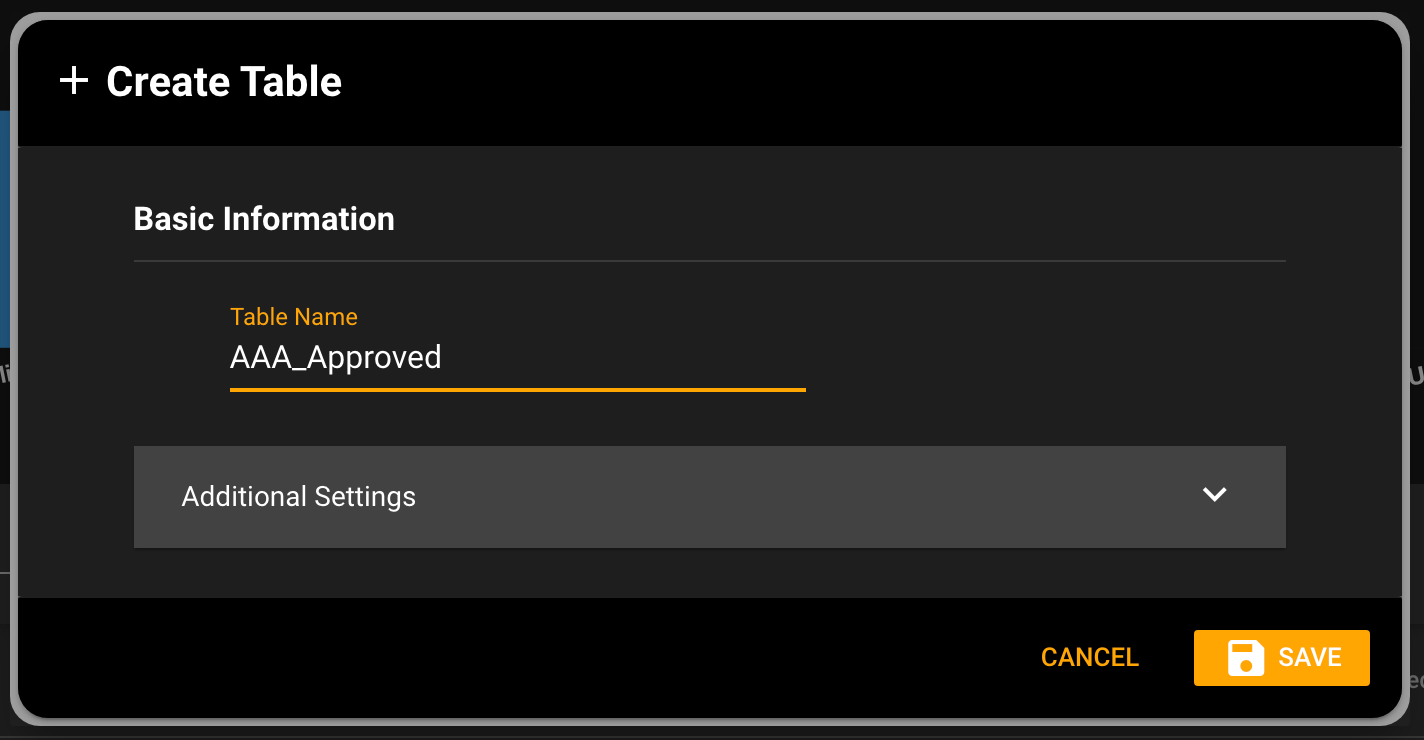
Entering a name for the DynamoDB table
That's all you need to add a table with some default settings which you can change later.
# b. Additional Settings (optional)
If you would like to specify some additional settings upon creation, feel free to click on the Additional Settings to specify some settings like provisioned throughput, attributes, and more.
- Primary Key - REQUIRED
- Sort Key - (Optional)
- Provisioned Throughput for Read and Write
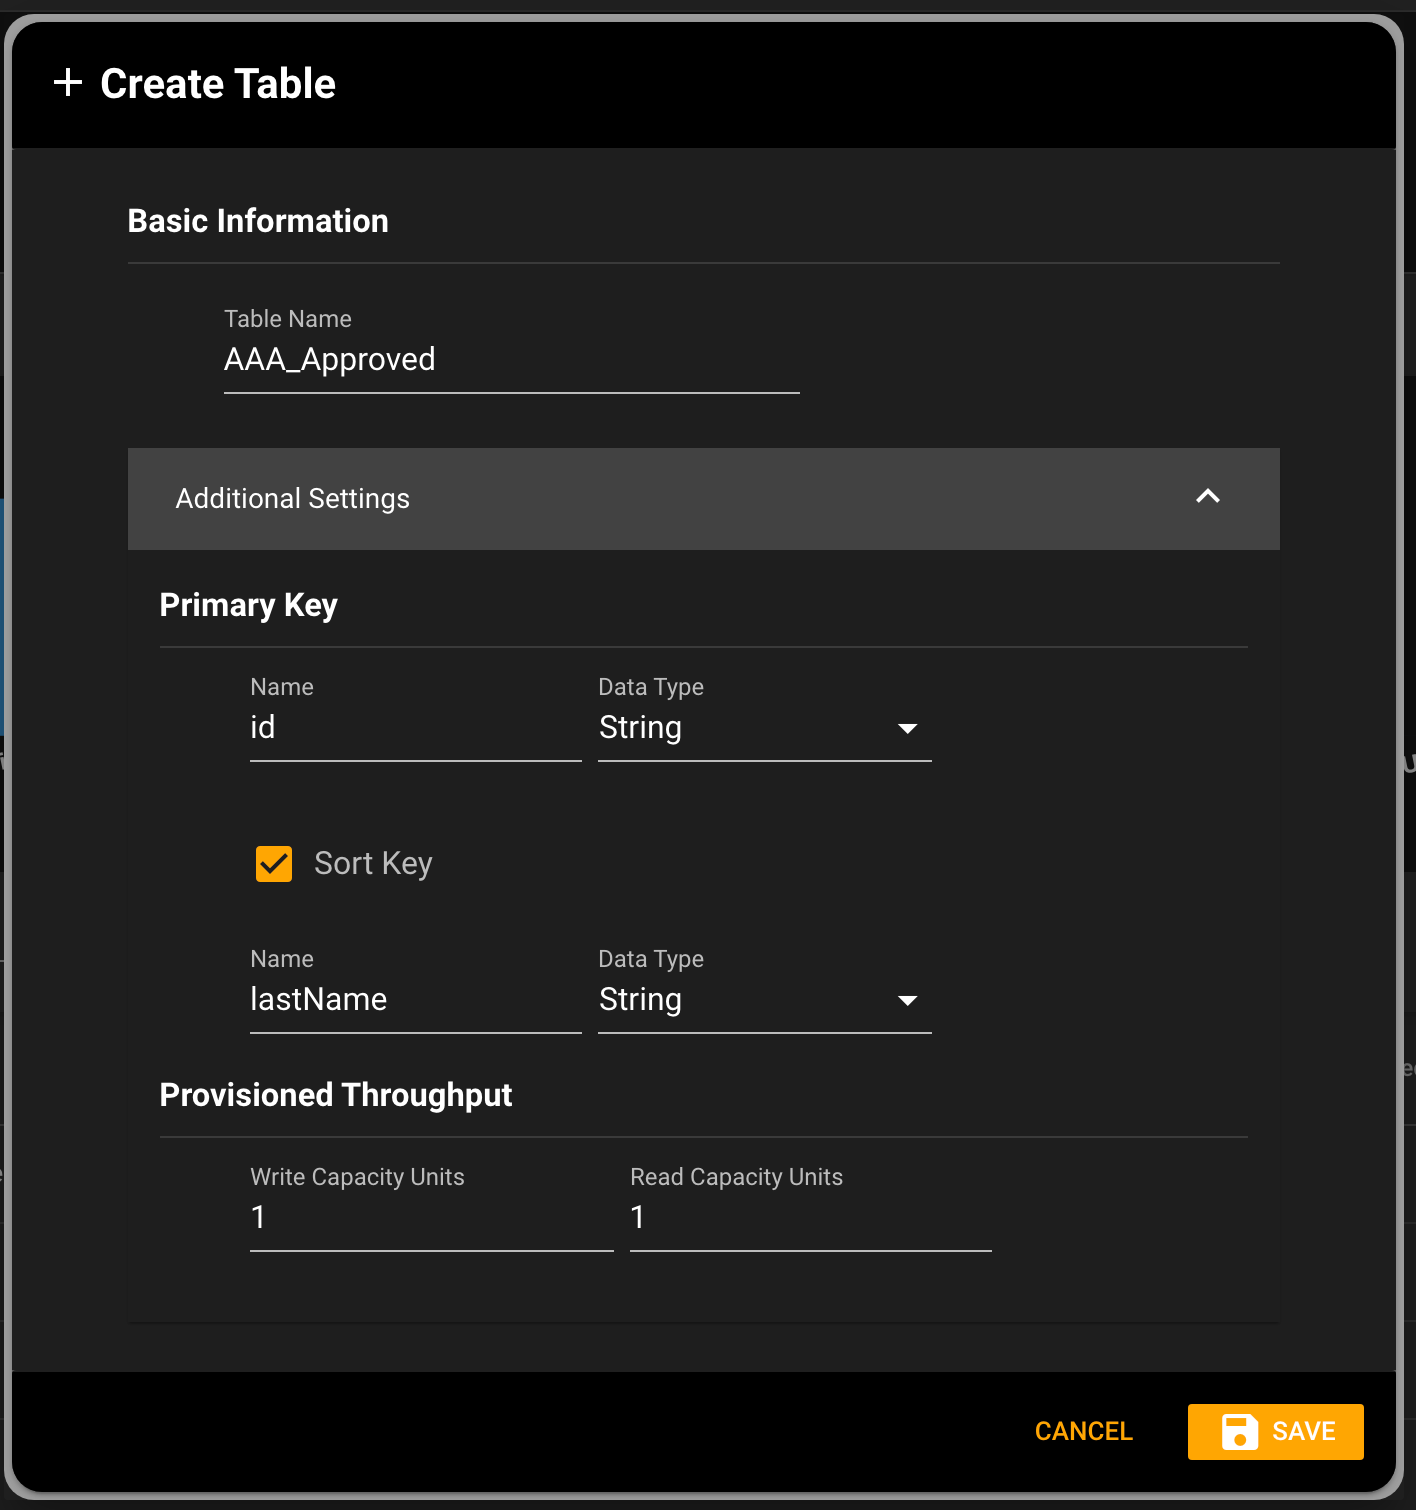
New DynamoDB table dialog with some additional settings expanded
# c. Press the Save Button
Click save, once the table is created it'll show in the list of tables. You may want to click the refresh button after a brief moment because table creation is an asynchronous process.
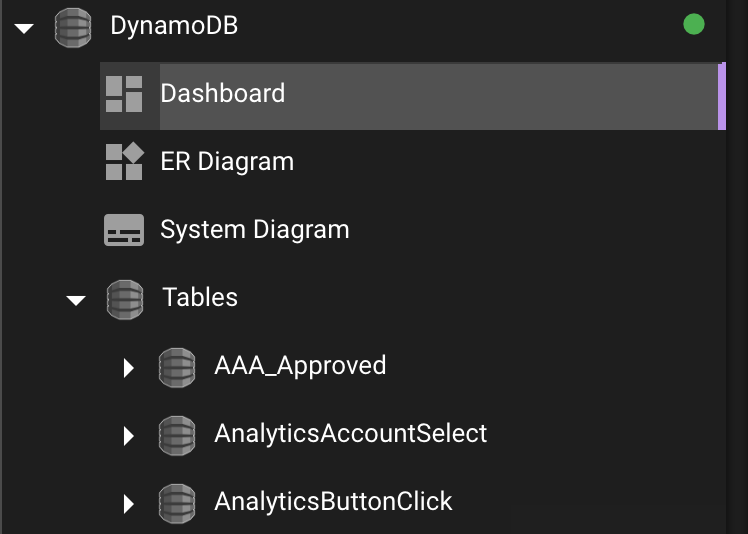
Below you can see the AAA_Approved record in the DynamoDB Dashboard Table.

In card mode, it looks like the following.

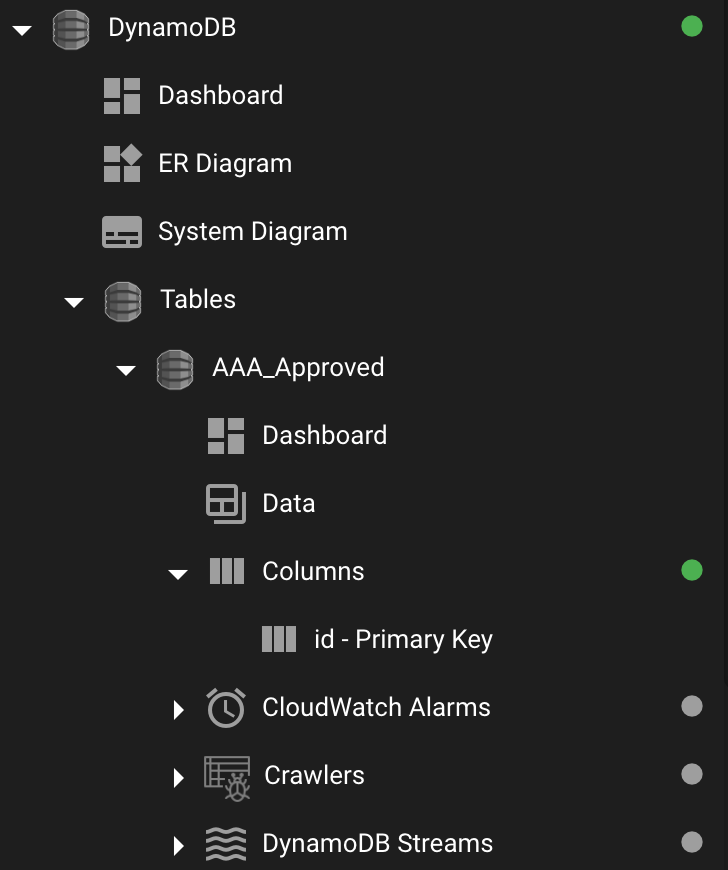
On the left treeview, you will see it as well under the DynamoDB menu.
And with more details with the table about the Columns, what's connected to CloudWatch Alarms, Crawlers, and DynamoDB Streams.
# Conclusion
That was a brief summary about how to Create a Table in DynamoDB.