Create an S3 bucket using Ansible
# Create an S3 bucket using Ansible
# What you’ll learn
You’ll learn how to create an S3 bucket using Ansible. We’ll go over running Ansible with Commandeer against LocalStack and a real AWS environment. Buckle up and get ready for some fun Ansible running action 🙌.
# Prerequisites
Creating an S3 bucket using Ansible is a great option when you want consistency across multiple environments. Once the Ansible configuration is written, you can apply the same configuration to any environment by just switching your AWS account in the account select dropdown and running the same configuration again. We’ll first run our Ansible configuration against LocalStack to ensure it’s correct first. Then we’ll run the same configuration against a real AWS Account.
# Start LocalStack
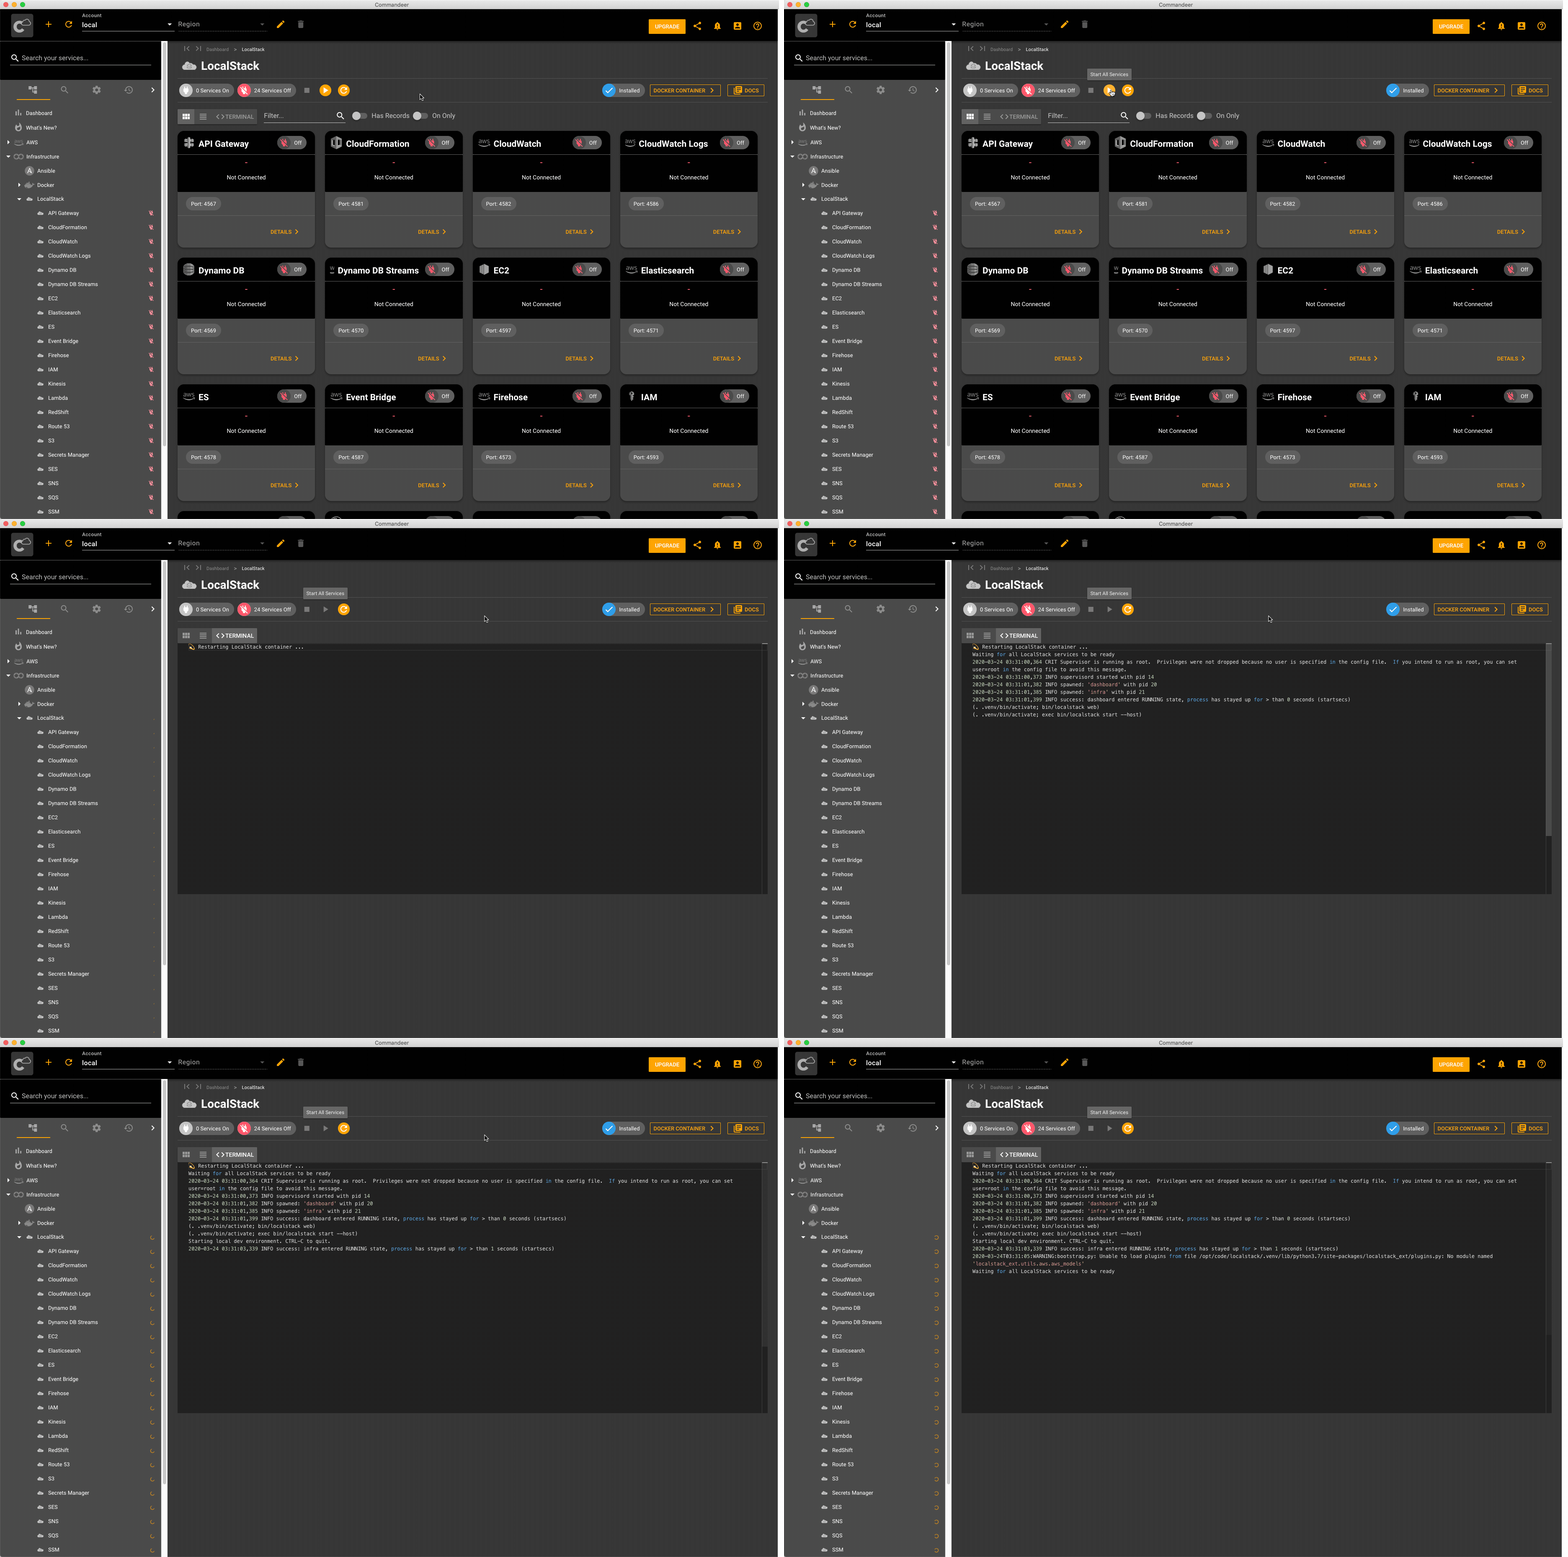
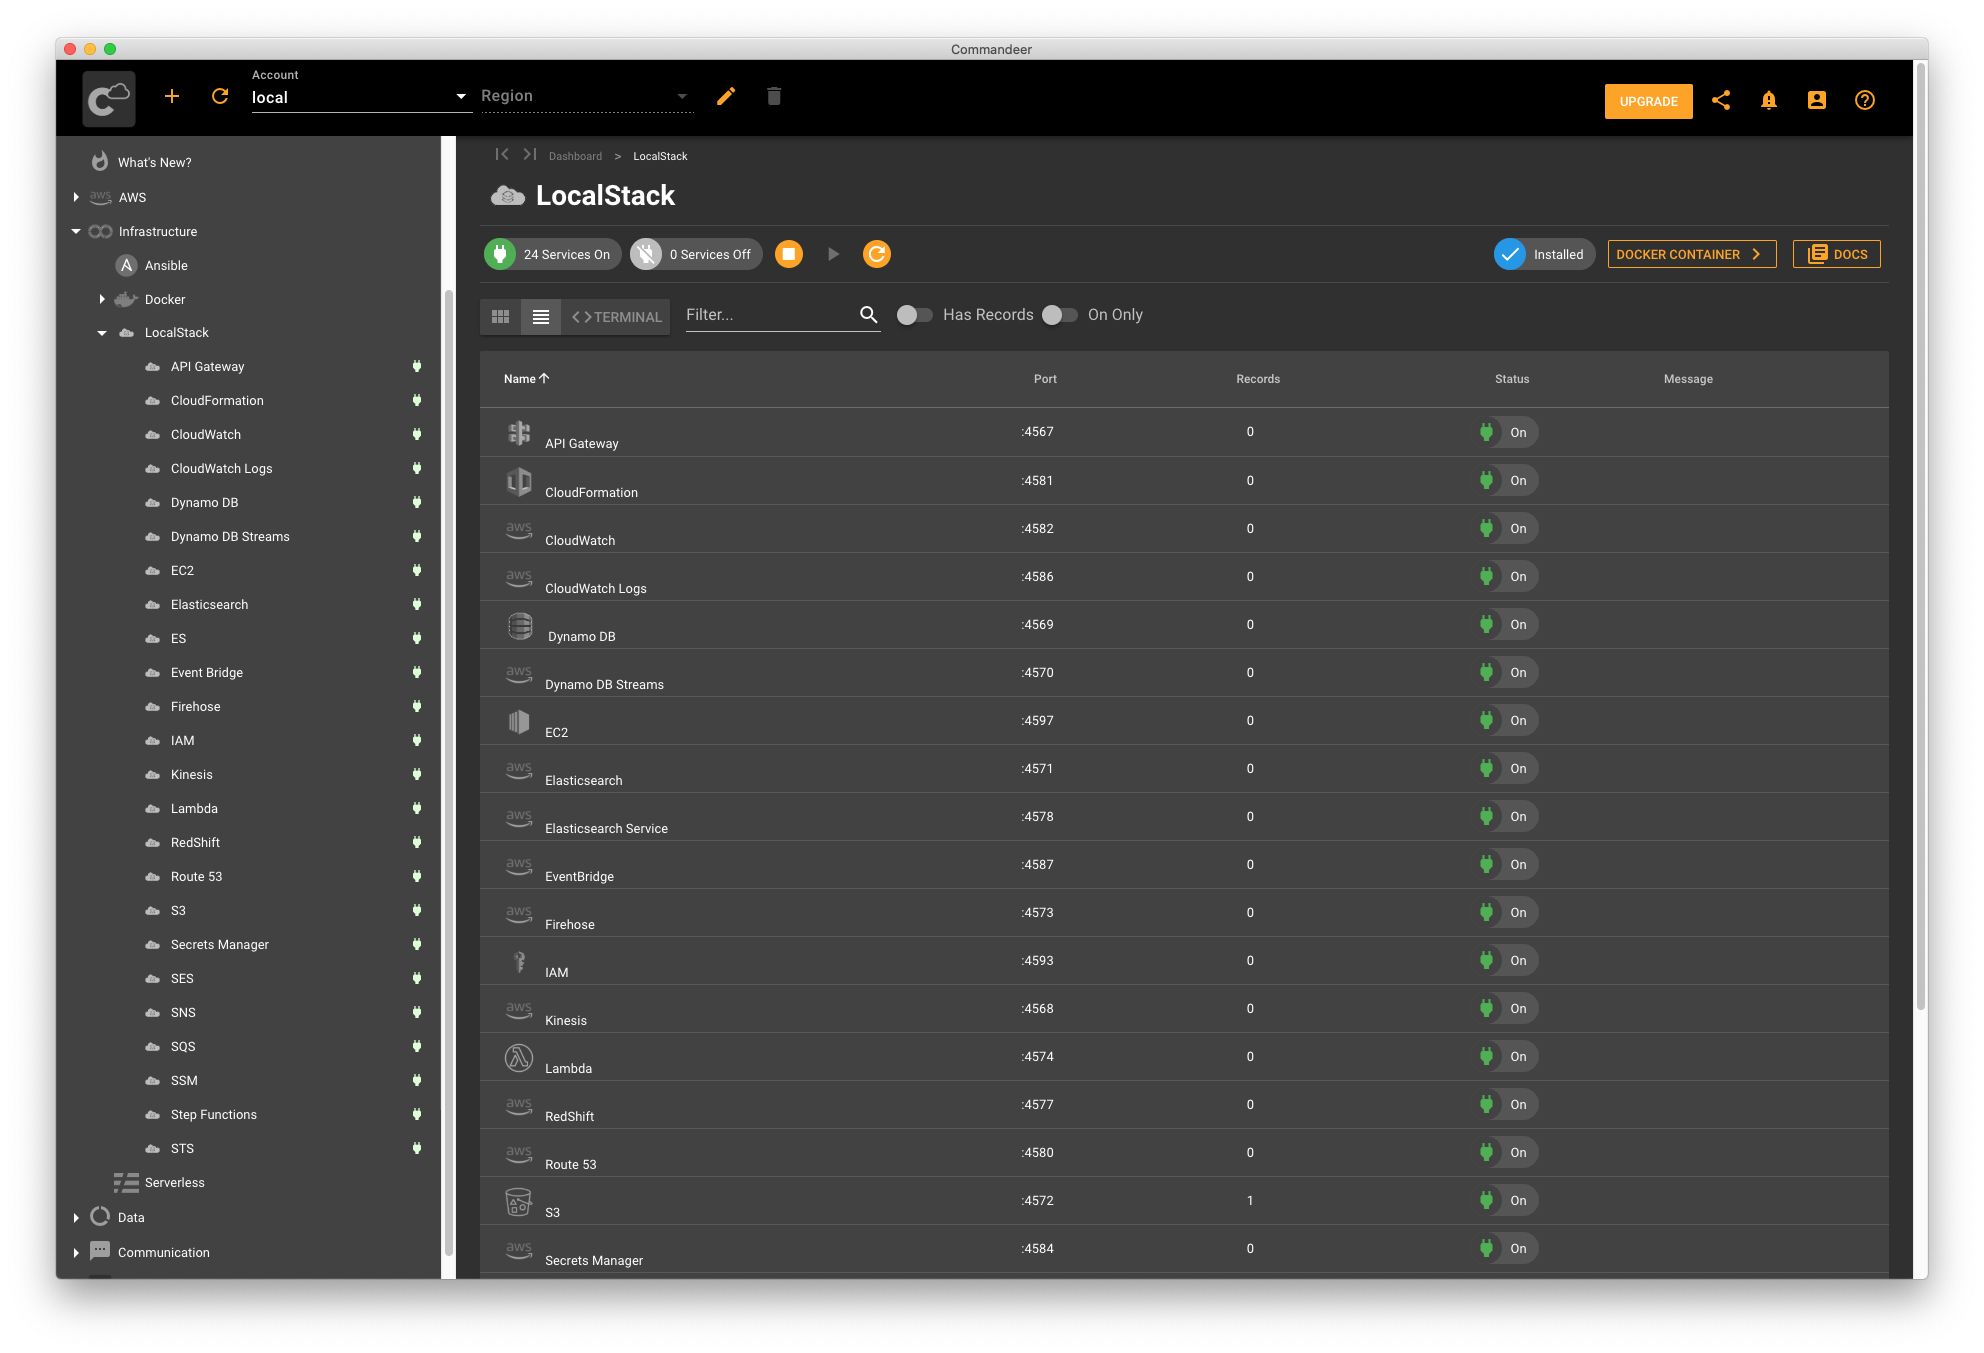
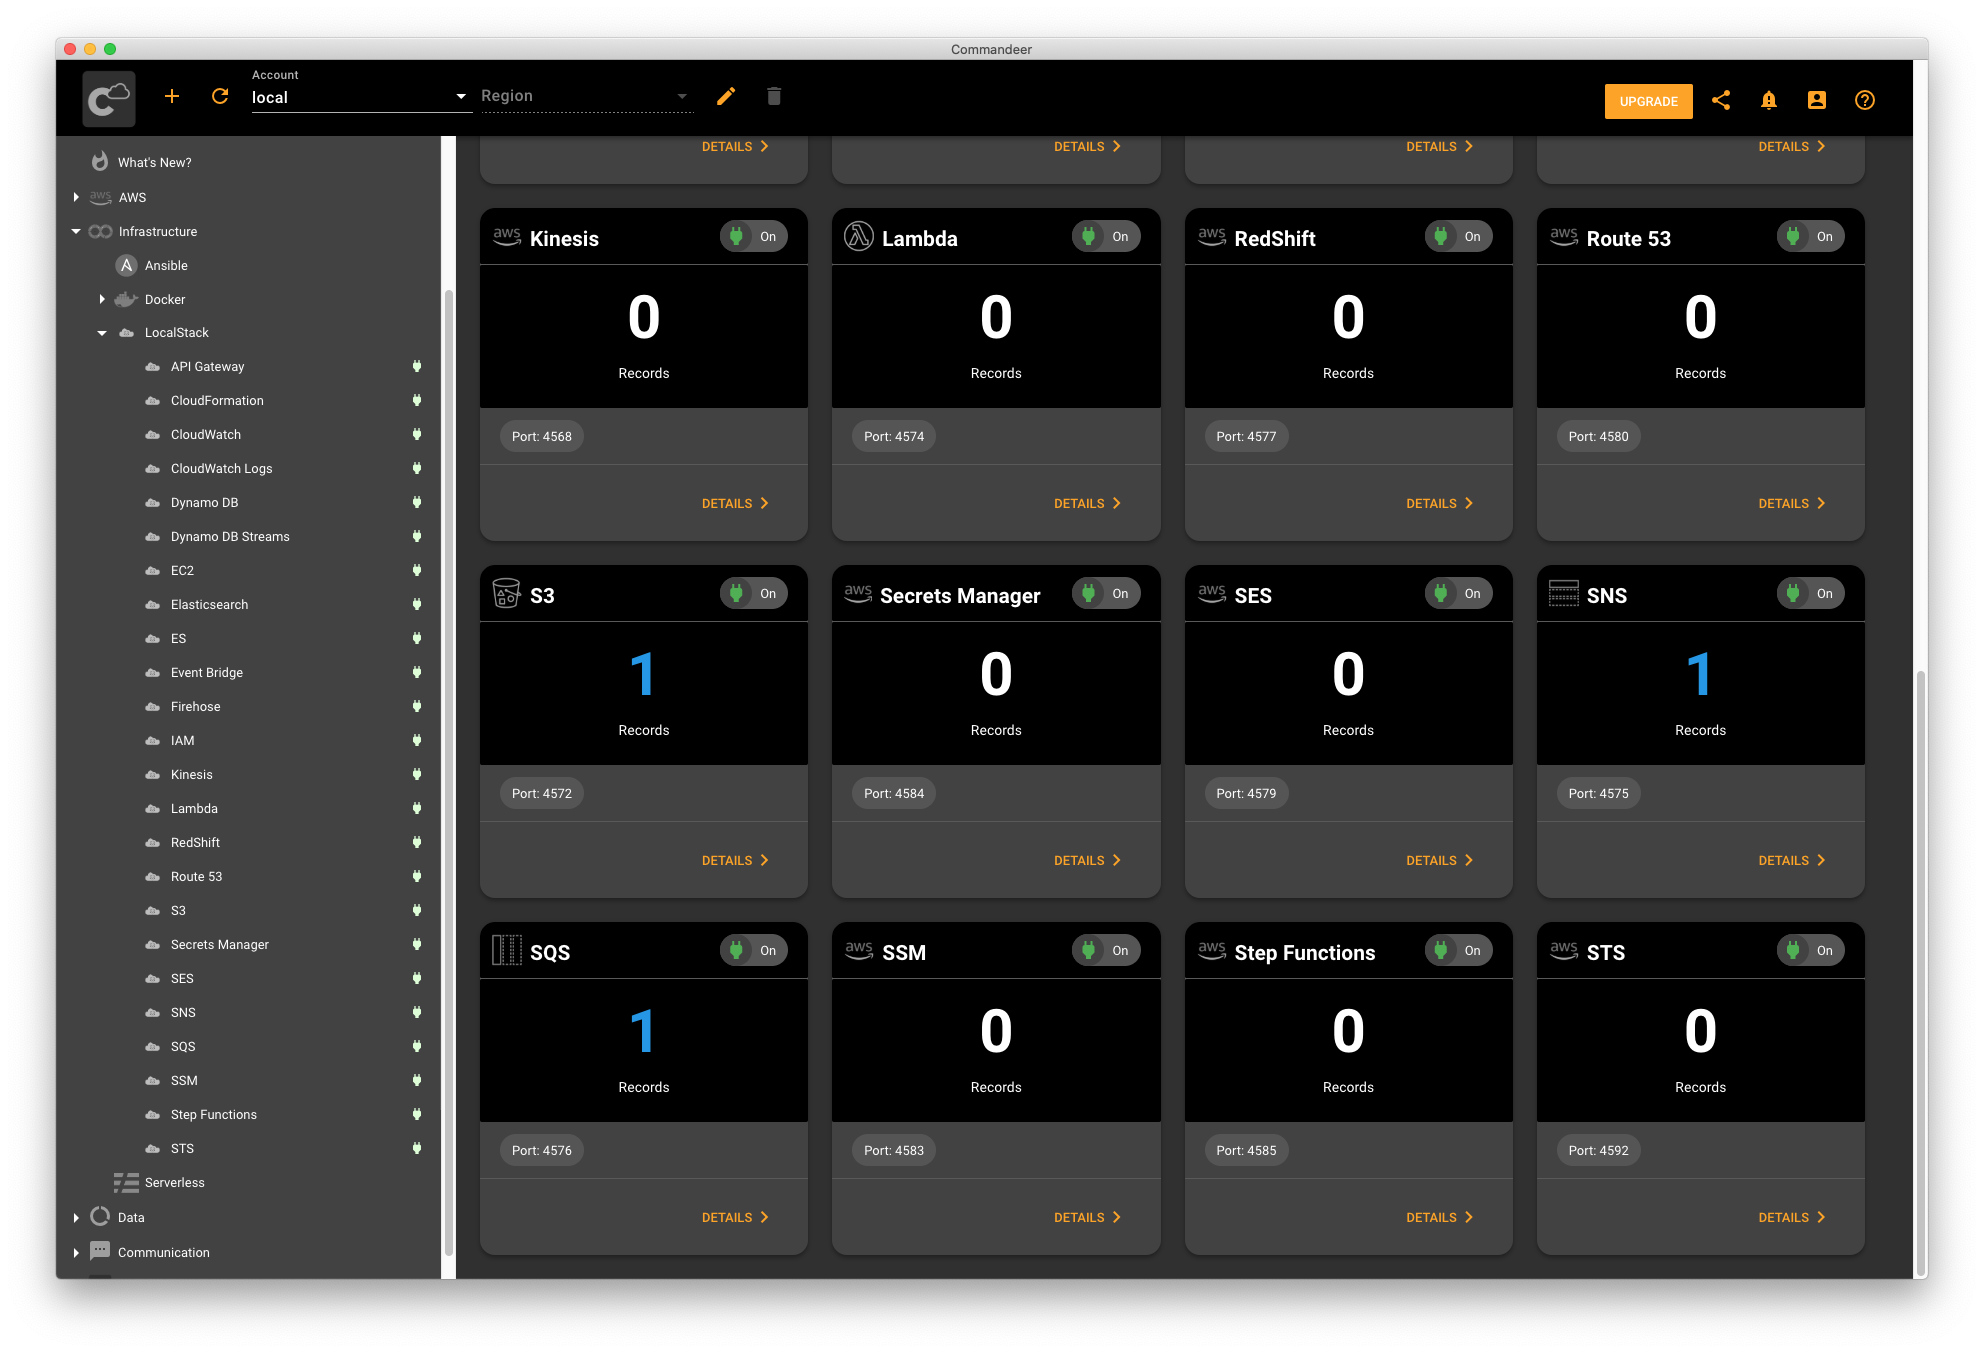
Navigate to the LocalStack menu in the side navigation pane, it’s under the Infrastructure menu. Once you’re on the LocalStack Dashboard, click the start button to start all services. Alternatively, you can start just the S3 service by clicking on S3 under on LocalStack Dashboard or the side navigation pane and then clicking the start button. You can read more about how to start and stop your LocalStack services on the Commandeer LocalStack Documentation page.


# Write Ansible
Running Ansible is fun and exciting. Let’s start with writing our first bucket configuration. Open Commandeer, navigate Ansible under the Infrastructure menu in the side navigation panel.
Once you open Ansible screen, click the New File button and choose a file location for your ansible.yml. The bucket creation code will go in this file. Next, you’ll see the code pane on the left and the results pane on the right. We’ll put our code on the left, once we run it, the results will appear on the results pane.
Let’s start by creating a tank bucket. Put the following code into the code pane on the left and click the save button.
- hosts: localhost
  tasks:
    - name: Create the S3 Tanks bucket
      s3_bucket:
        name: commandeer-tanks-test
        versioning: yes
        tags:
          name: Tanks
          type: demo
Ansible configuration is written in YAML format which is a well-known and easy to use format. The first line defines the host. In our case, it’s irrelevant because we’re running against AWS or LocalStack. Next, we define the list of tasks. In our case, there is a single task to create an S3 bucket. The field name under the s3_bucket key contains the name of your bucket. Note that S3 bucket names are unique. When you’ll deploy against a real AWS account, you may get a naming collision error. We recommend prefixing your bucket names with a unique prefix to avoid naming conflicts. Next, we enable bucket versioning and specify some bucket tags.
# Run Ansible Against LocalStack
We’re ready to run our Ansible configuration to create our bucket. Let’s make sure we have our account selected as local to run against LocalStack first. Choose local if it’s not selected yet. Next, click the deploy button. You’ll see Commandeer pulling Ansible docker image if it’s not pulled yet. Once it’s pulled, it starts running it which will show the output of the run on the right. Commandeer also parses the output for you and displays the counts for each major action category. You can see the number of warnings, successes, changed resources, etc.
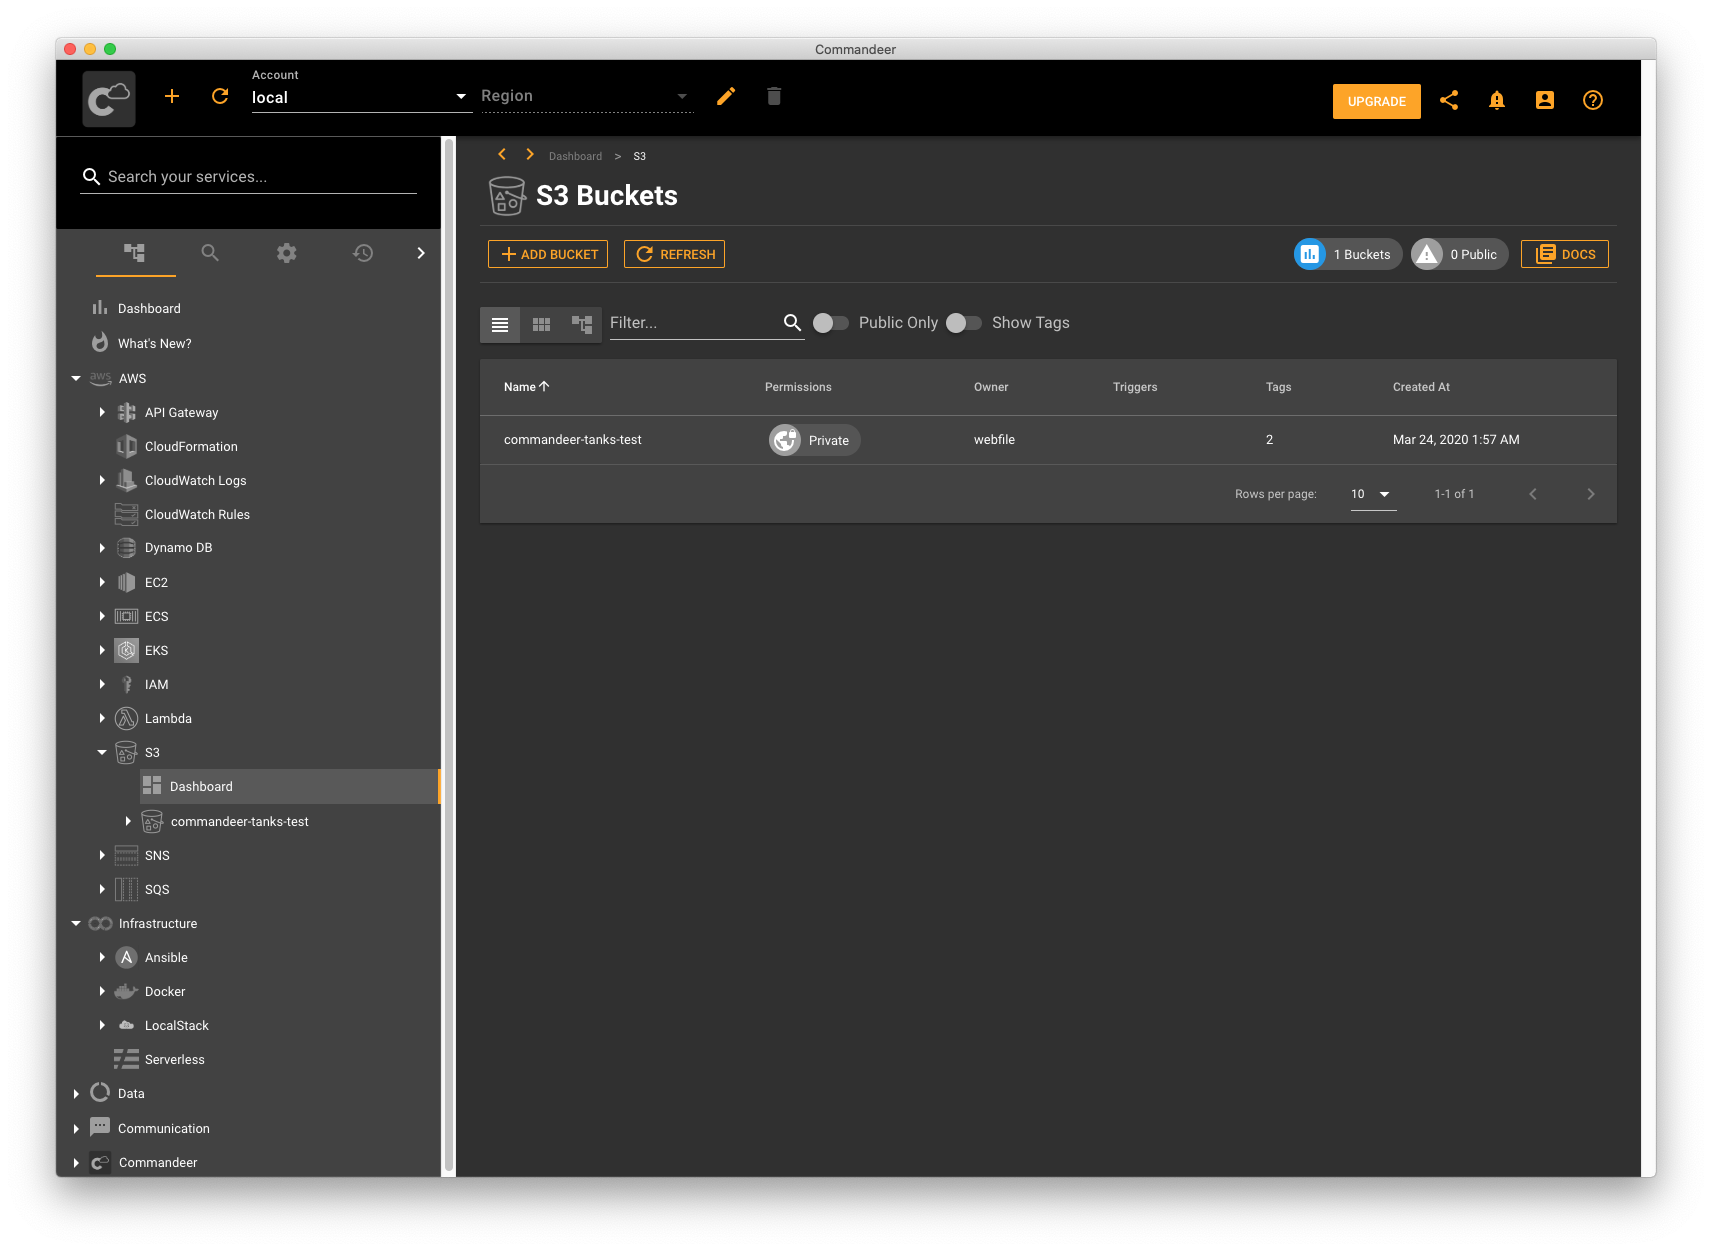
Now that our bucket is created, let’s go to S3 under the AWS menu in the side navigation panel. Once you’re at the bucket list screen, just hit the refresh bucket to make sure the bucket is there. Congratulations, your bucket is successfully created in LocalStack!

# Run Ansible Against AWS
Now we tested our configuration against LocalStack, let’s run it against our real AWS account. Just choose your AWS account from the account select dropdown. Then head back to Ansible under the Infrastructure menu, click Choose File and choose the ansible.yml file you just ran. Click on the deploy button and see the output on the right. Once Ansible is finished running, head over to S3 under the AWS menu to verify the new bucket is created. Feel free to click on the refresh button on S3 to make sure the new bucket shows up.
# Recap
In this tutorial, we learned about Ansible. We created an S3 bucket with some specific permissions on LocalStack and applied the same changes to a real AWS account. As you can see, Infrastructure as Code technique is very powerful. Once you write your configuration, you can check it into your source control, and more importantly, run it against any environment to make sure everything works the same way. As a developer, it’s important to be equipped with a variety of tools to solve a problem. Running Ansible in Commandeer is an easy to use and robust solution to ensure your infrastructure is consistent. Which is a great tool to have under your toolbelt. Happy IaCing!
