Seeding a DynamoDB Table
# Seeding a DynamoDB Table
When creating a mock environment it is often helpful to have seeded data in your database. In this brief tutorial we will show you how you can seed your DynamoDB database quickly and easily.
In order to perform this exercise, you should either setup a LocalStack environment or add credentials to connect directly to your AWS account.
# Create the Table to Seed
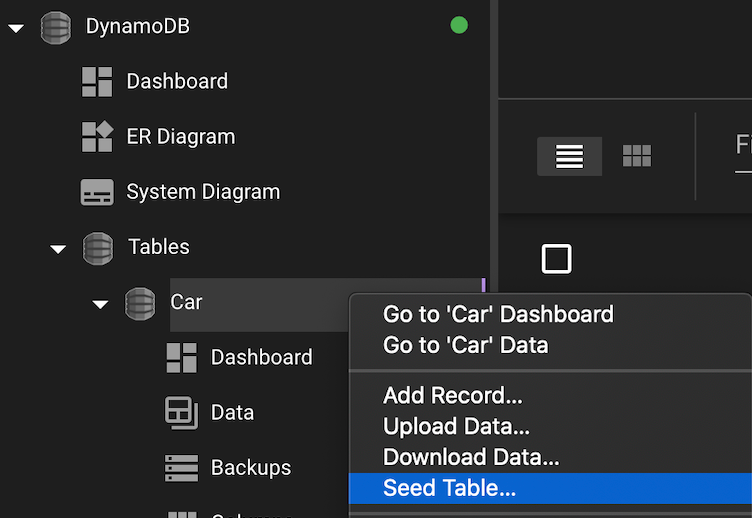
You can either right-click on a table in the side navigation, or if you are on the table dashboard, you can select the Seed item from the top menu or press the Seed button on the page.
For this example, let's create a table called Car that is going to hold the data. Right-click on the DynamoDB side navigation and click the 'Create Table...' menu item.

# Select the Seed Table menu item
Now, you can just right-click the table in the side nav.

# Select the Seed Parameters
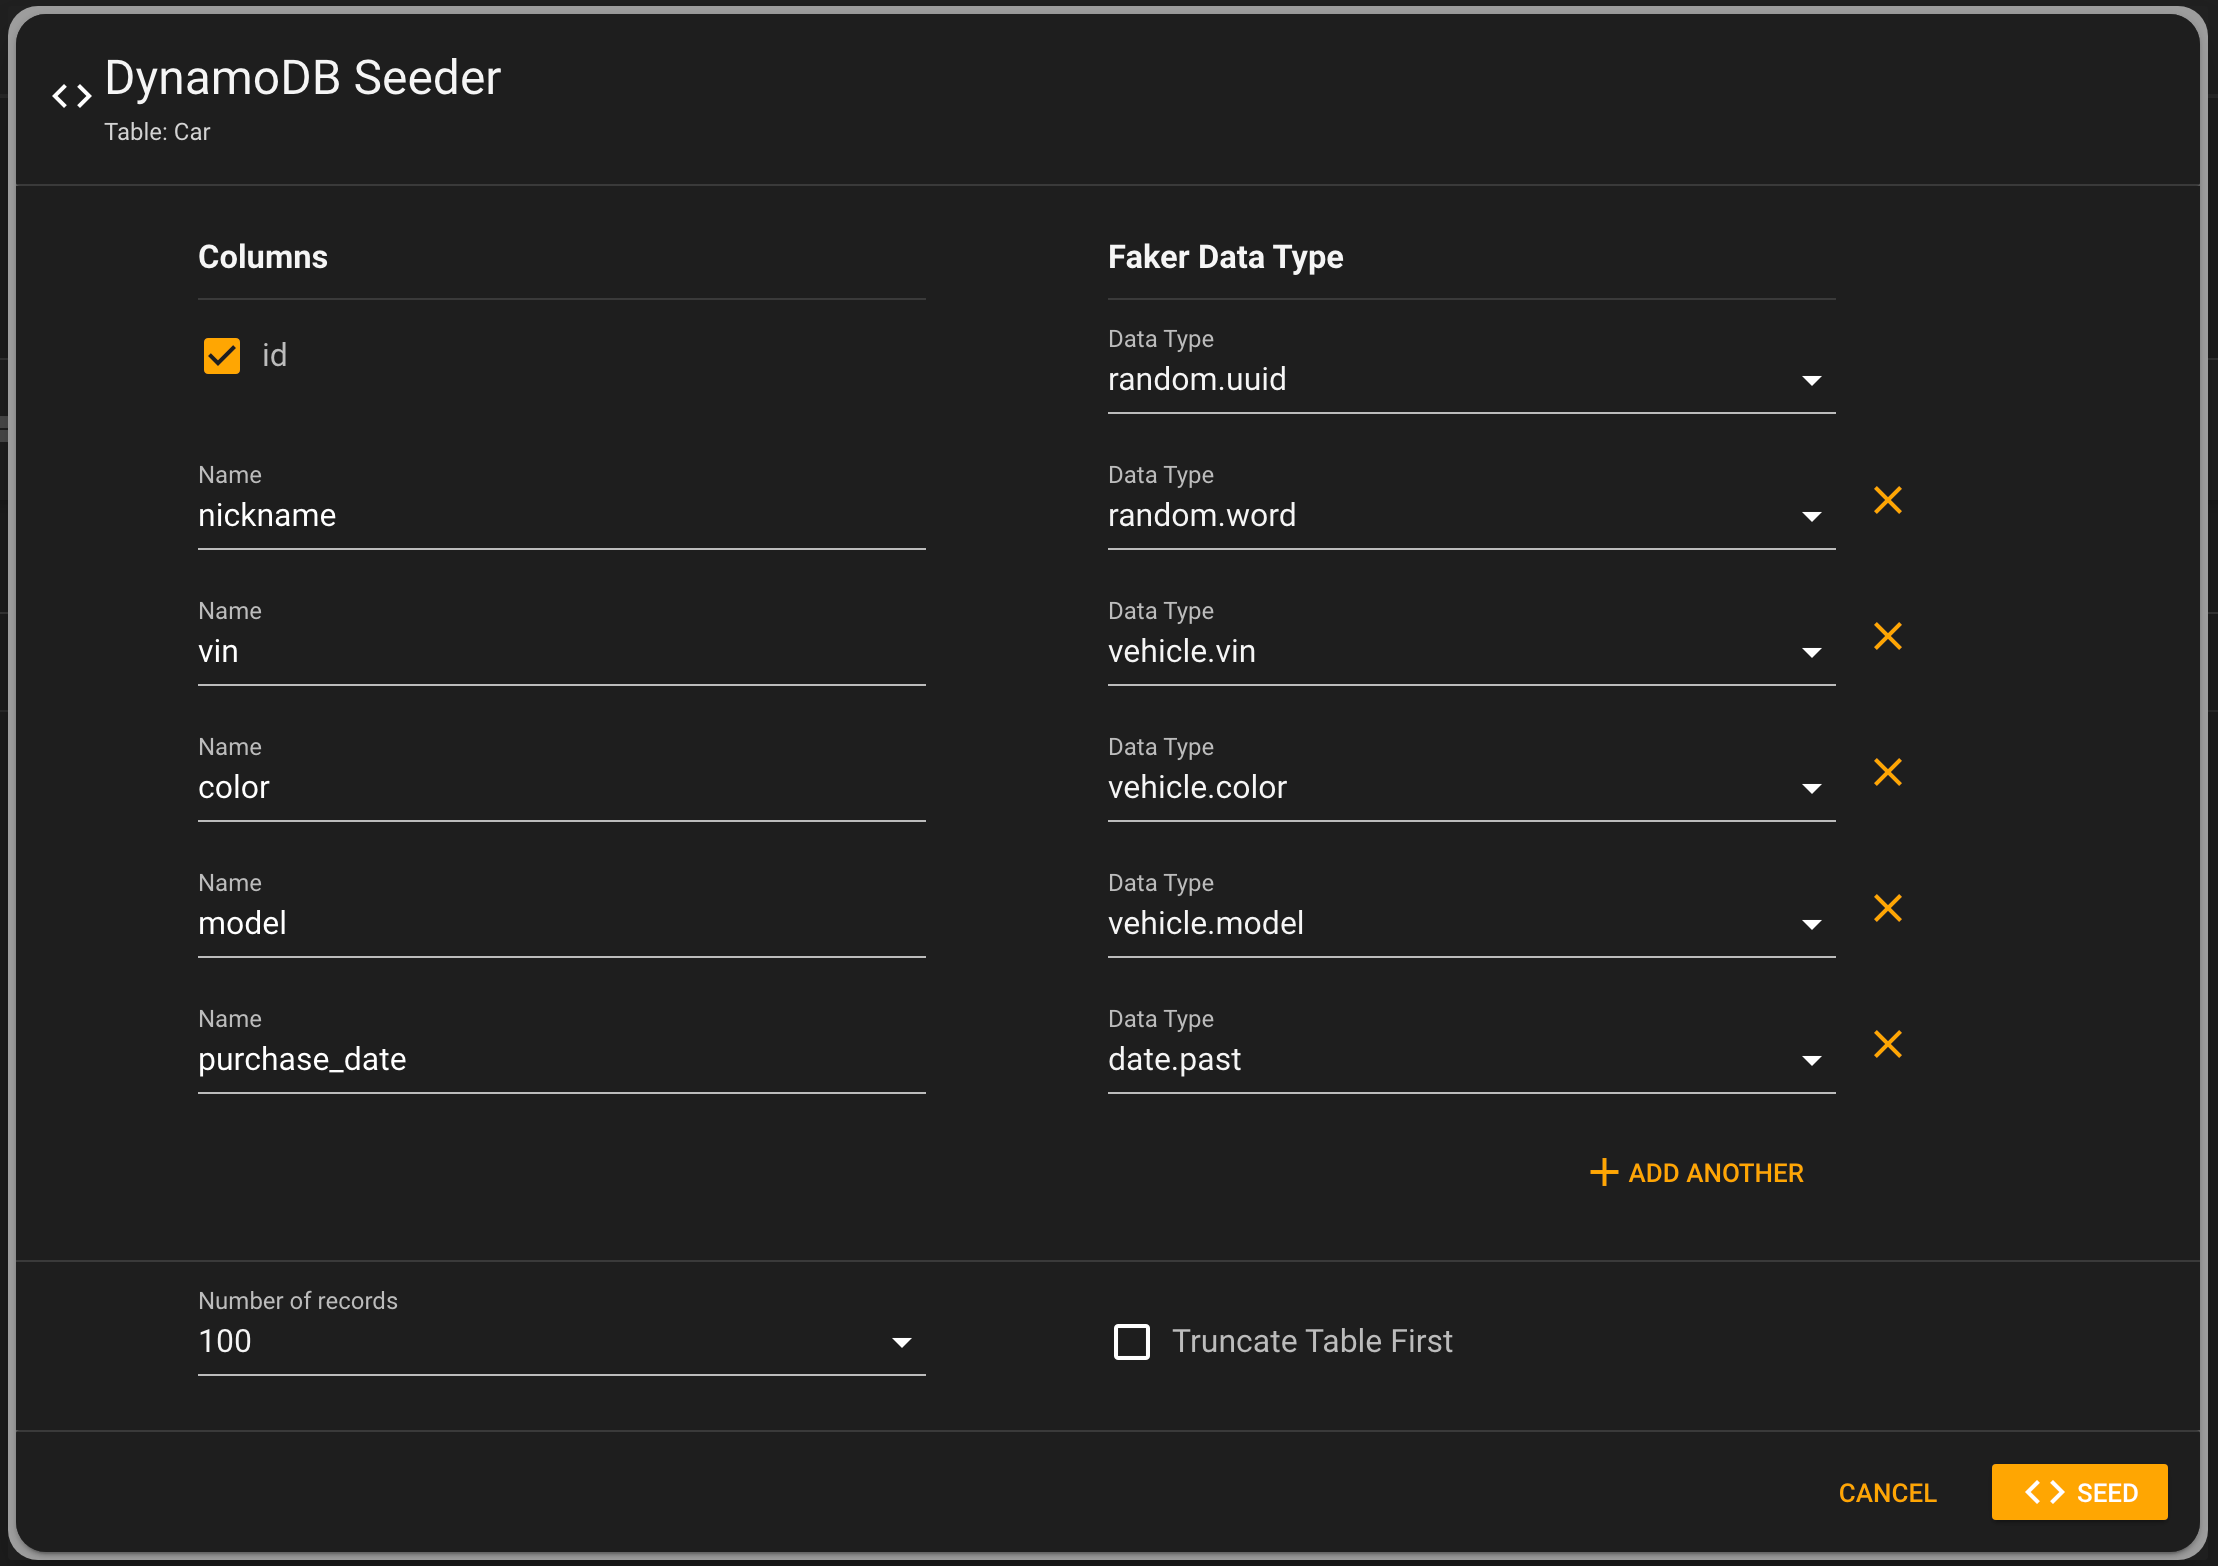
You will then be presented with the DynamoDB Seeder dialog. Here, you can add the columns you want, choose what data they will have, choose how many records you want to create, and if you want to truncate the table first.
Below you can see that we have added a bunch of extra columns for the nickname, vin, color, model, and purchase_date. Under the hood, the tooling is using Faker, so you have almost 100 different options for randomized fields.

We have also chosen to create 100 records.
# View your Data
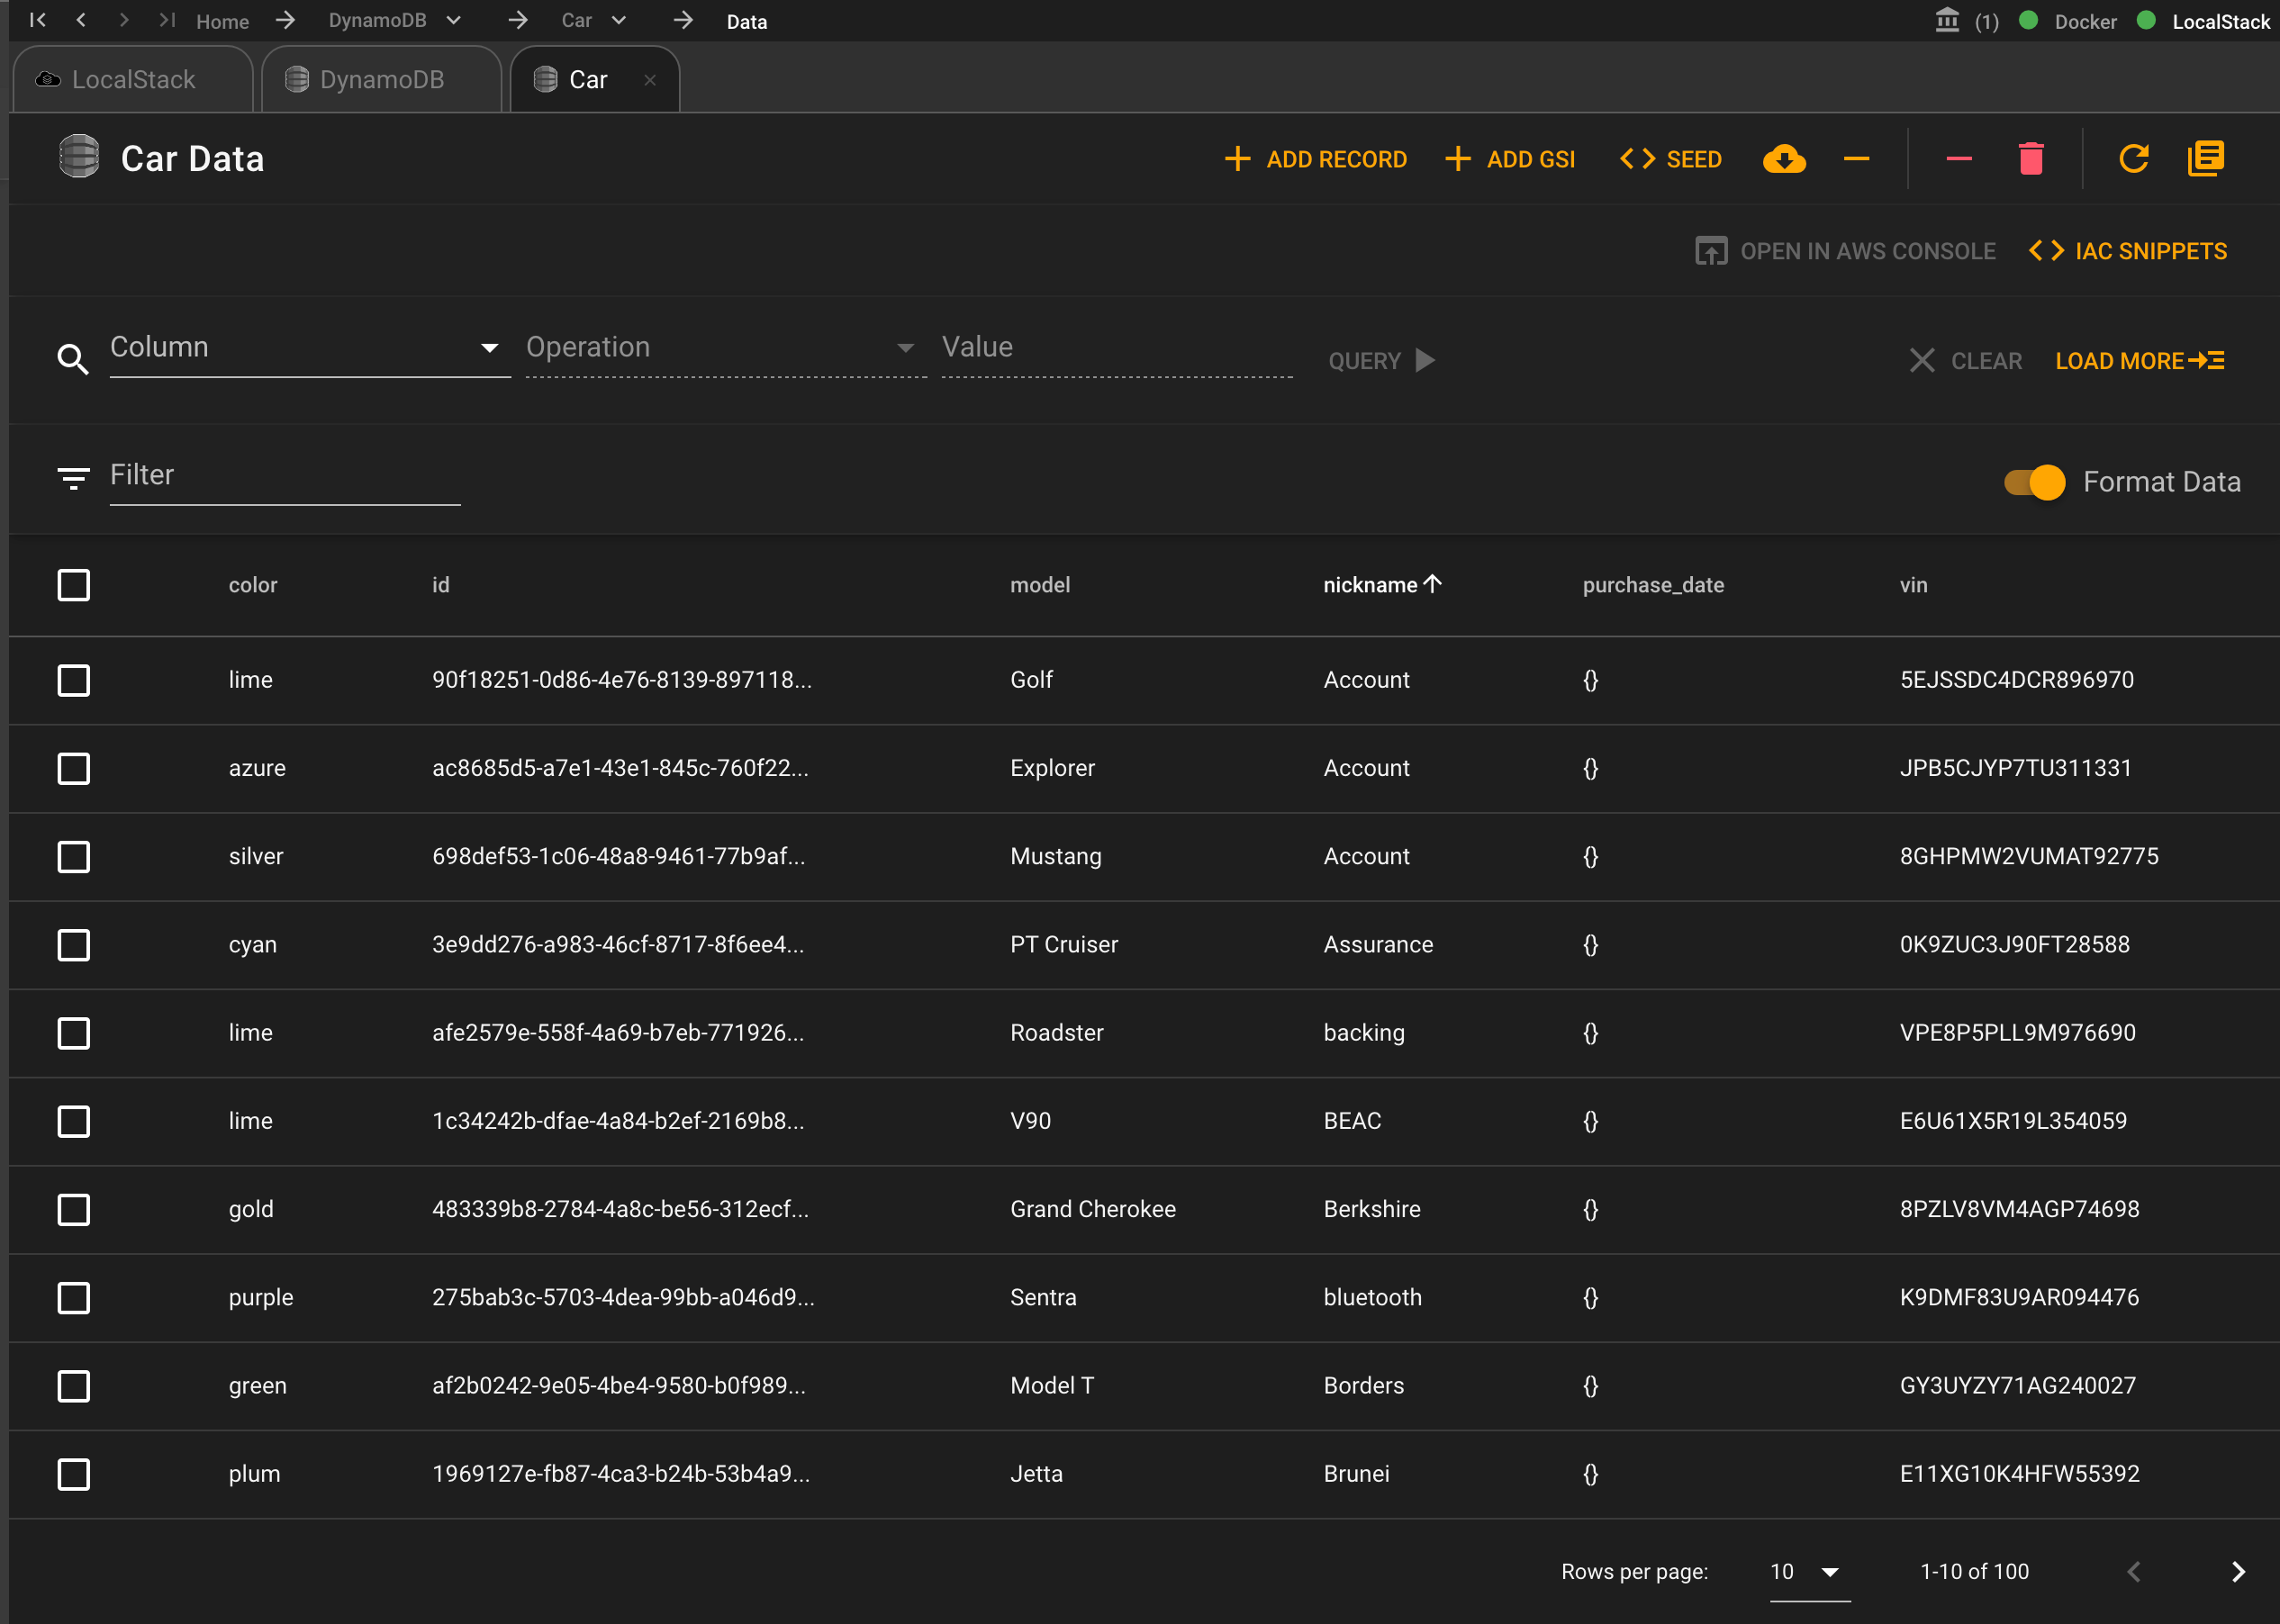
Now, you can see all the data created in your table.

# Conclusion
DynamoDB is a really powerful NoSQL database system. Now with the ability to quickly seed data, you will be able to build and test your systems even faster.
