Serverless Runner
# Serverless Runner
Serverless runner allows you to run your serverless deployment from a GUI. Running it from a desktop app is convenient, fast, secure, and it follows the best practices for managing Serverless.
# Choose Serverless File
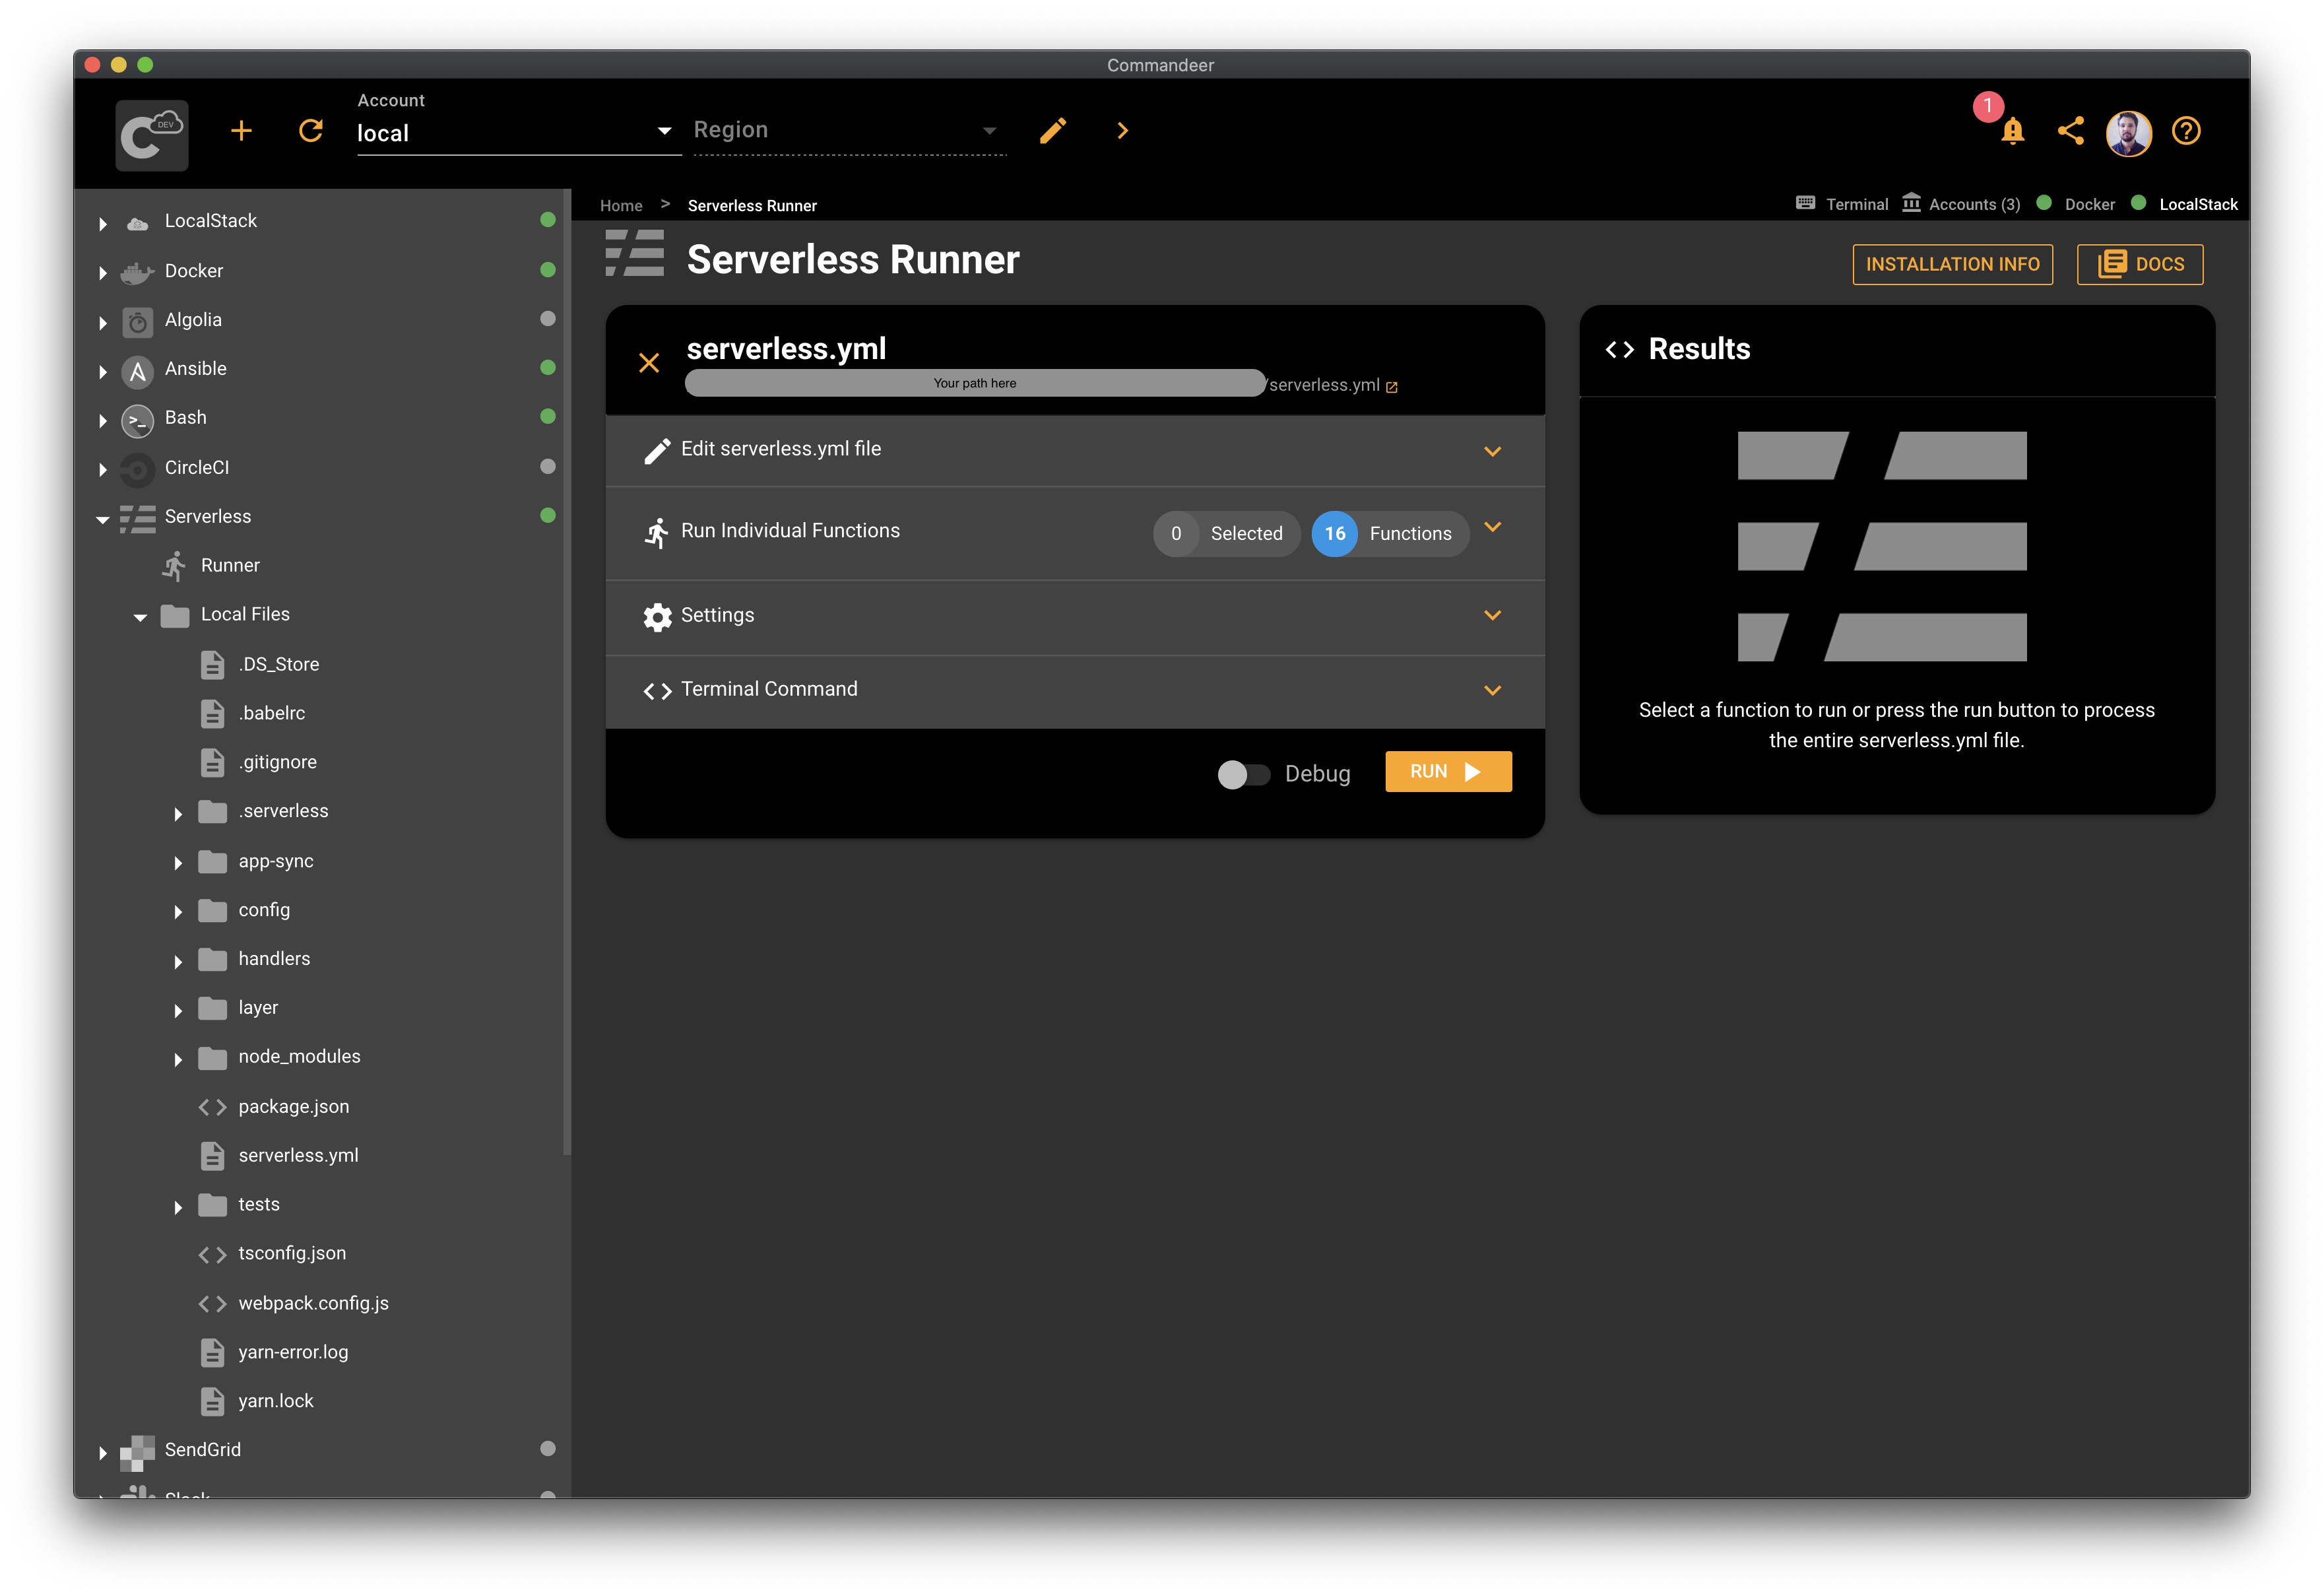
First things first, you need to select your serverless.yml file. Commandeer detects your serverless project from here and you're ready for deployment.
Quick overview, you can see all your files for your project in the side navigation view on the left. At the center, you'll see the runner itself which has 4 different sections allowing you to edit your file, select individual functions to run, adjust your settings, and copy a terminal command for your run. The terminal output will be shown on the right side.
# Running Serverless
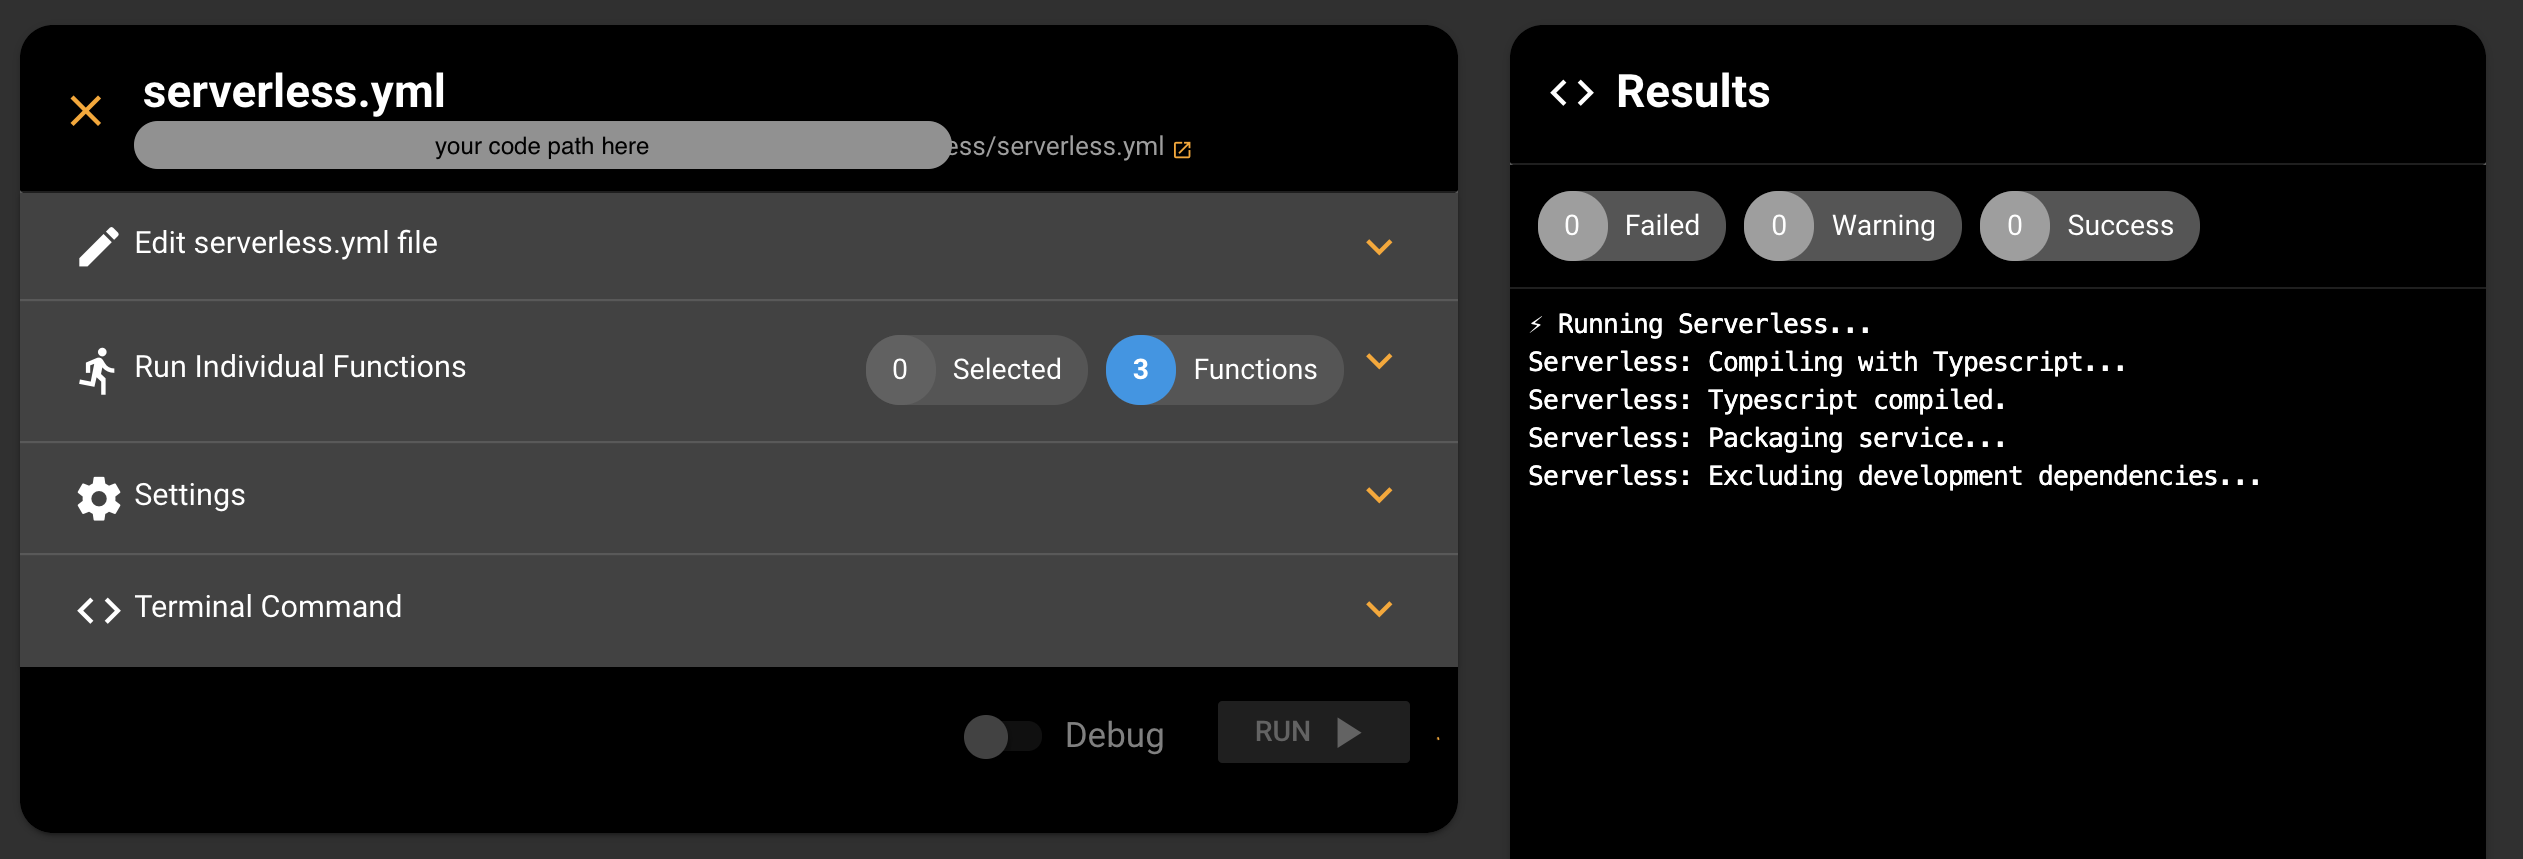
Clicking on the Run button starts your Serverless deployment. You can see the terminal output of your run on the right. Commandeer also parses the output to display the status of your run. Once the run is done, the UI is back to its original state so you can run your deployment again for different accounts and with some different settings as you wish.
# Editing Files
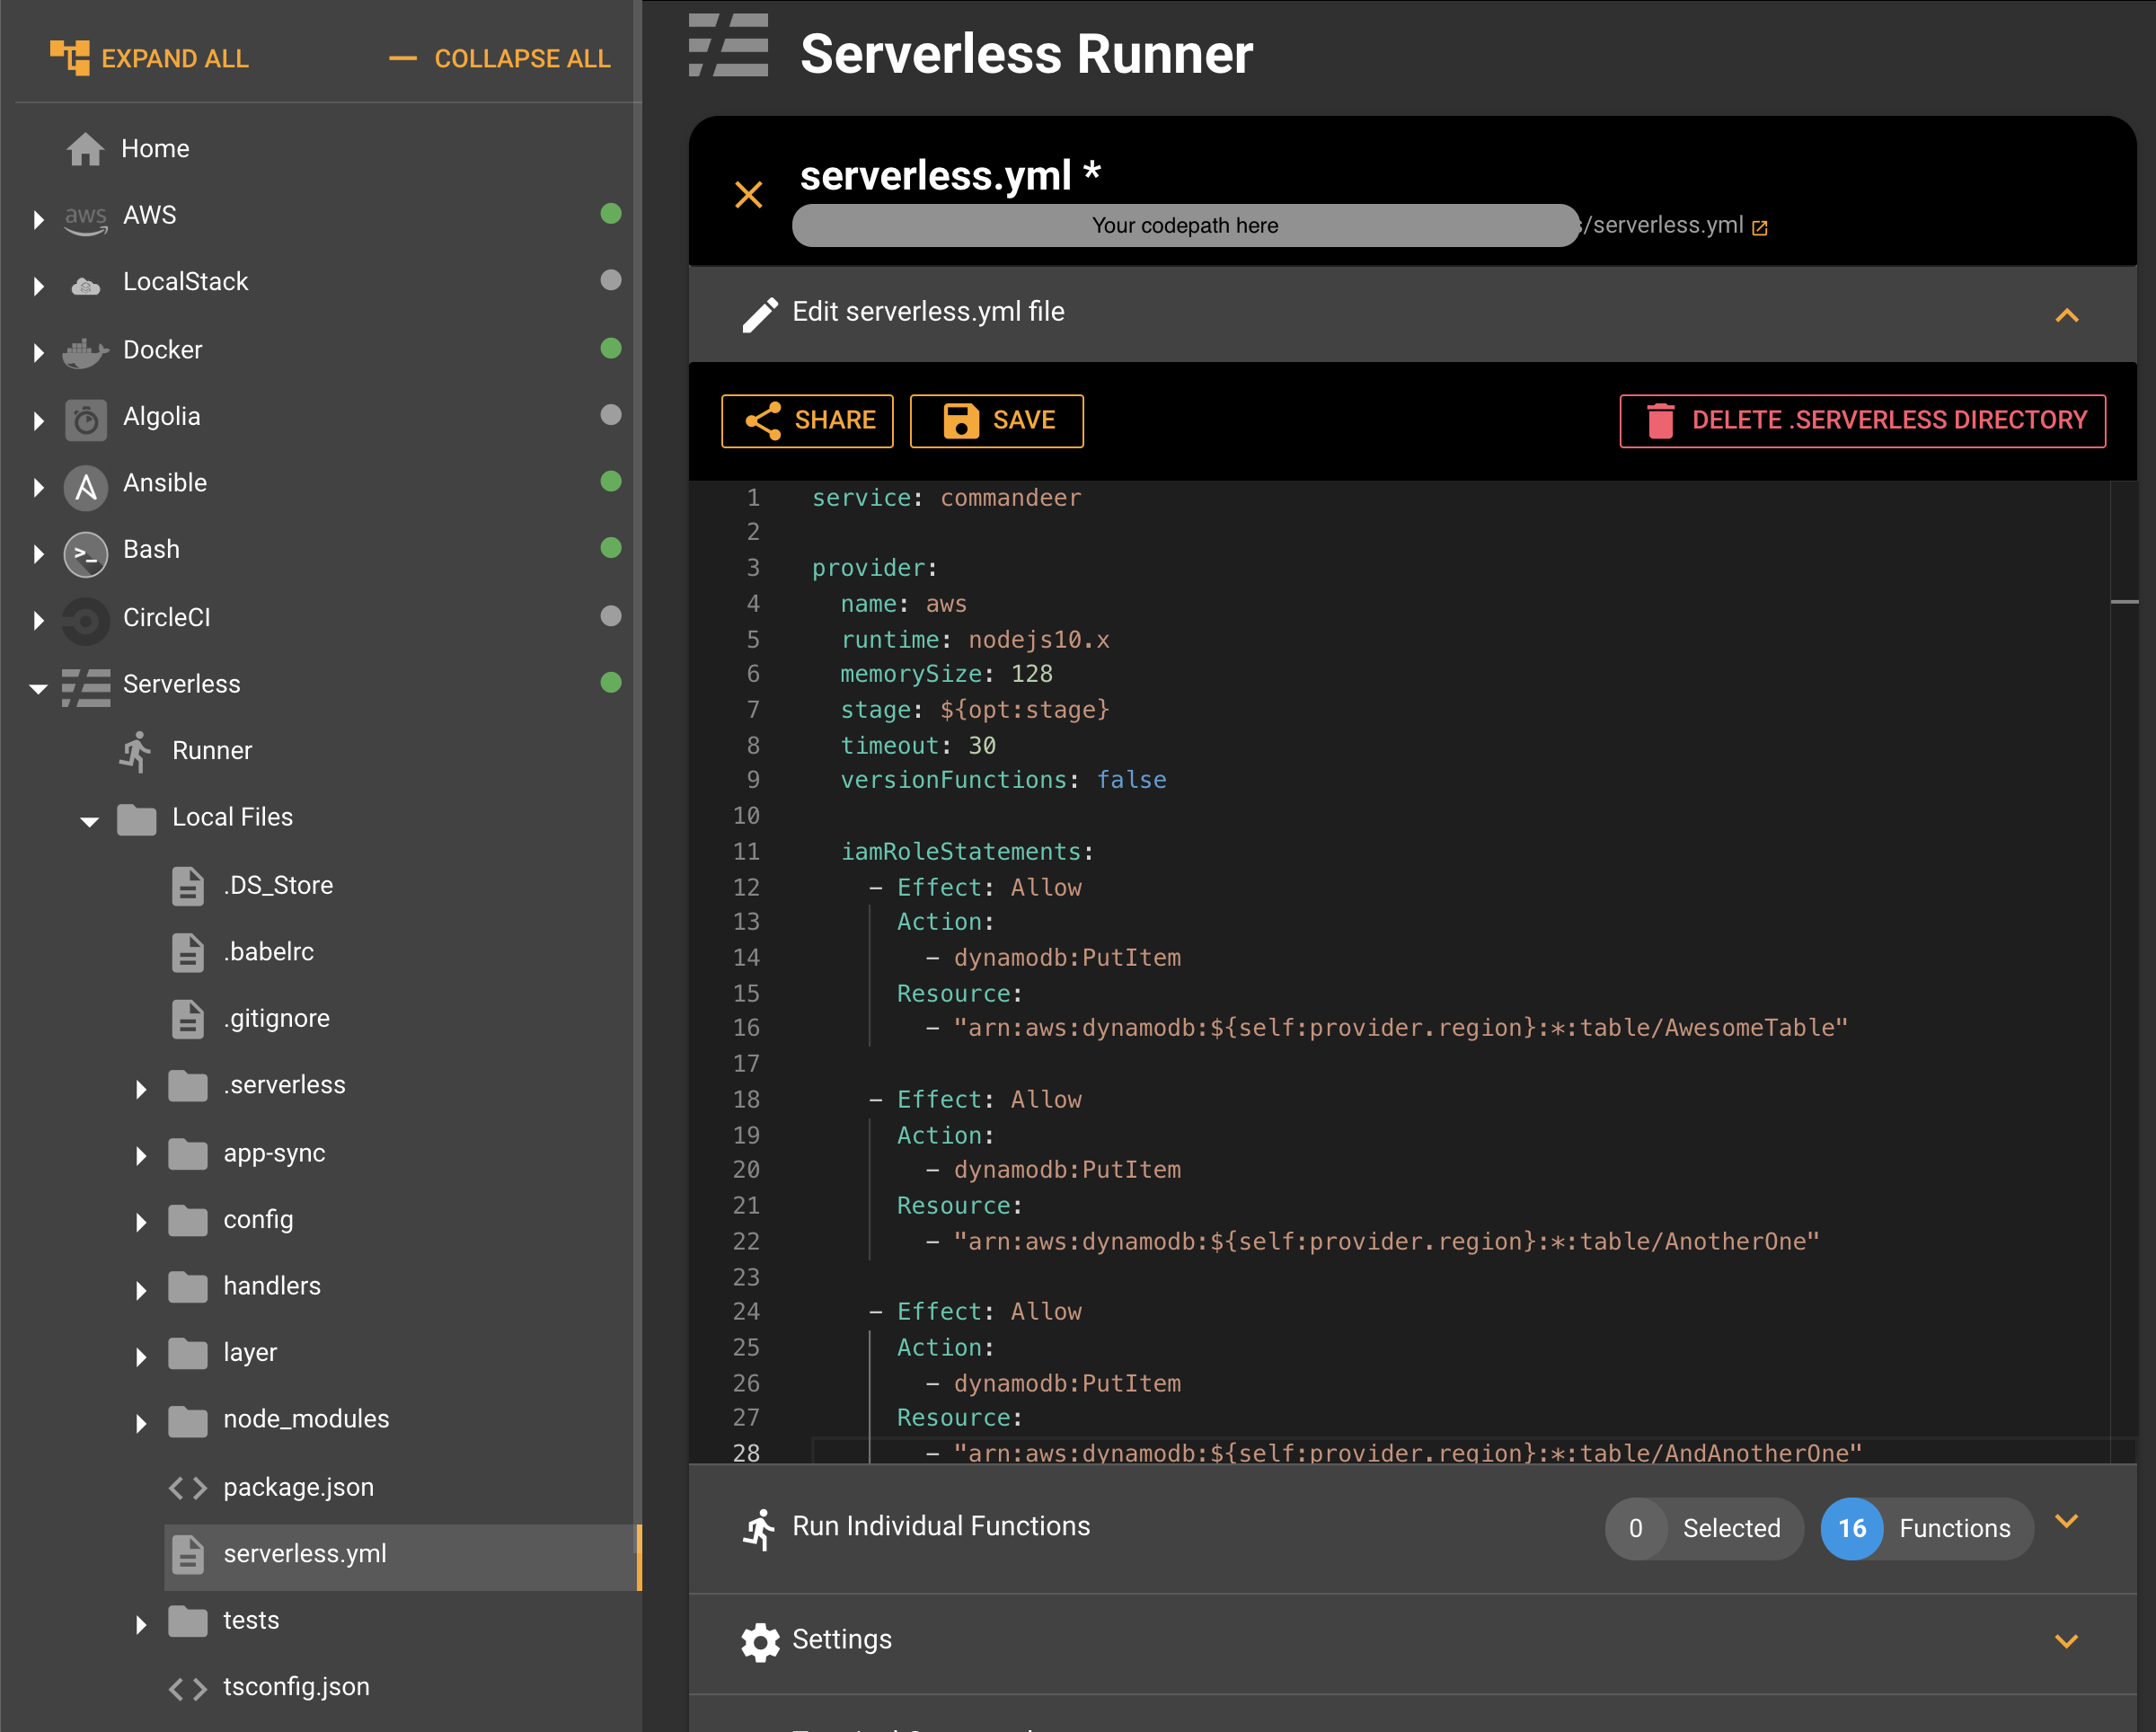
All your serverless project files and folders can be accessed from the side navigation under the Serverless menu. Clicking on a file in the side navigation opens the file in the code editor. You can edit the content in the editor, and save it at any time.
# Selecting Functions To Run
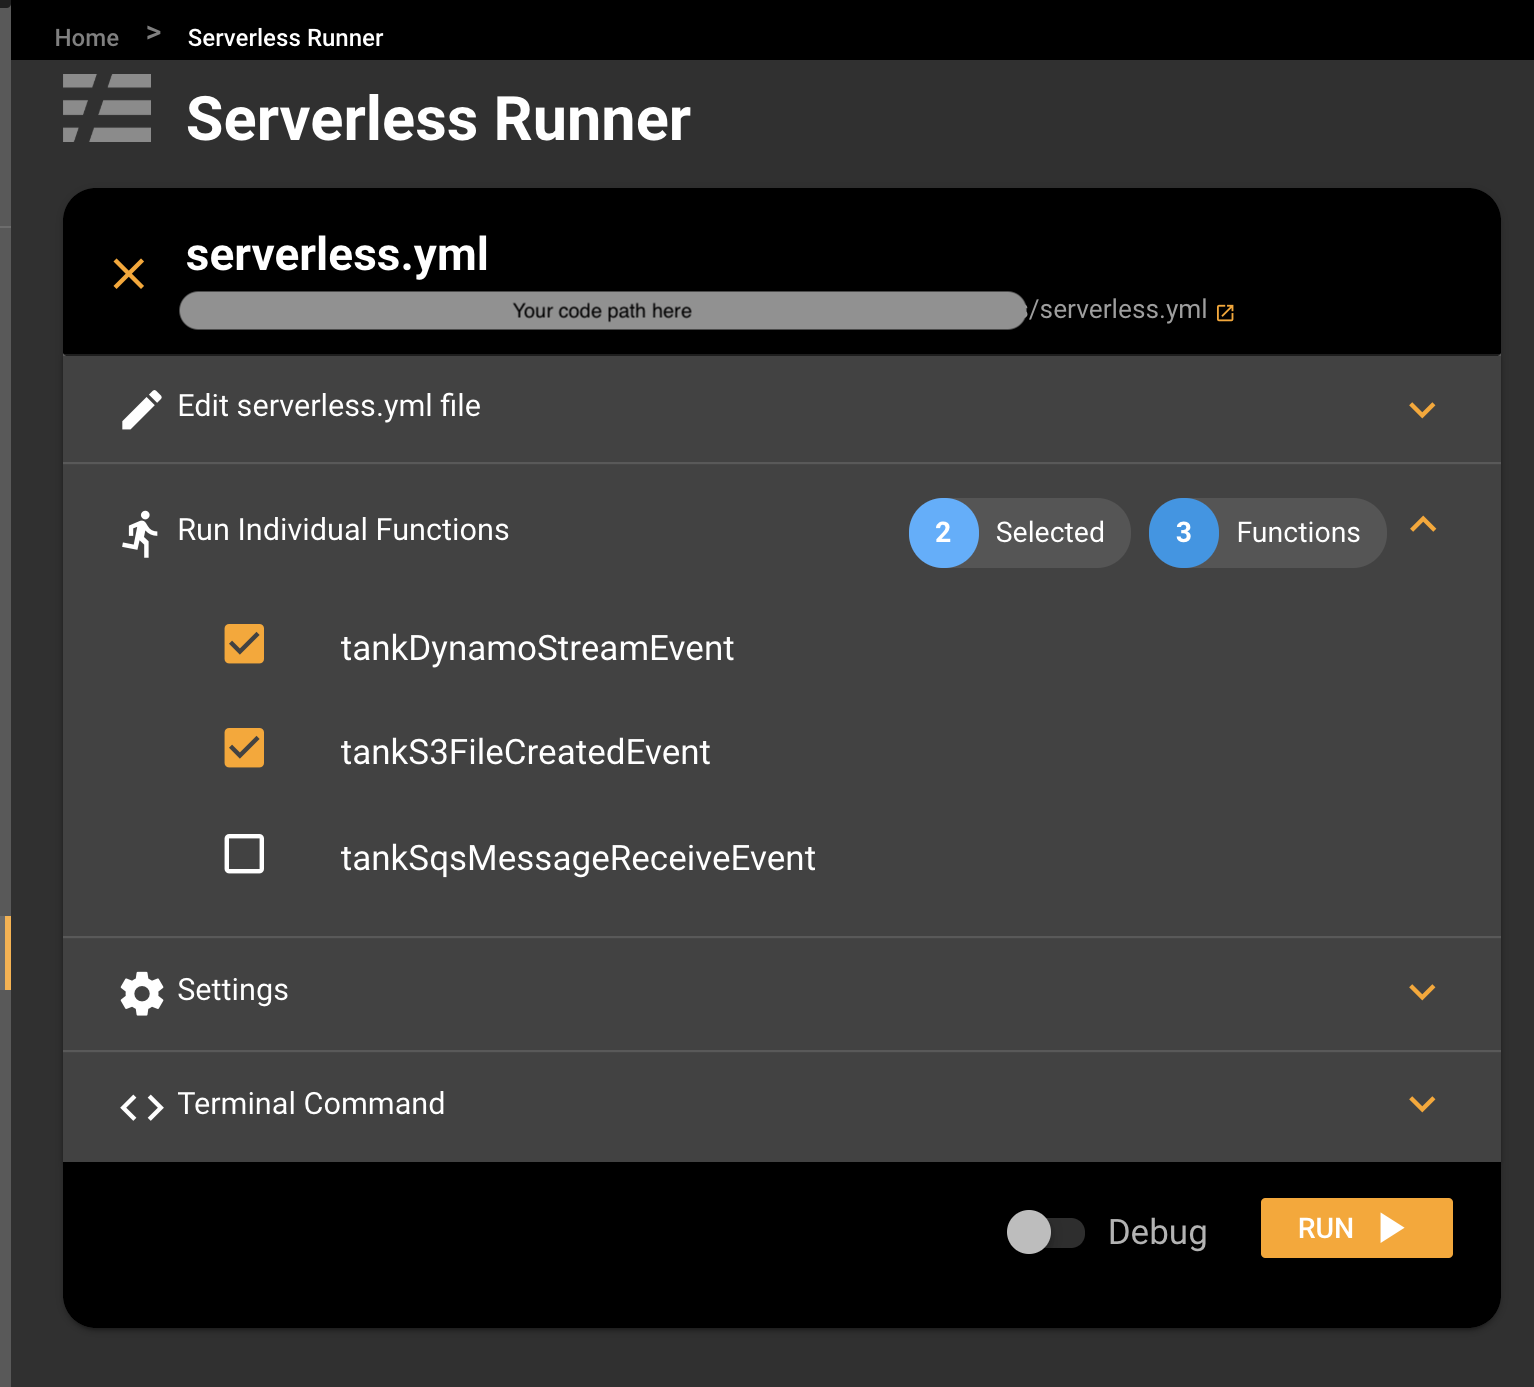
Commandeer deploys all your serverless functions by default. If you would like to select some specific functions to deploy, you can expand the Run Individual Functions panel and select the functions you would like to run. You can see the total number of functions as well as the number of selected functions in the header of the panel. Once you have your functions selected, hitting the Run button will run deploy the selected functions only.
# Clearing Your .serverless Directory
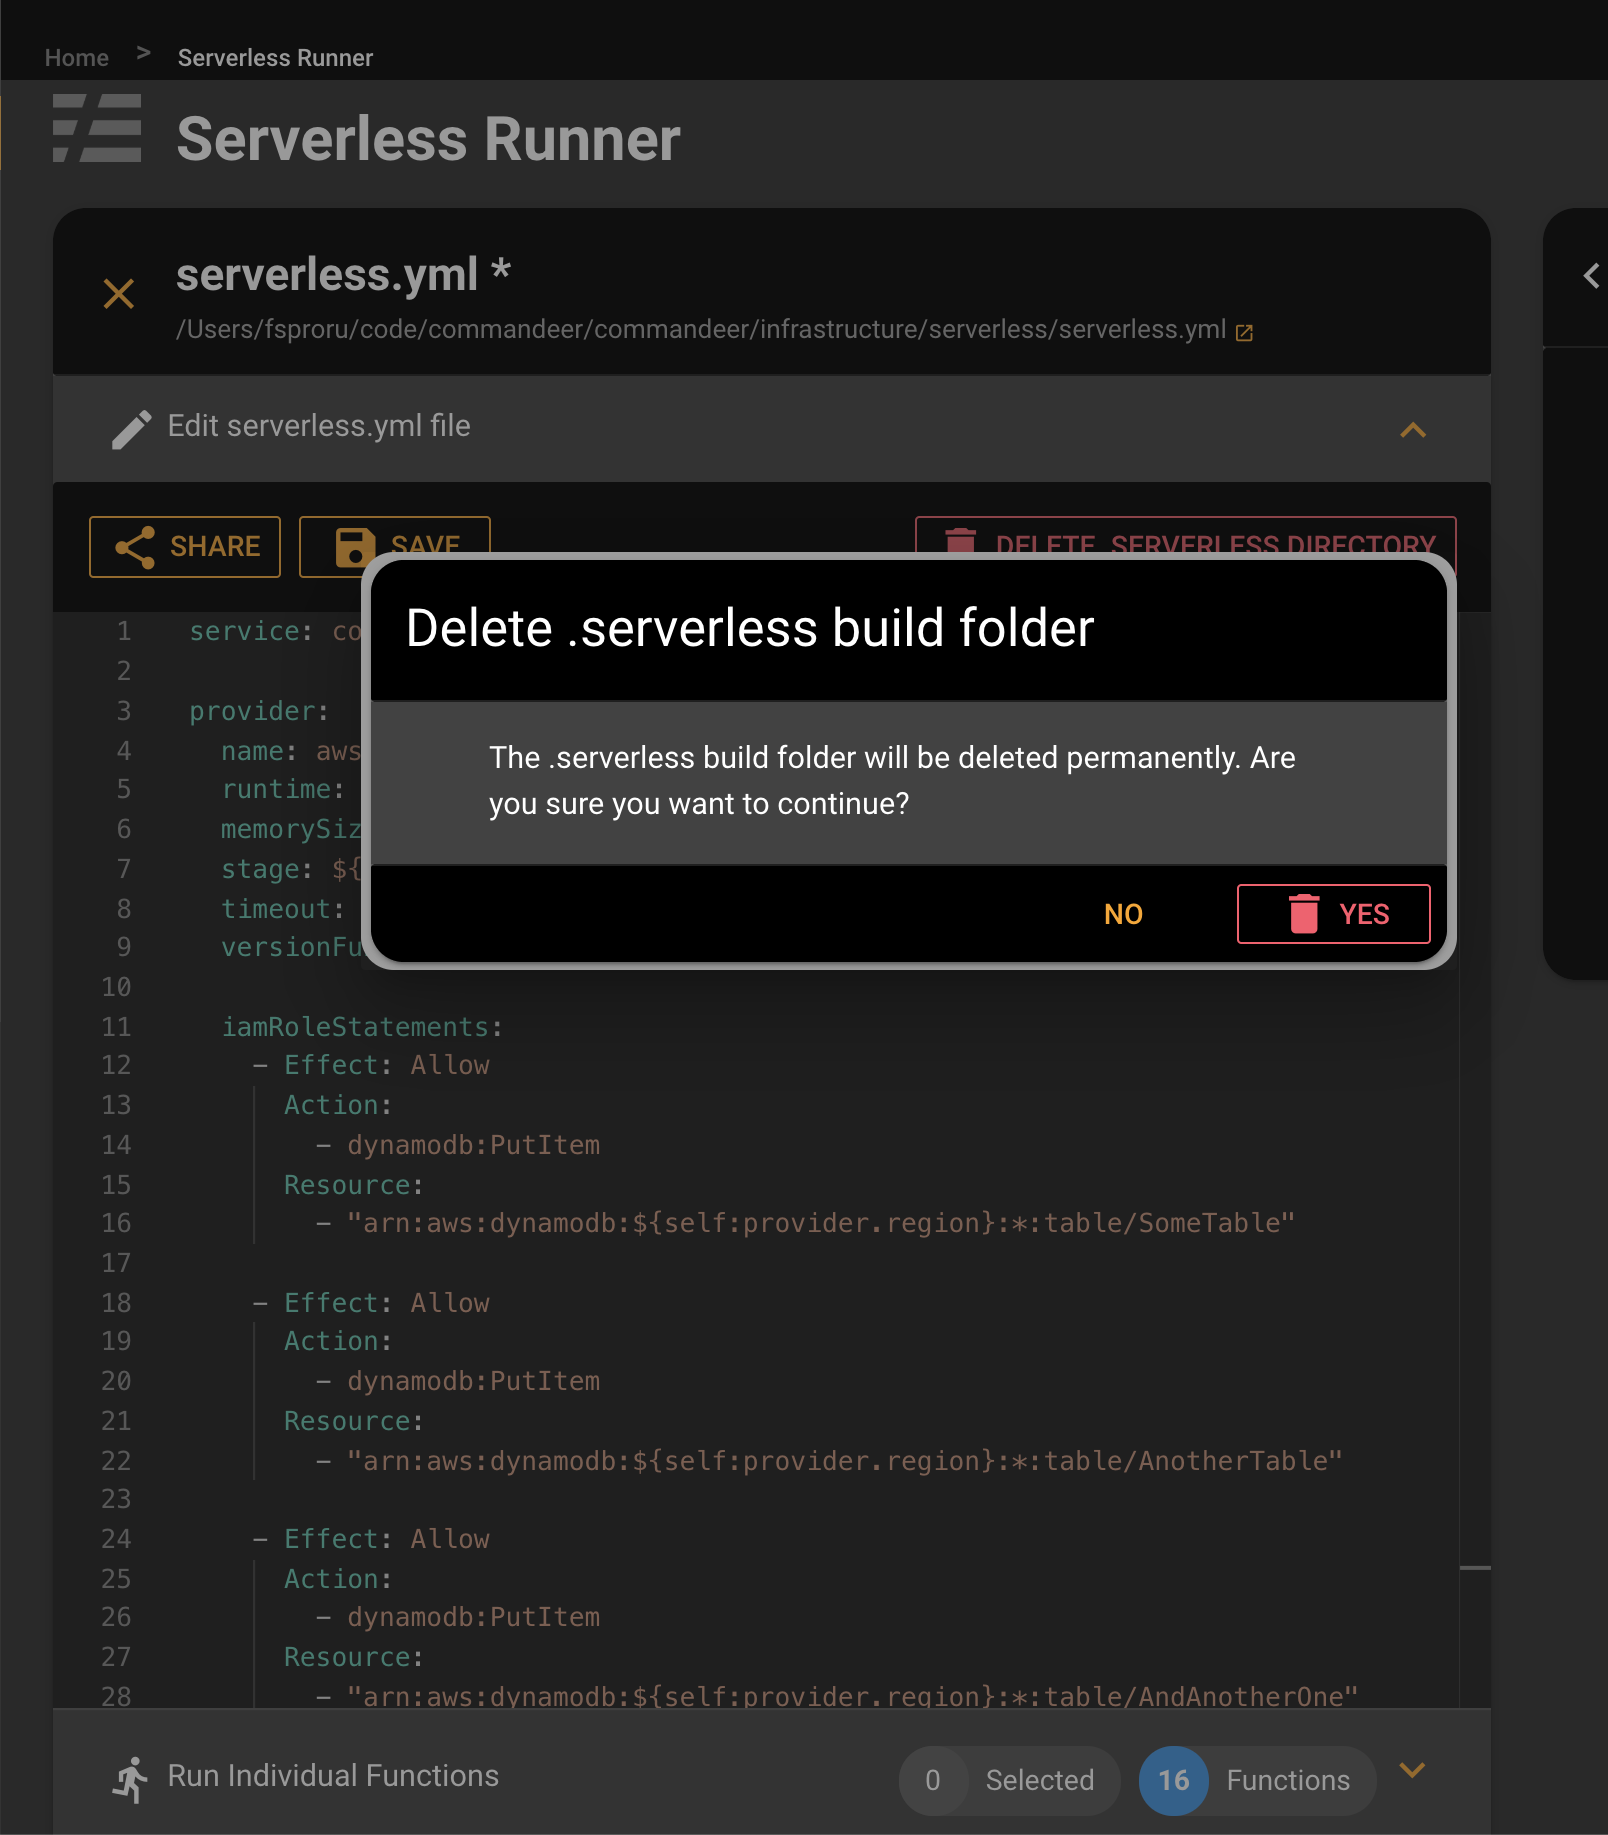
Sometimes, the internal state of your Serverless deploy gets polluted. In such cases, clearing your .serverless directory will help you to start fresh. In this case, click the button to clear your serverless directory from the code expansion panel. Commandeer will confirm the deletion first and then it'll delete the directory after if you say yes.
# Sharing Code
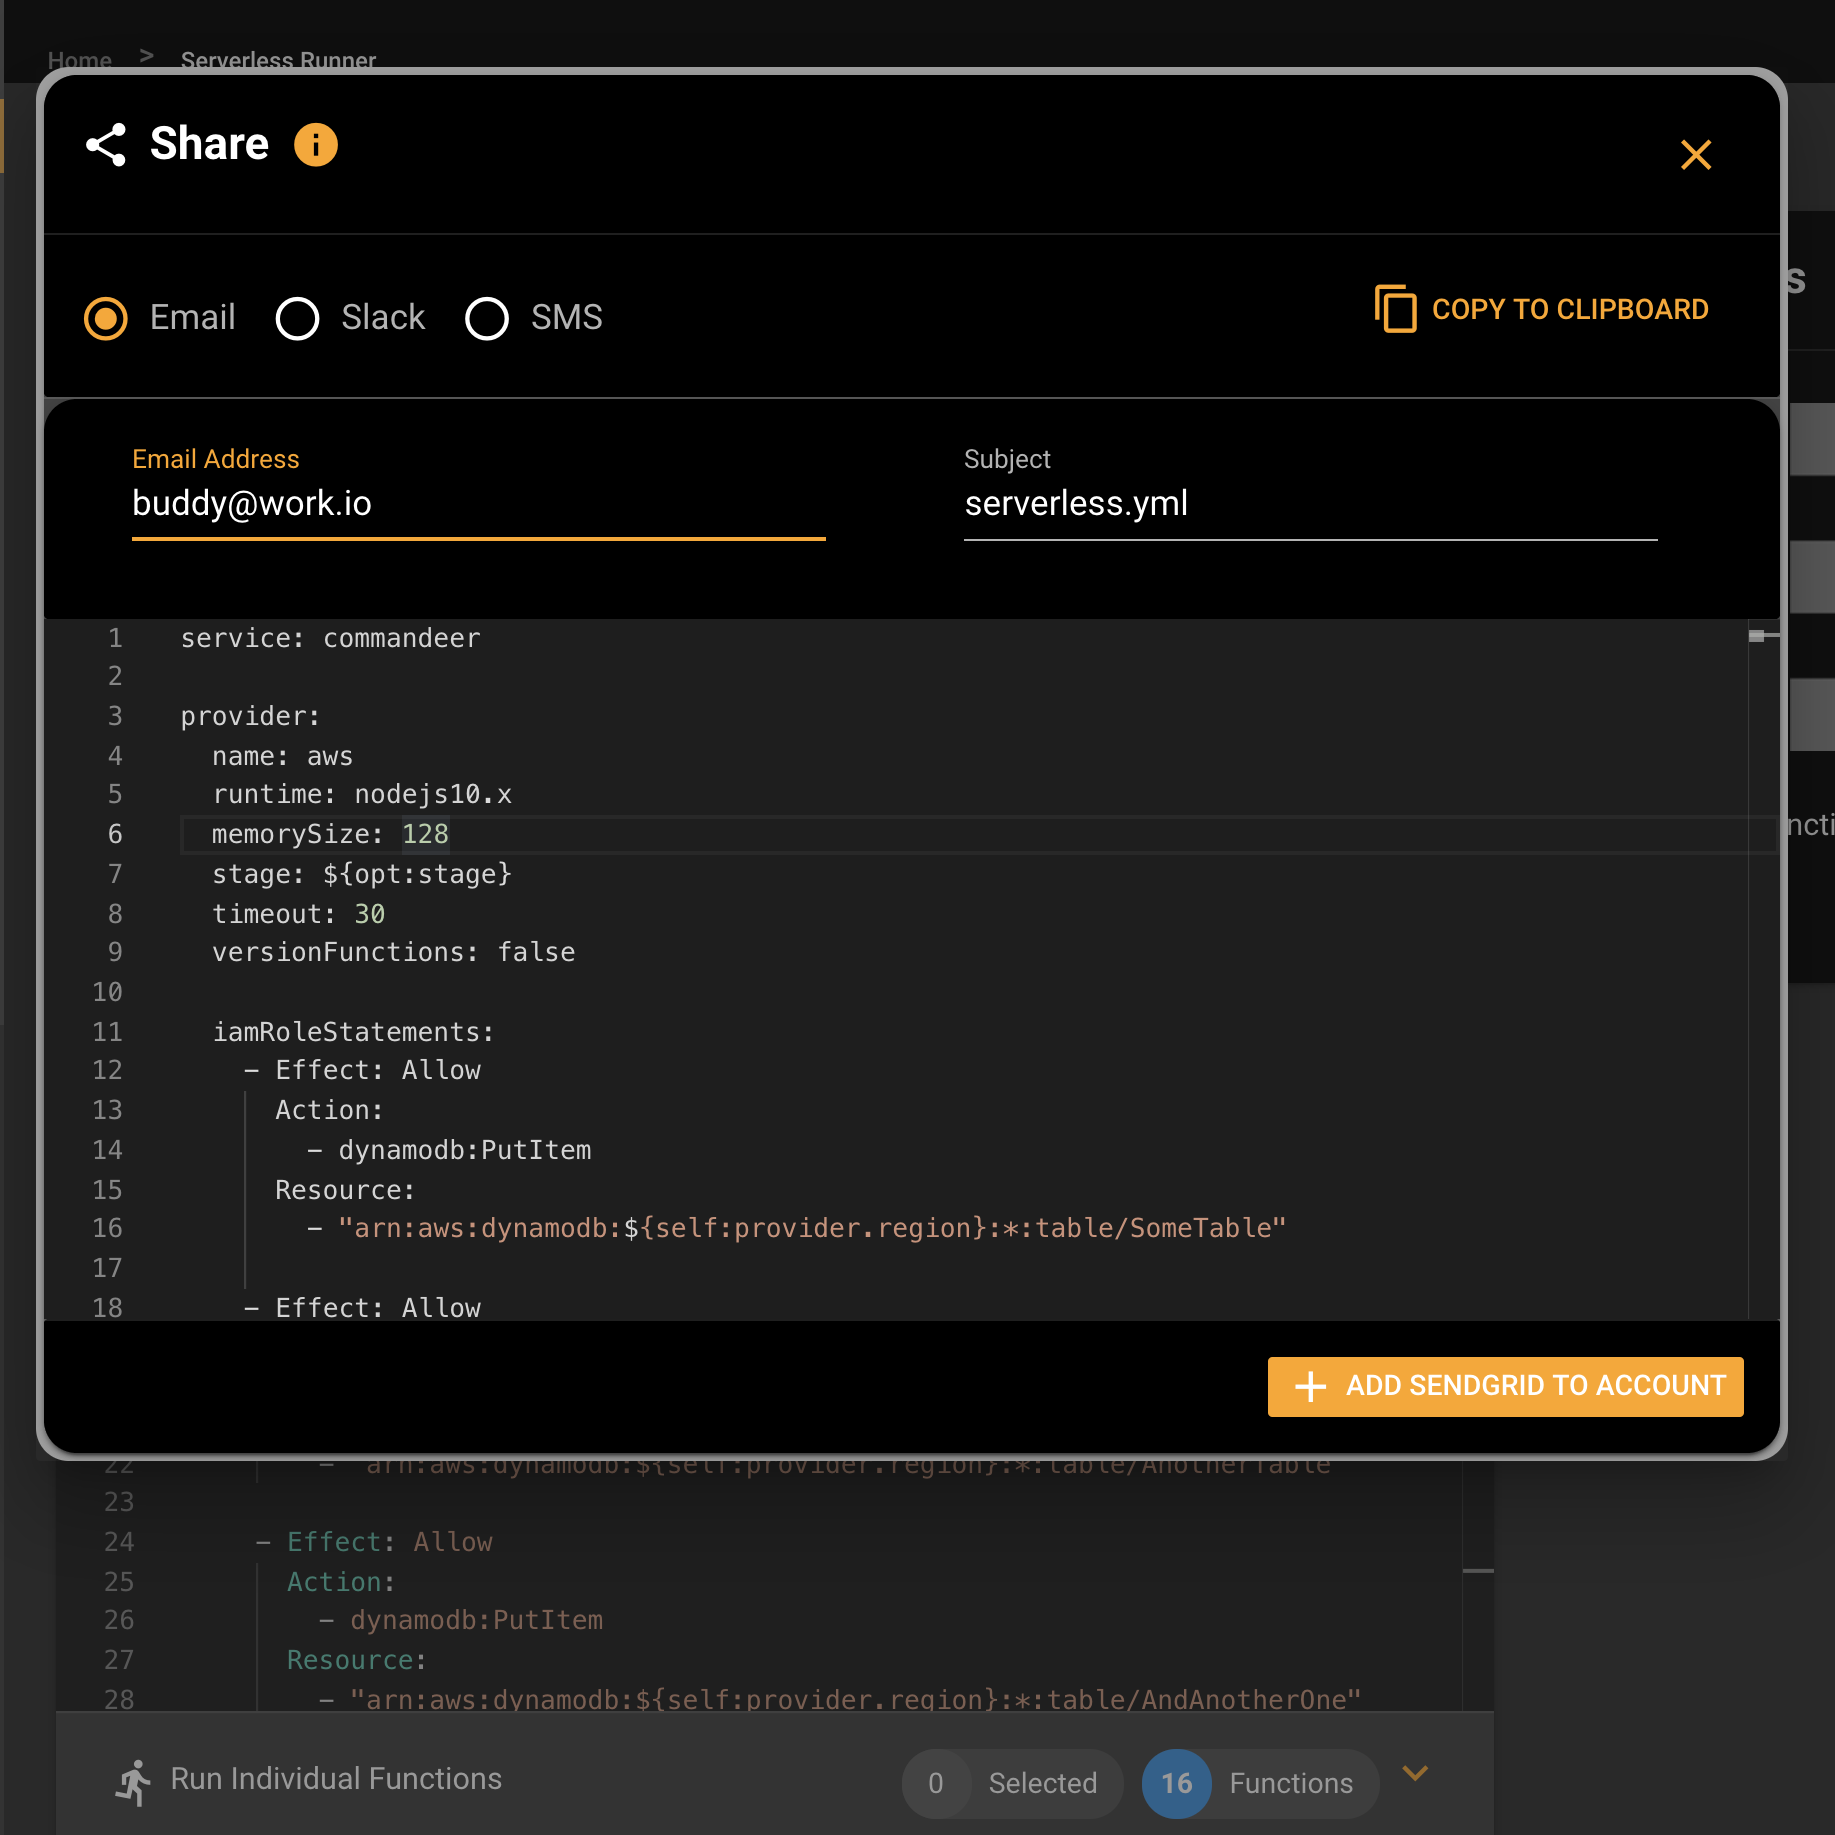
Another cool thing the code panel allows you to do is sharing your code with your colleagues. Clicking on the Share button allows you to send your Serverless file to your colleague over email, Slack, or SMS. You can also copy it to clipboard for sharing it offline.
# Adjusting Settings
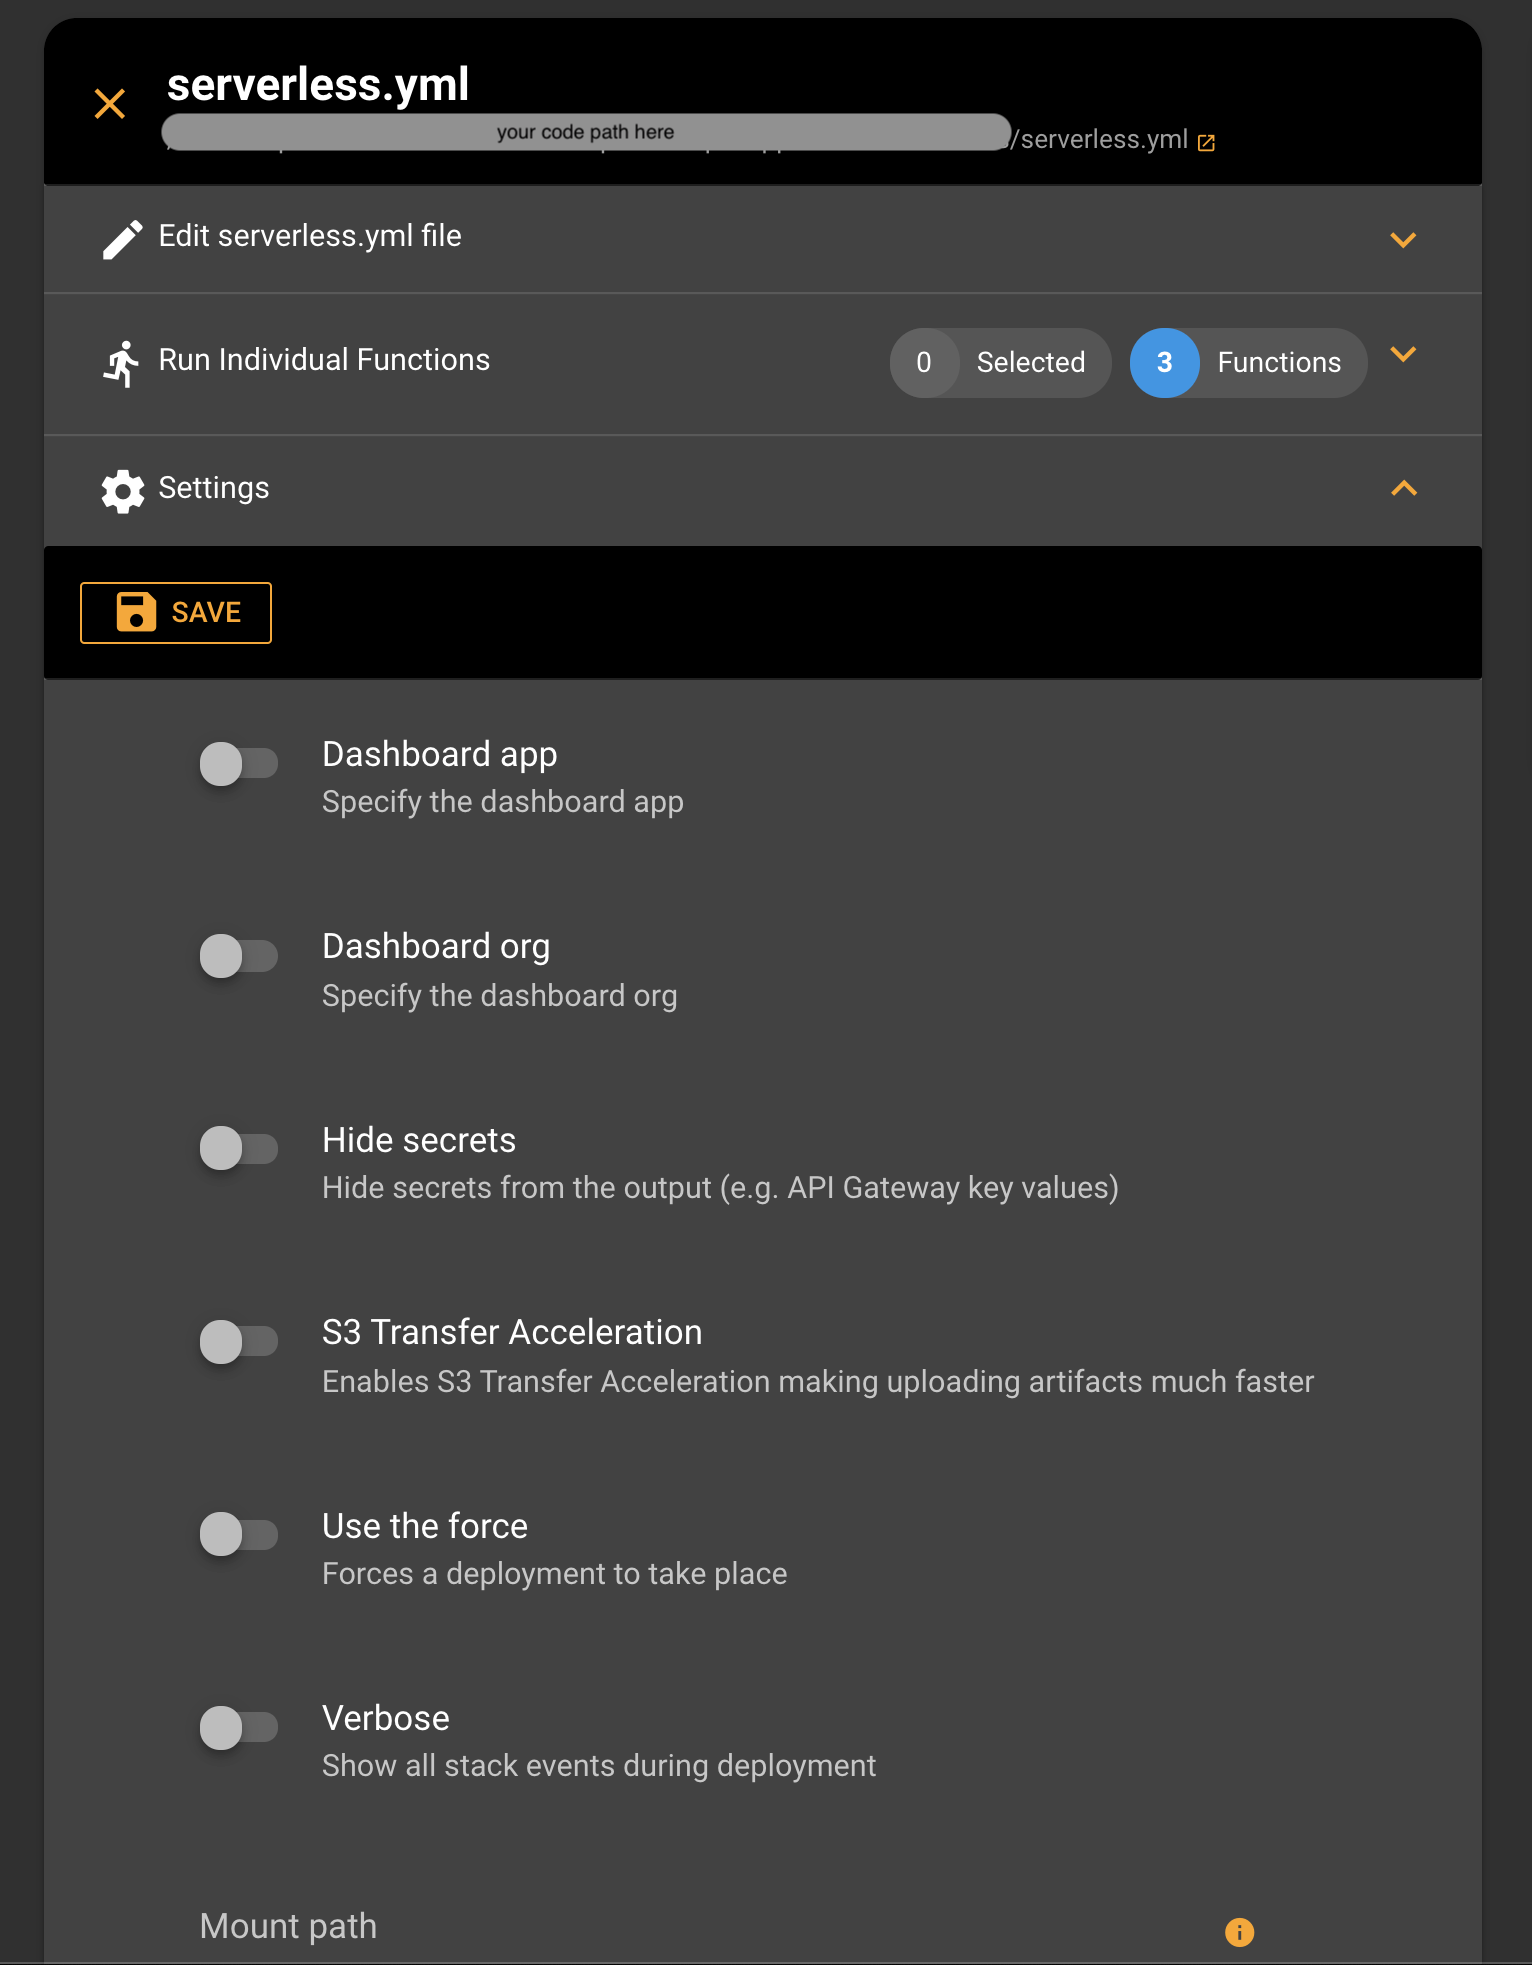
Commandeer comes with some most common defaults. In most cases, all you'll need to do is to select your serverless.yml file. When you need to customize Serverless further, you can do so from Serverless settings. Settings can be accessed by expanding the Settings panel or from your account edit screen by expanding the Serverless section. Every setting has a tooltip next to it describing what it does. Once you update your settings just hit the Save button to apply your settings. All extra environment variables added to settings will also be passed to Serverless during the run.
# Copy Command
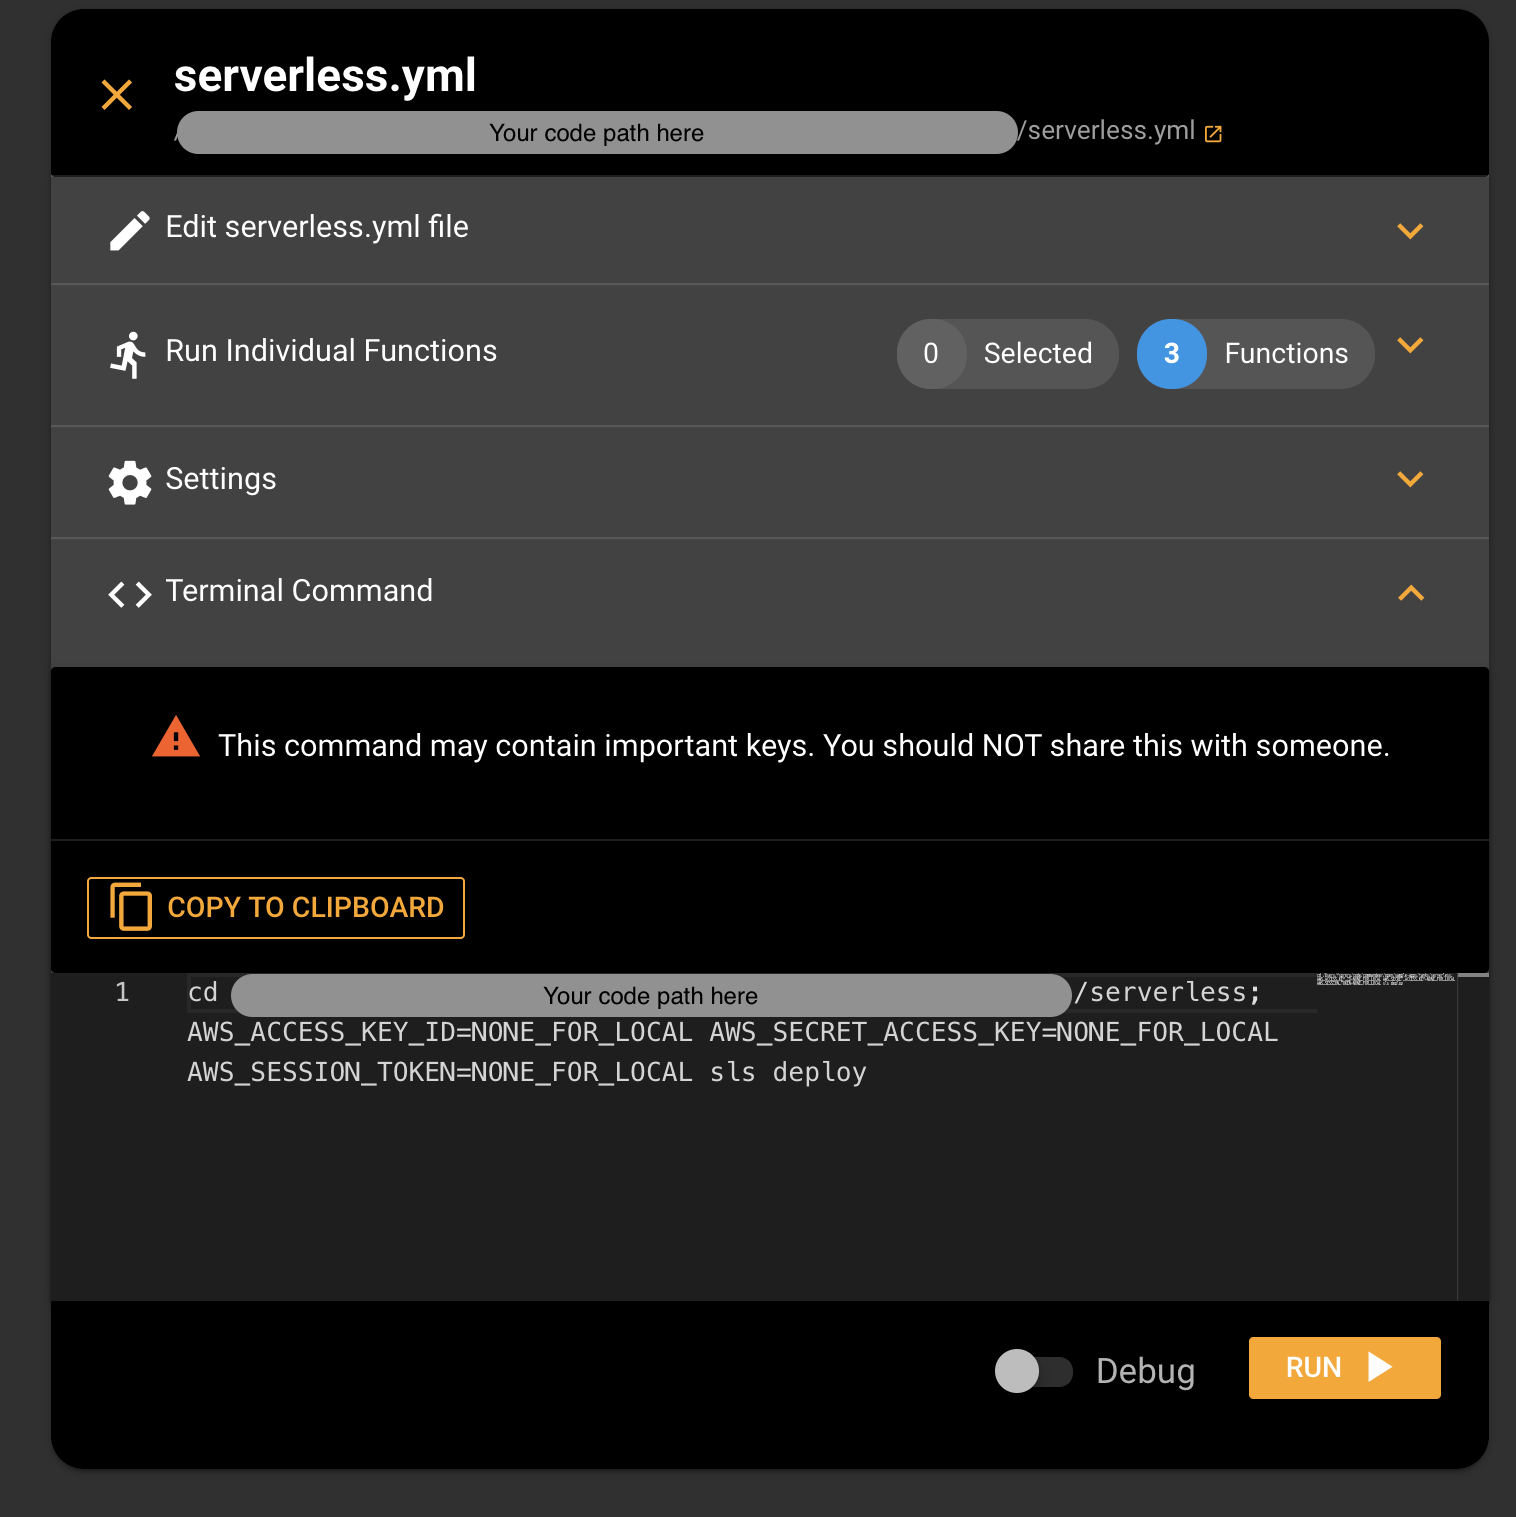
Commandeer Serverless runner integrated seamlessly with your terminal. Once you expand the Terminal Command panel, you can copy the terminal command by clicking the Copy to Clipboard button. Executing the command in your terminal will run your Serverless deployment.
# Conclusion
Serverless UI helps you to be more productive while developing your Serverless infrastructure. All you need to do is to choose your serverless file and you're ready to deploy your serverless infrastructure. Commandeer also allows you to customize your run to fit your custom needs. You can copy the terminal command for the run. Your serverless code can be shared with your colleagues over email, Slack, or SMS.
So go ahead, hit the run button, and deploy some awesome serverless infrastructure! 🙌
