Deploying Serverless To LocalStack
# Deploying Serverless To LocalStack
# Overview
Serverless Framework is an amazing tool for managing your Serverless infrastructure as code. It works with multiple cloud providers, has a rich set of plugins, and a strong developer community behind it. LocalStack allows you to run your AWS services locally. In this article, we'll go over deploying your Serverless infrastructure into LocalStack so you can test, develop, and debug it locally with ease.
Why not just deploy to the cloud and test it there? You should definitely do it once your code is ready to be tested in a real cloud environment. That being said, developing locally allows you to avoid disturbing your colleagues if multiple people are using the same development environment on AWS. You can take care of all the issues locally and roll out some working code as a final check against the real cloud environment. In addition to it, deploying to your local environment is a lot faster than deploying to the cloud since everything happens on your local machine as opposed to data getting transferred over the network.
# Start LocalStack
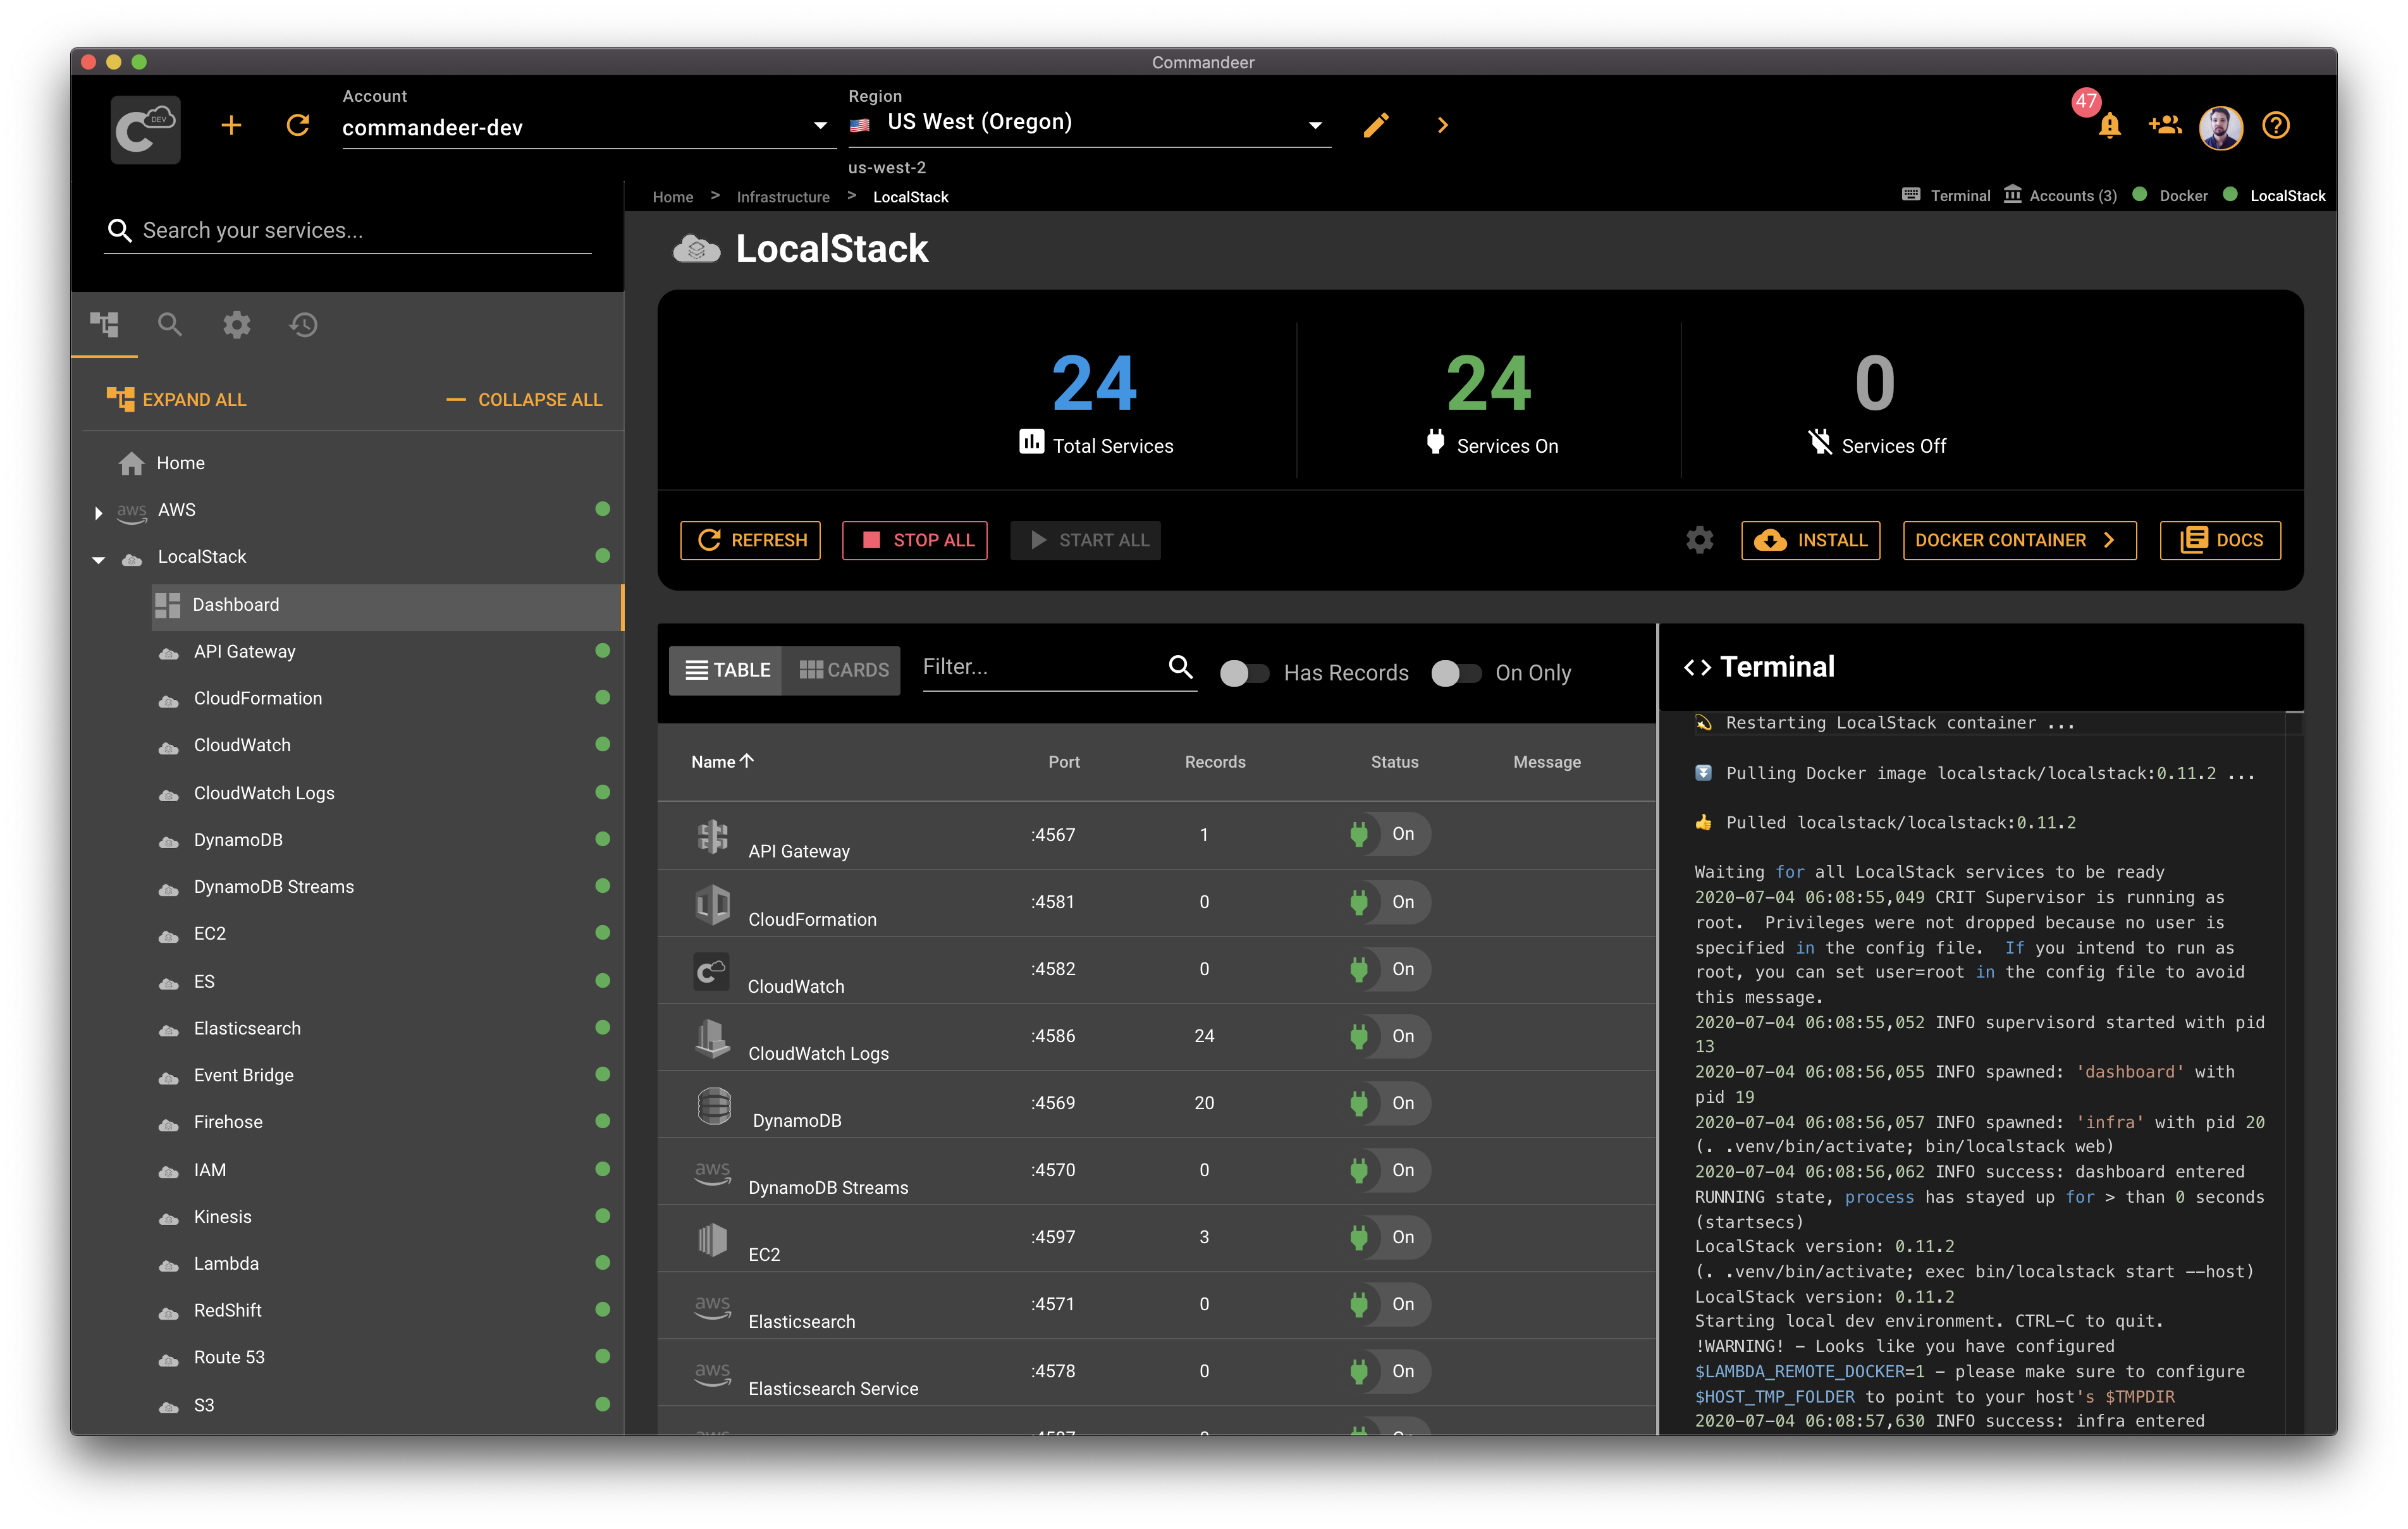
Starting LocalStack is very easy. Open Commandeer app, choose LocalStack in the sidebar and click on Start All. Once all services are started, you're ready to go.
# Serverless Code Walkthrough
Let's go over the project code we'll be deploying shortly. You can clone or download the full project from our open source repo on Github. It's located in the folder sample-apps/serverless-localstack. Here are the main components:
{
  "dependencies": {
    "aws-sdk": "2.556.0"
  },
  "devDependencies": {
    "@types/aws-lambda": "8.10.24",
    "serverless-plugin-typescript": "1.1.7",
    "serverless-localstack": "0.4.21",
    "typescript": "3.6.4"
  }
}
package.json - contains project packages.
Any npm package has a package.json file containing the package configuration. We include aws-sdk npm as our dependency. For devDependencies we add the typings for aws-lambda since we're using Typescript.
The next stop is serverless plugins. We use two plugins for this project. One is serverless-plugin-typescript which is our go-to plugin for adding Typescript support to any Serverless project. The second plugin is serverless-localstack which as you might've guessed allows us to run Serverless against LocalStack.
service: commandeer-tanks

provider:
  name: aws
  runtime: nodejs10.x
  memorySize: 256
  region: us-east-1
  stage: ${opt:stage, 'development'}
  timeout: 30
  versionFunctions: false

plugins:
  - serverless-plugin-typescript
  - serverless-localstack

functions:
  tankHandler: ${file(./handlers/tankHandler.yml):tankHandler}

custom:
  localstack:
    stages:
      # list of stages for which the plugin should be enabled
      - local
serverless.yml - main serverless configuration file.
Serverless.yml file is where most of the Serverless wiring comes together. We define our service at the top of the file. Serverless will use our service name to namespace our Lambdas. The provider configuration goes next. Here we define our AWS provider with some parameters like the Node.js runtime, region, memory size, etc.
Tips
LocalStack runs in the us-east-1 region by default. Make sure you set your region to us-east-1 unless you started LocalStack with a different region parameter.
The next section is plugins. We list both of the plugins we included in our package.json here. Which are serverless-localstack and serverless-plugin-typescript.
The functions section describes your functions. If you have multiple functions in your project, feel free to add multiple functions here. We recommend moving the actual handler configuration into a separate file and include it using the ${file(relative_path_here)} syntax. In our example, we include the file located under ./handlers/tankHandler.yml and specify the handler name after a colon as tankHandler.
Last but not least we specify our custom section where you can configure some custom behavior. In our case, we configure the serverless-localstack plugin with the list of stages for which the plugin should be enabled. We list the stage named local which will make it so LocalStack deployment will be activated for the local stage only.
tankHandler:
  handler: handlers/tankHandler.process
  timeout: 900
  tags:
    DEPARTMENT: MACHINERY
    ENVIRONMENT: DEV
tankHandler.yml - handler configuration.
Here is the tank configuration we included in serverless.yml. The handler key contains the path to the handler file and the name of the handler function separated by a dot.
import { Context, Handler } from 'aws-lambda';

/**
 * @description handle some tank payload
 * @param event event object
 * @param context context object
 */
const process: Handler = async (event: any, context: Context) => {
  console.log('tankHandler.process', { event, context });

  try {
    const shot = {
      message: 'Boom! 💥',
      event,
    };
    context.succeed(shot);
  } catch (exception) {
    context.fail(exception);
  }
};

export { process };
tankHandler.ts - handler code.
The handler code is pretty straightforward. It defines the function called process which receives the event and the context object. The body of the function is wrapped inside a try / catch statement for a reason. Lambda doesn't fail automatically if the exception is raised inside the handler function body. You need to catch the exceptions manually in your code and call context.fail to mark your Lambda as failed. In a success scenario, once the work is completed, we call context.succeed. It's important to call .fail or .succeed on the context because if you don't, the lambda will keep running and will eventually time out.
# Install Serverless Plugins
Alright, now that the code is written, we're ready for some action. First, let's install our plugins. Clone the repository, open the terminal, navigate to the folder sample-apps/serverless-localstack and run npm install or yarn install depending on your preferred choice of a package manager.
# Choose serverless.yml
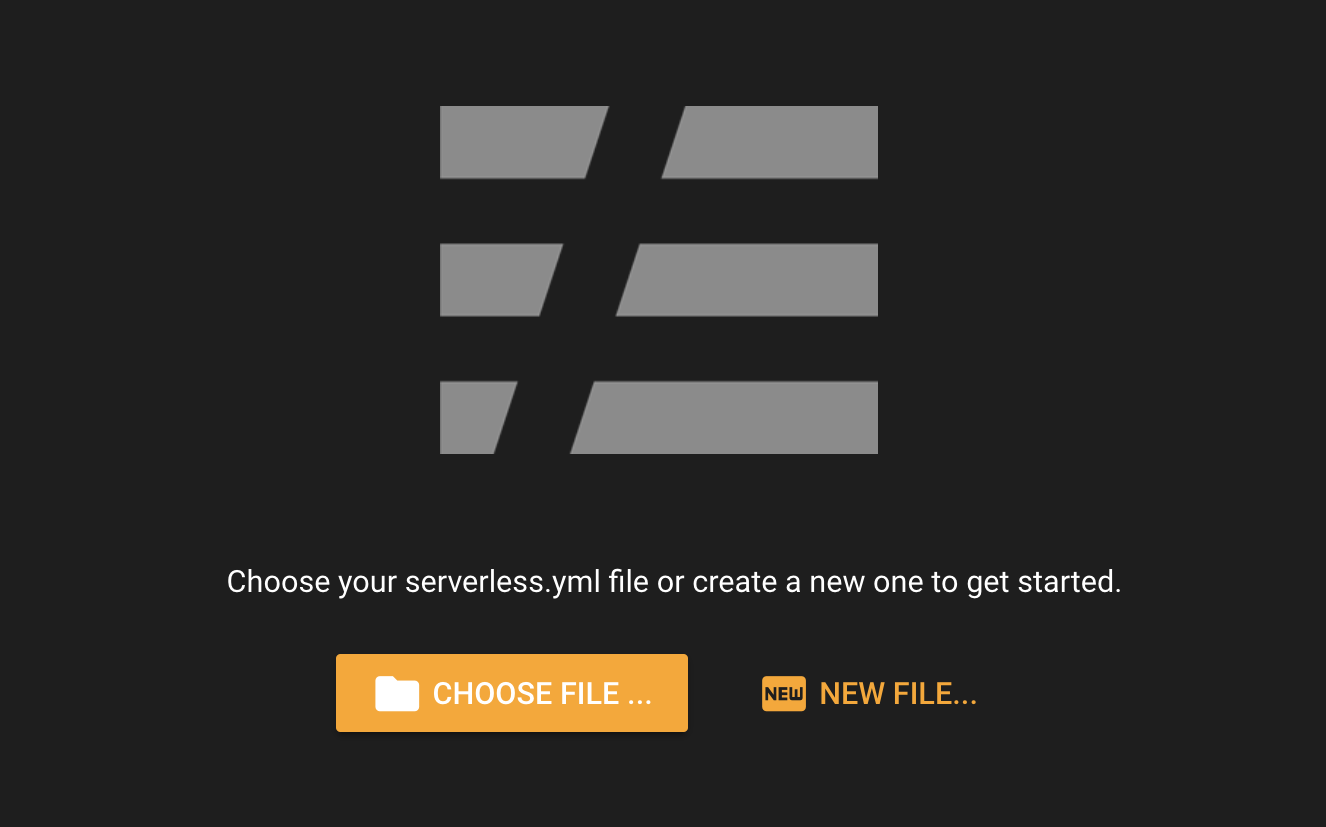
Open Commandeer, navigate to Serverless -> Runner in the side navigation. Click choose file and choose serverless.yml file inside the project.
# Set Serverless stage to local
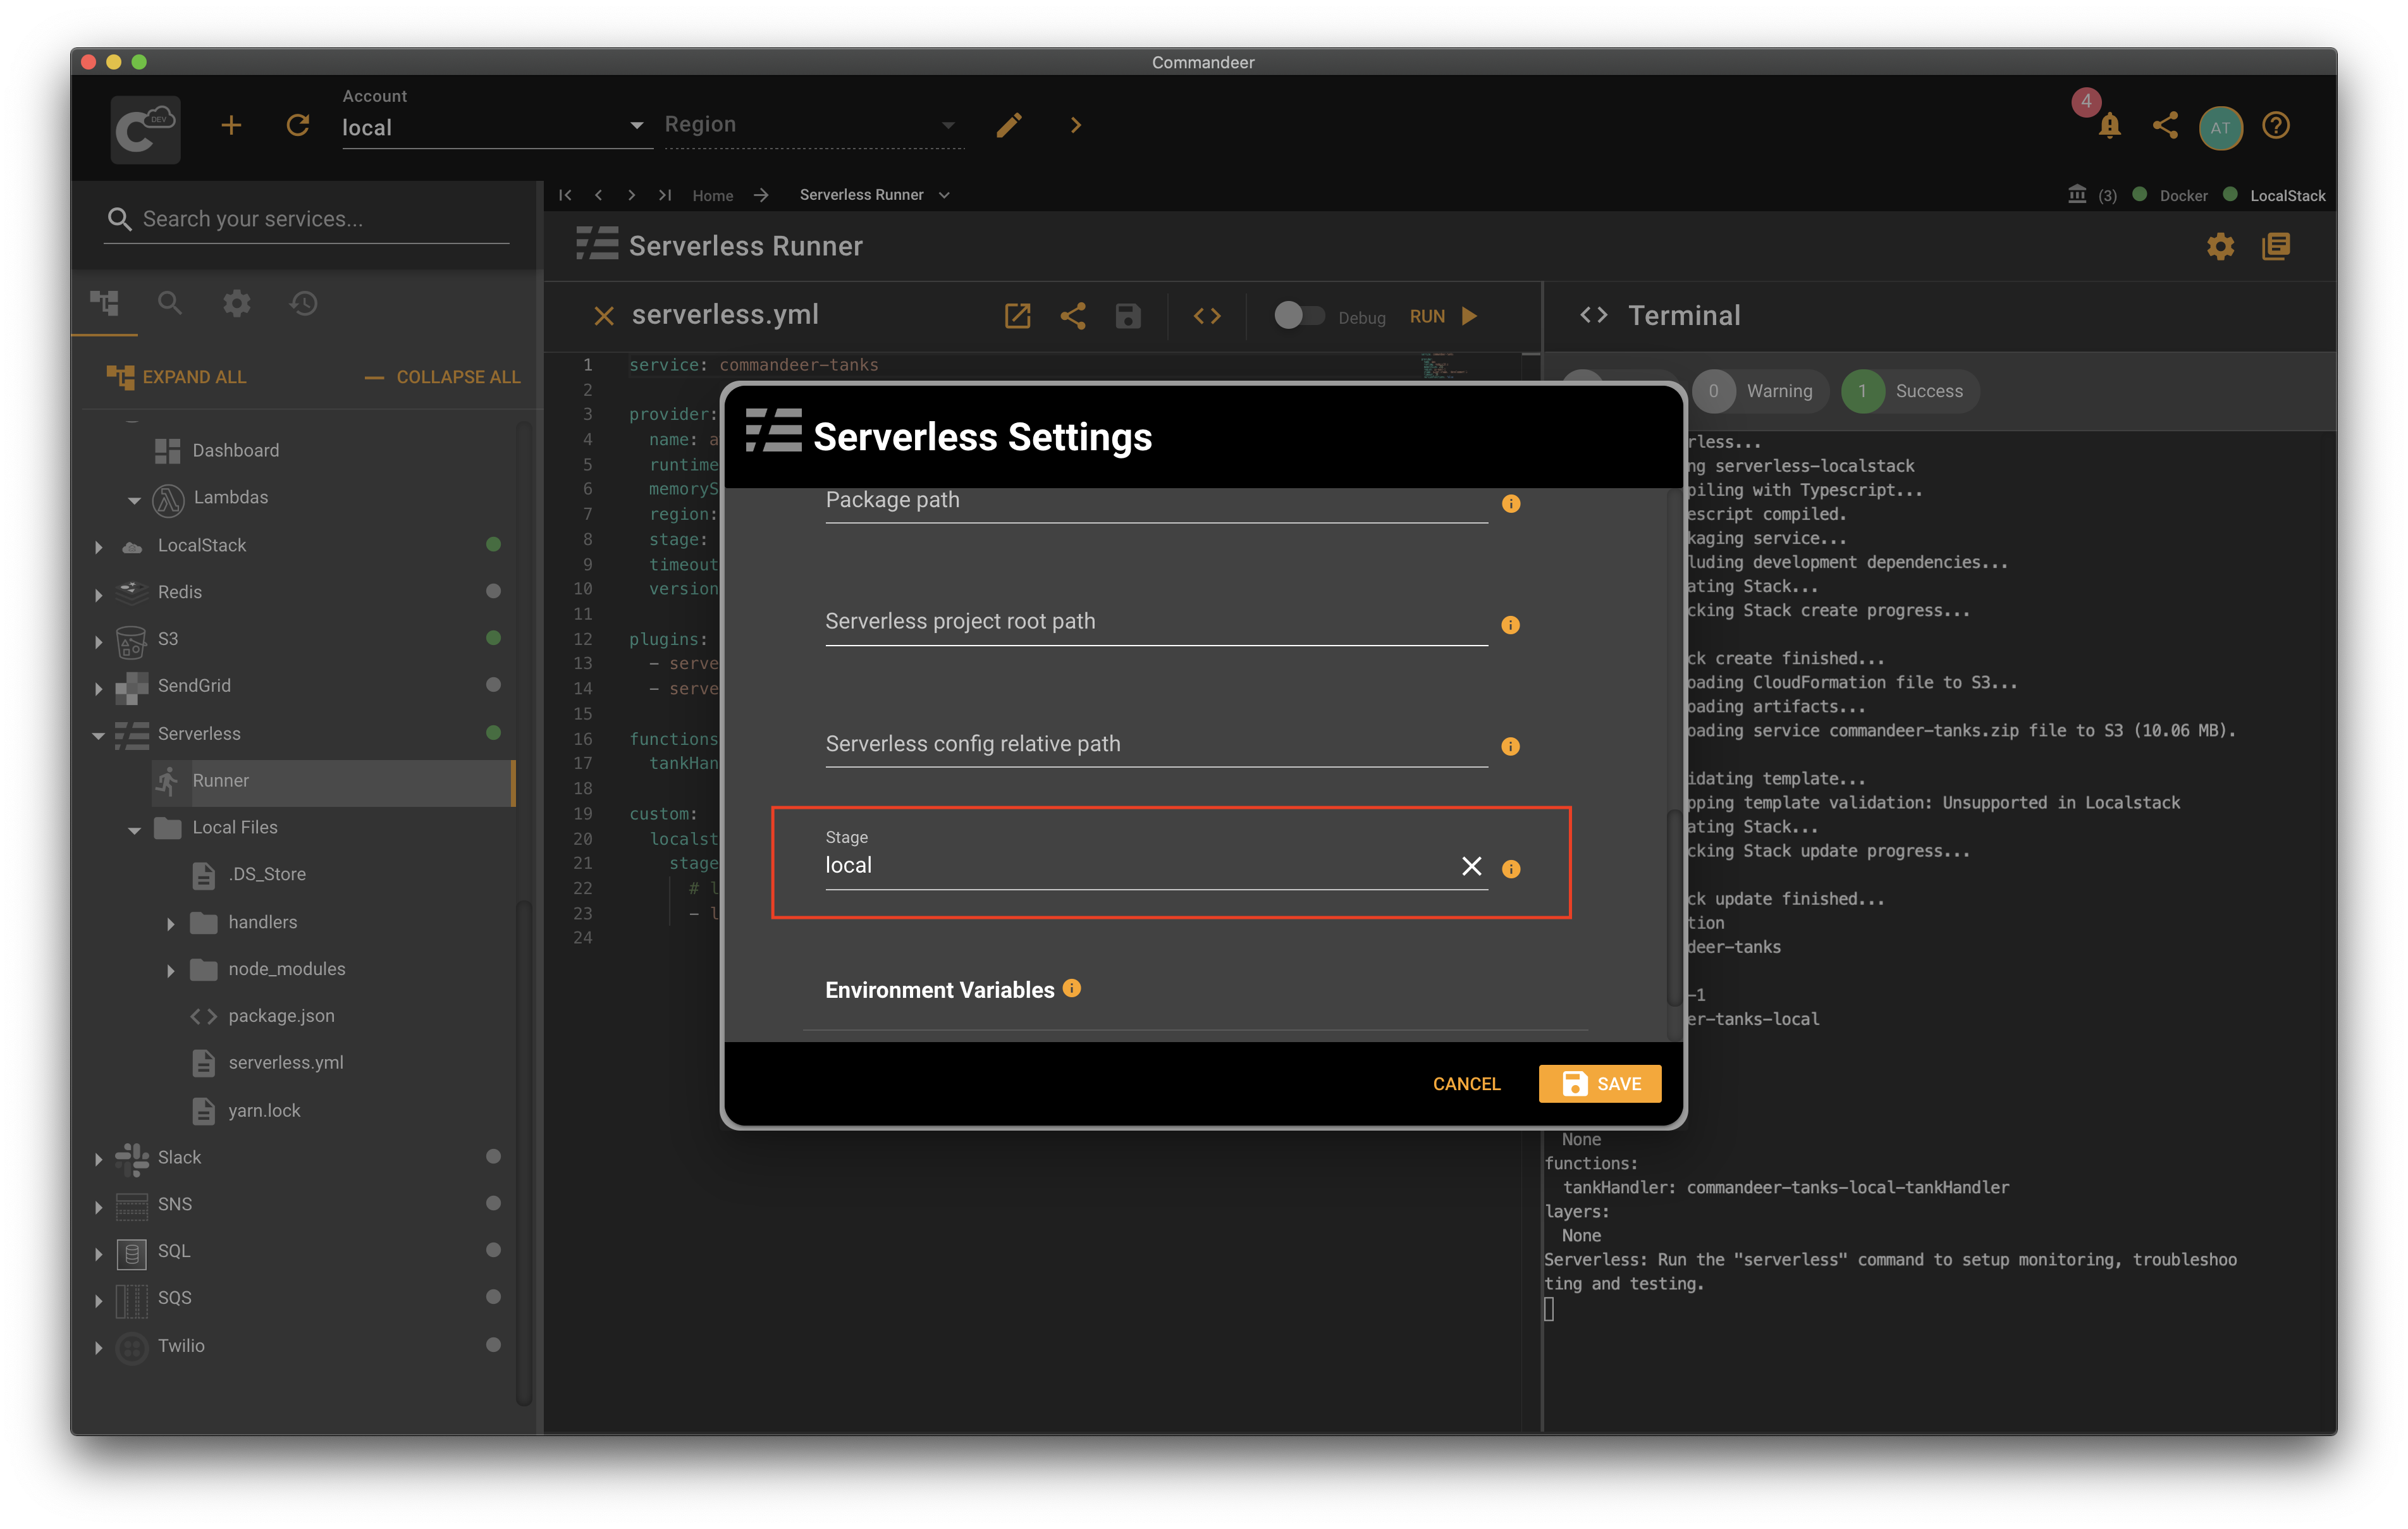
Next, we need to set our stage to local so we activate the serverless-localstack plugin. Open Commandeer, choose the local account from the Account dropdown. Then either choose edit on the account and expand the Serverless panel, or click on the settings button with a gear icon on the Serverless Runner page to open Serverless settings. Enter local into the stage text field and hit save.
# Run Serverless
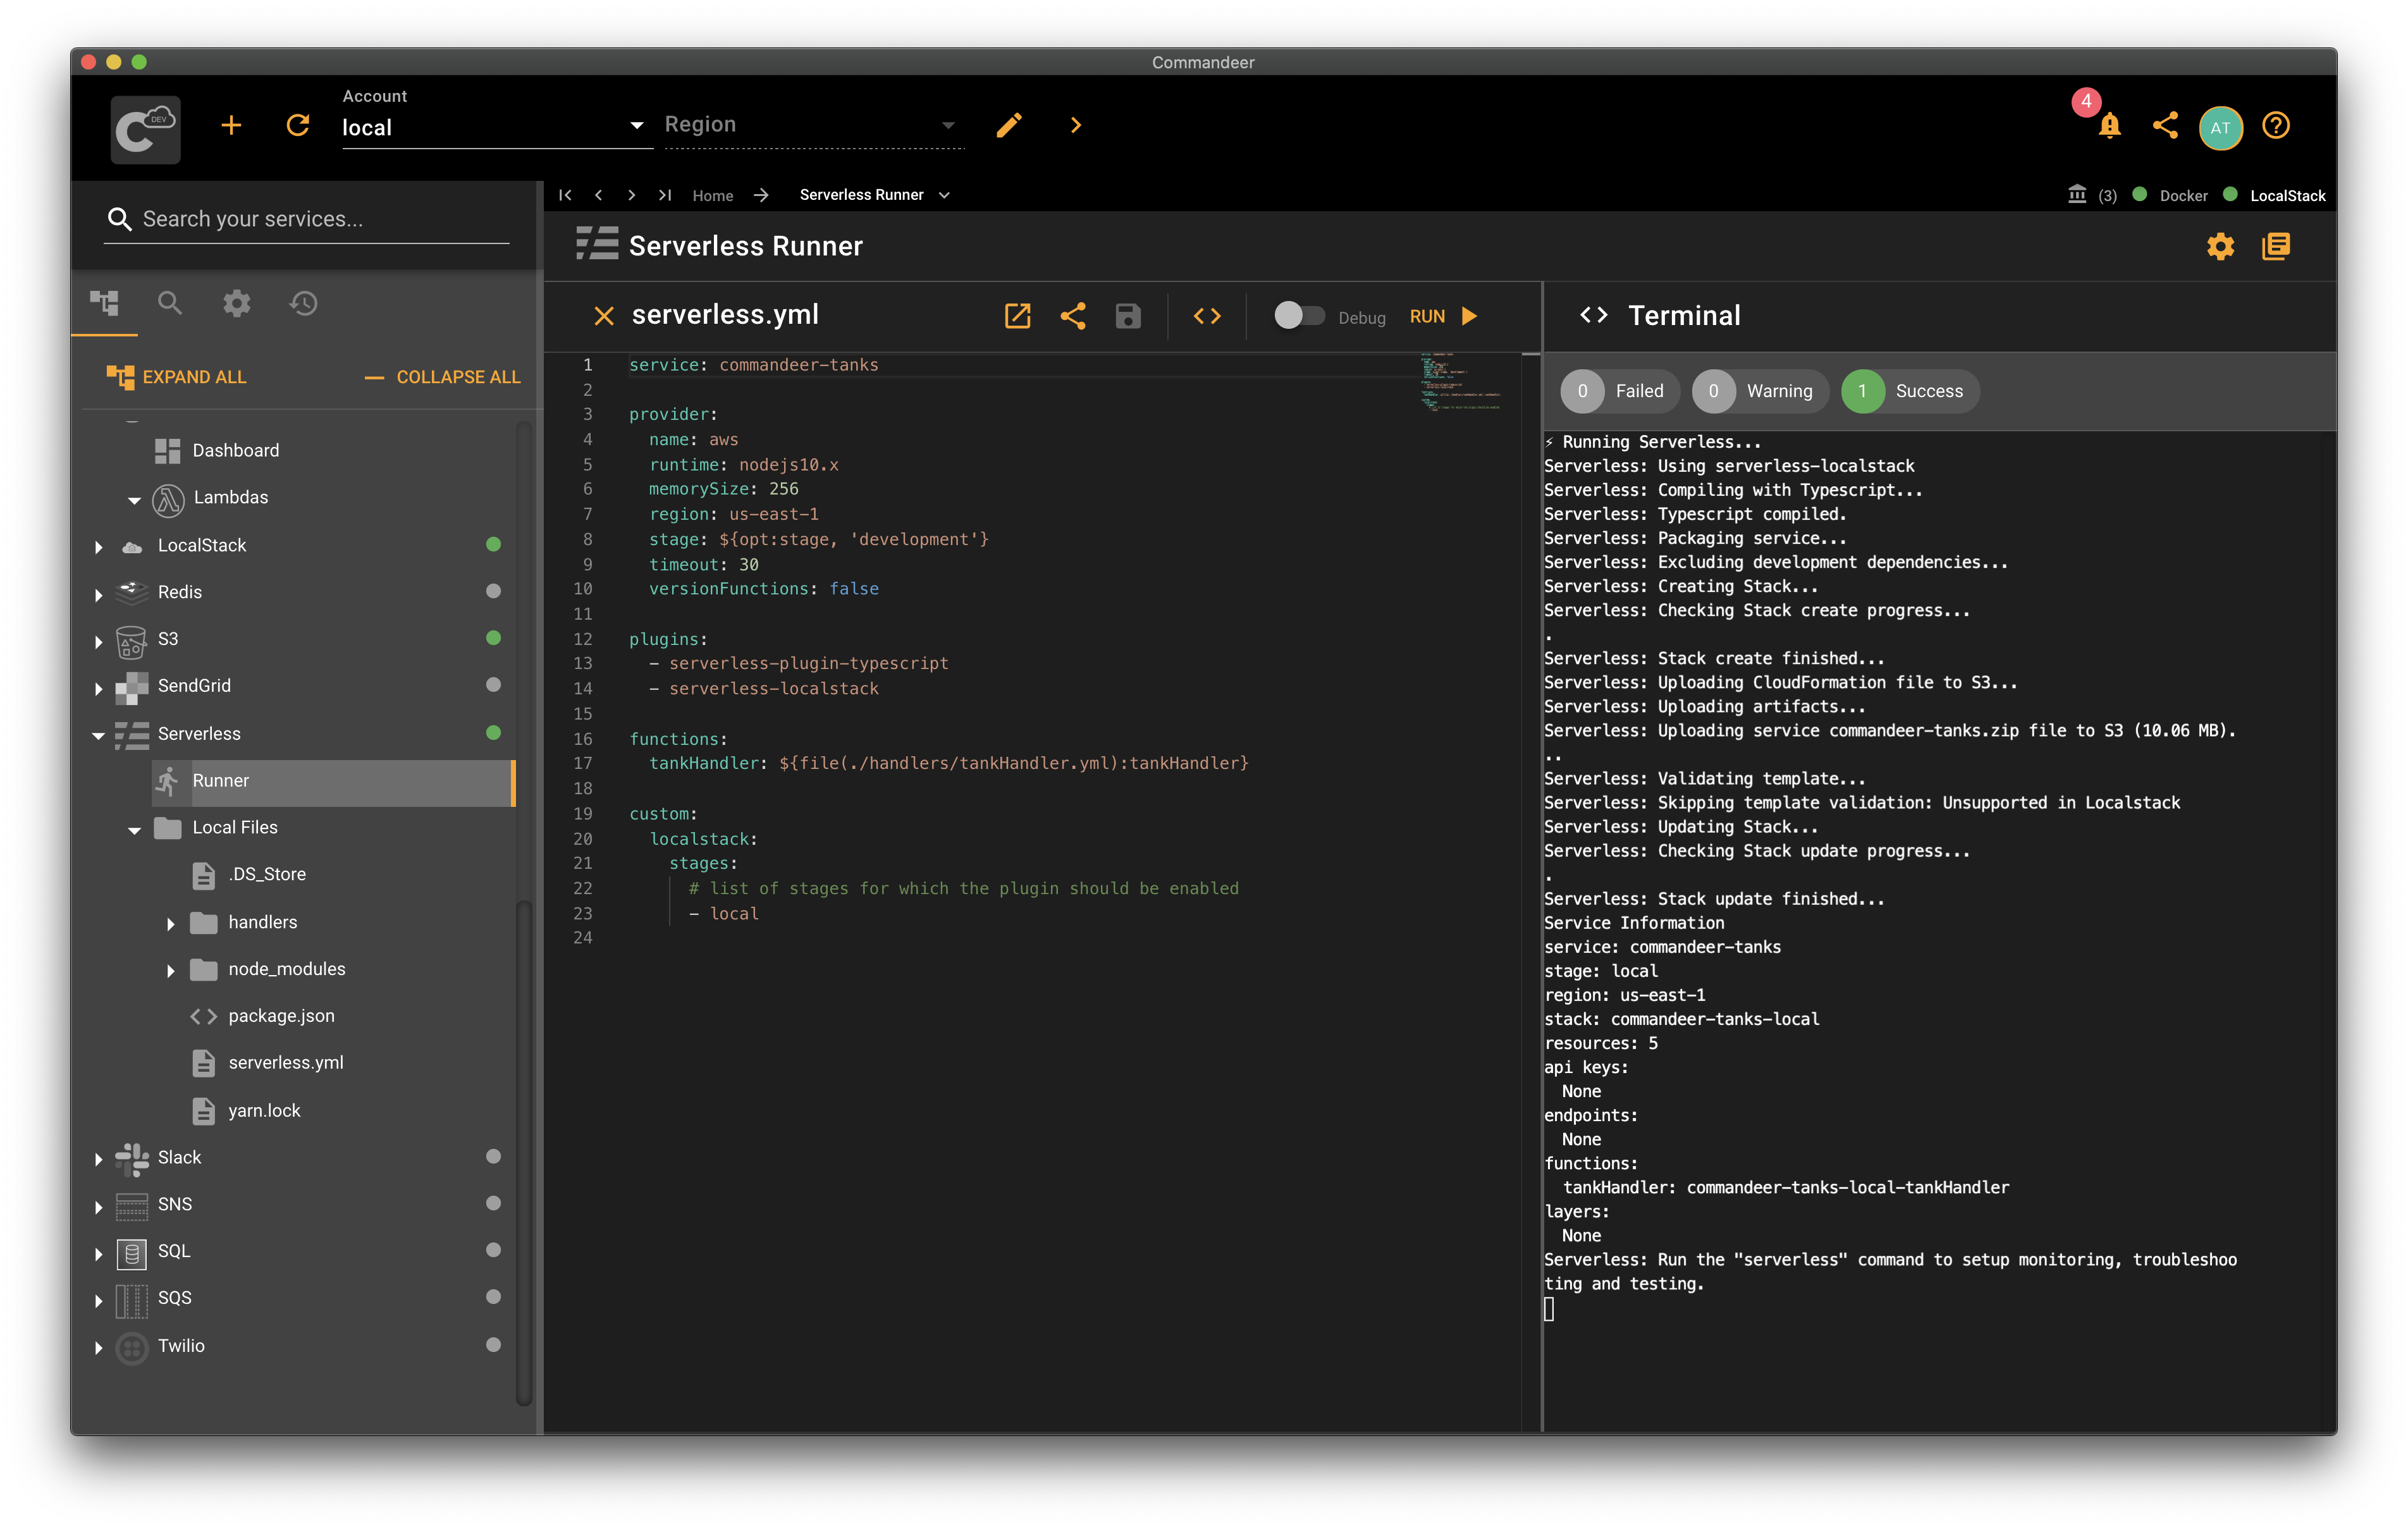
Here comes the best part, just click the run button on Serverless Runner in Commandeer and watch running it in action. You'll see some logs in the terminal. At the end of the run, you'll see the run summary. In our case, we successfully deployed one lambda into LocalStack.
# See the Lambda
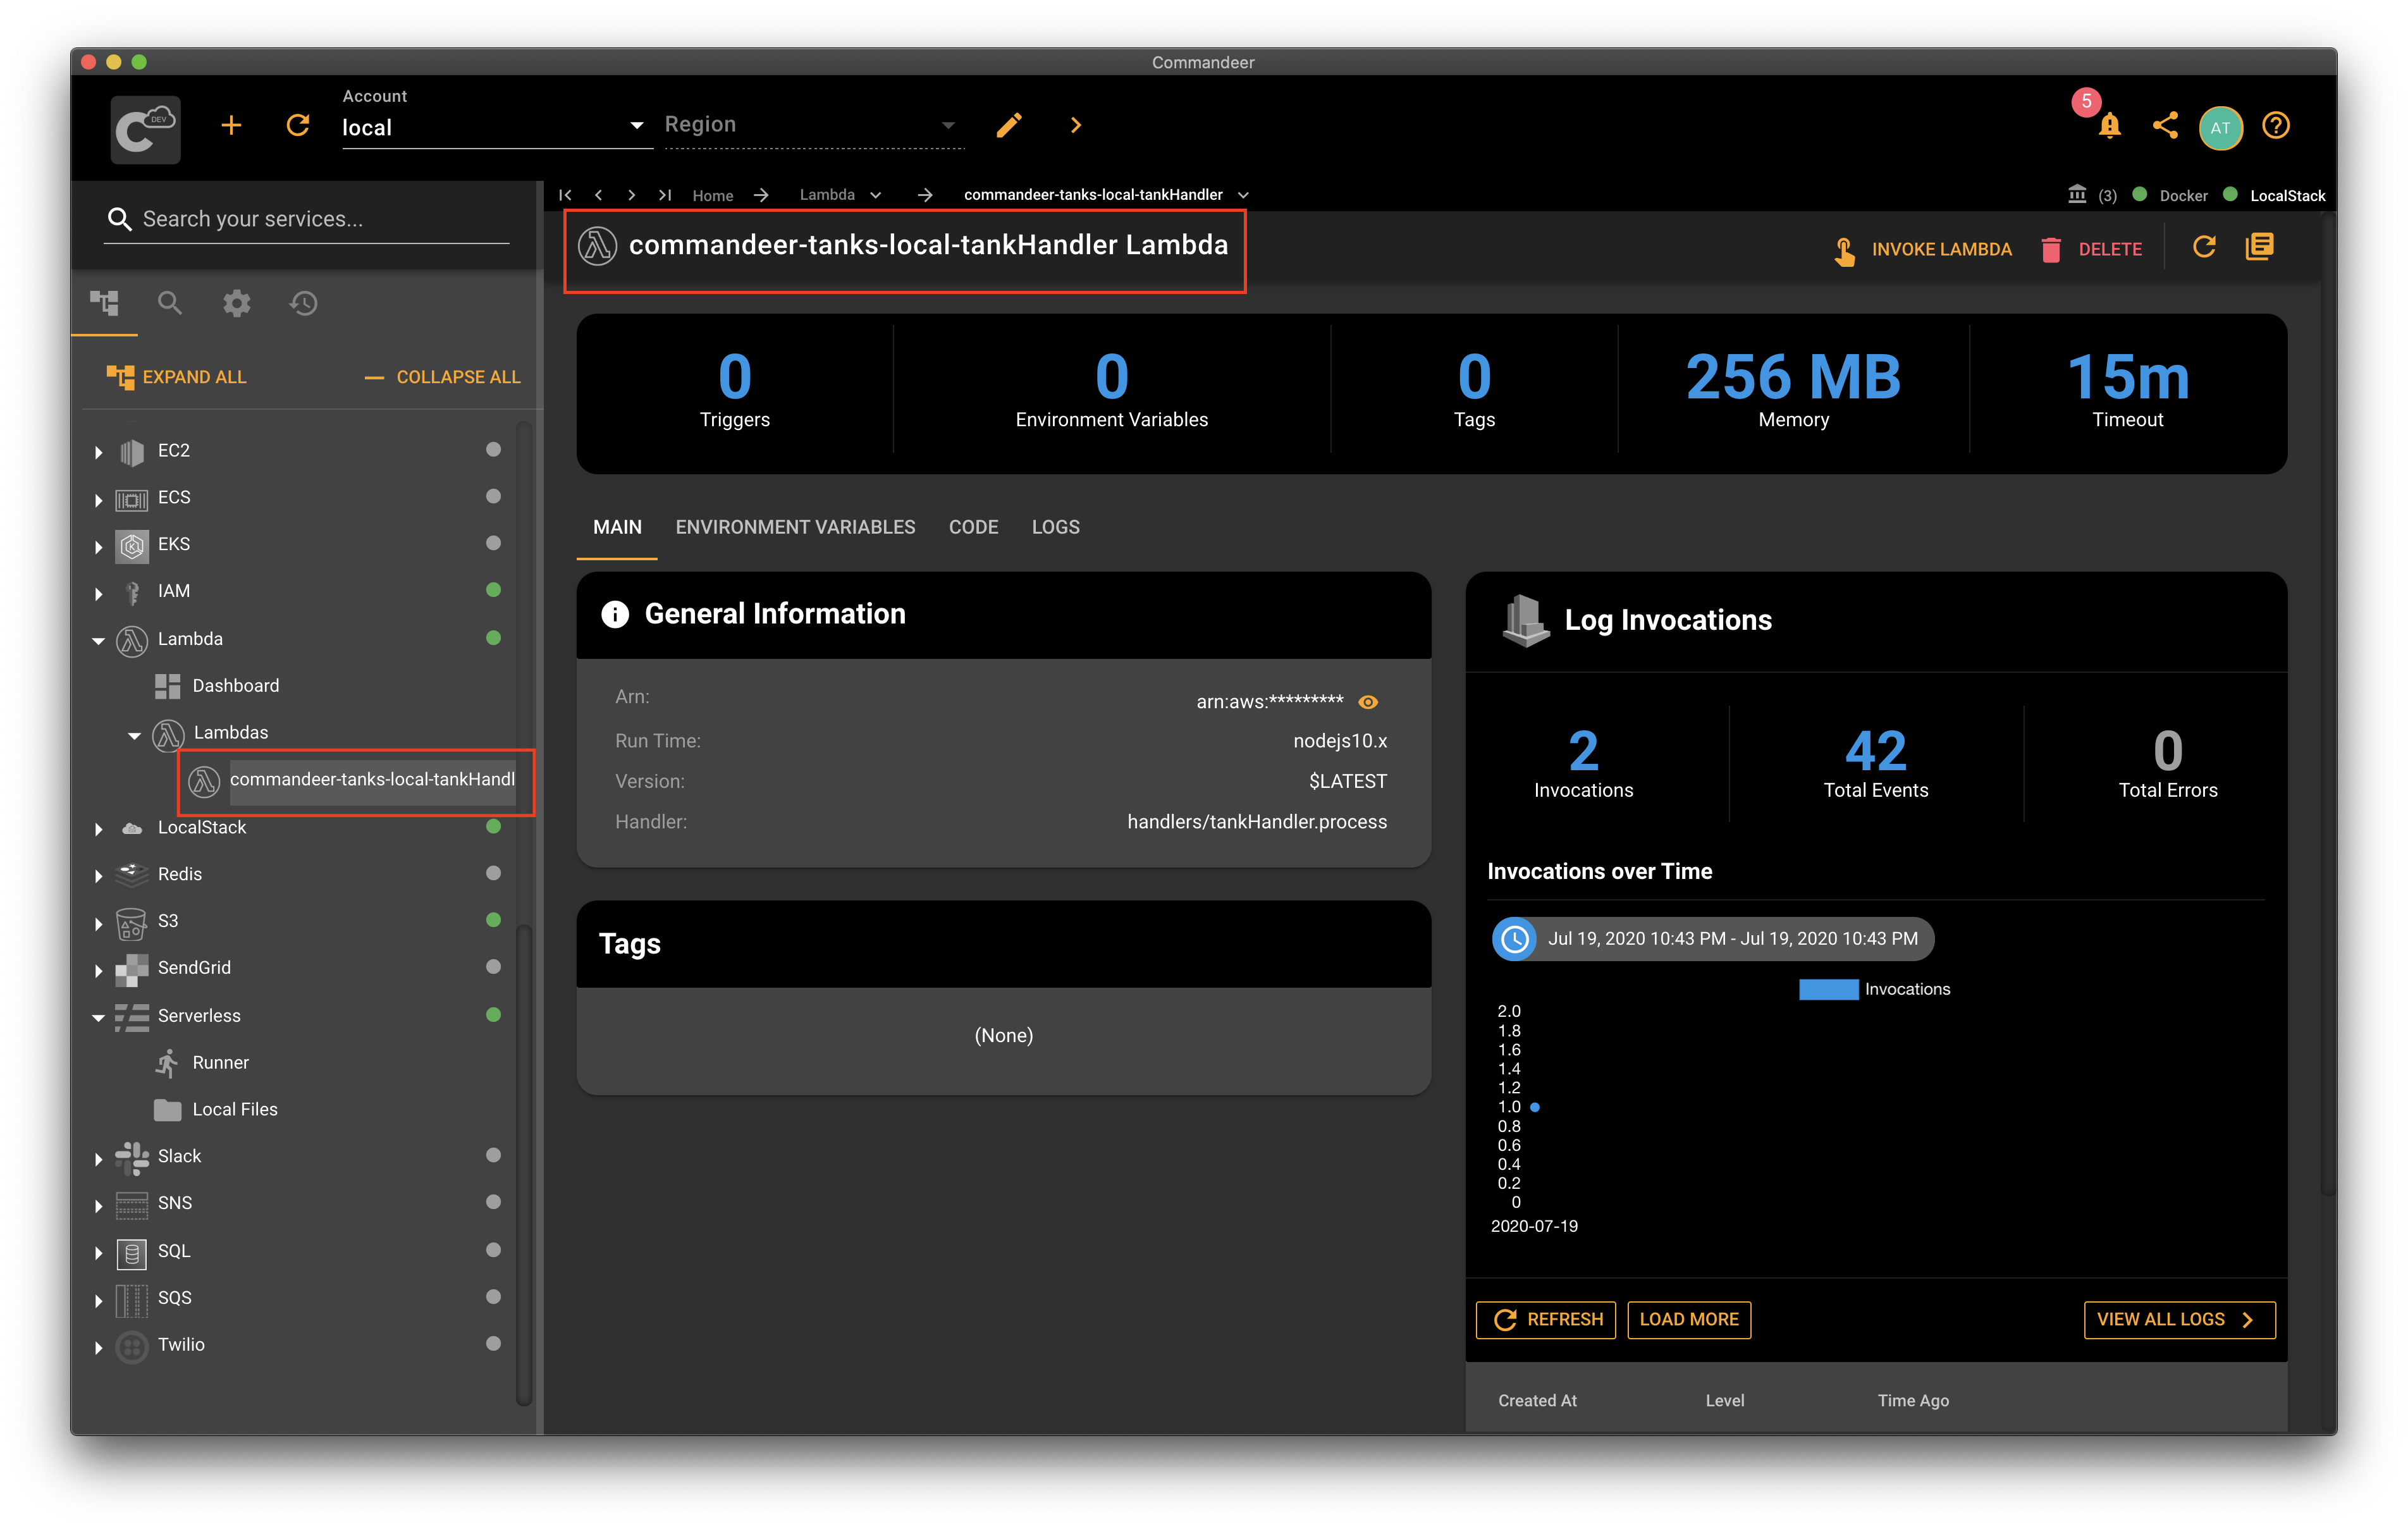
Navigate to the Lambda page. You'll see your local lambda deployed hot off the press. Click on your lambda in the list to see some details about your lambda.
# Invoke Your Lambda
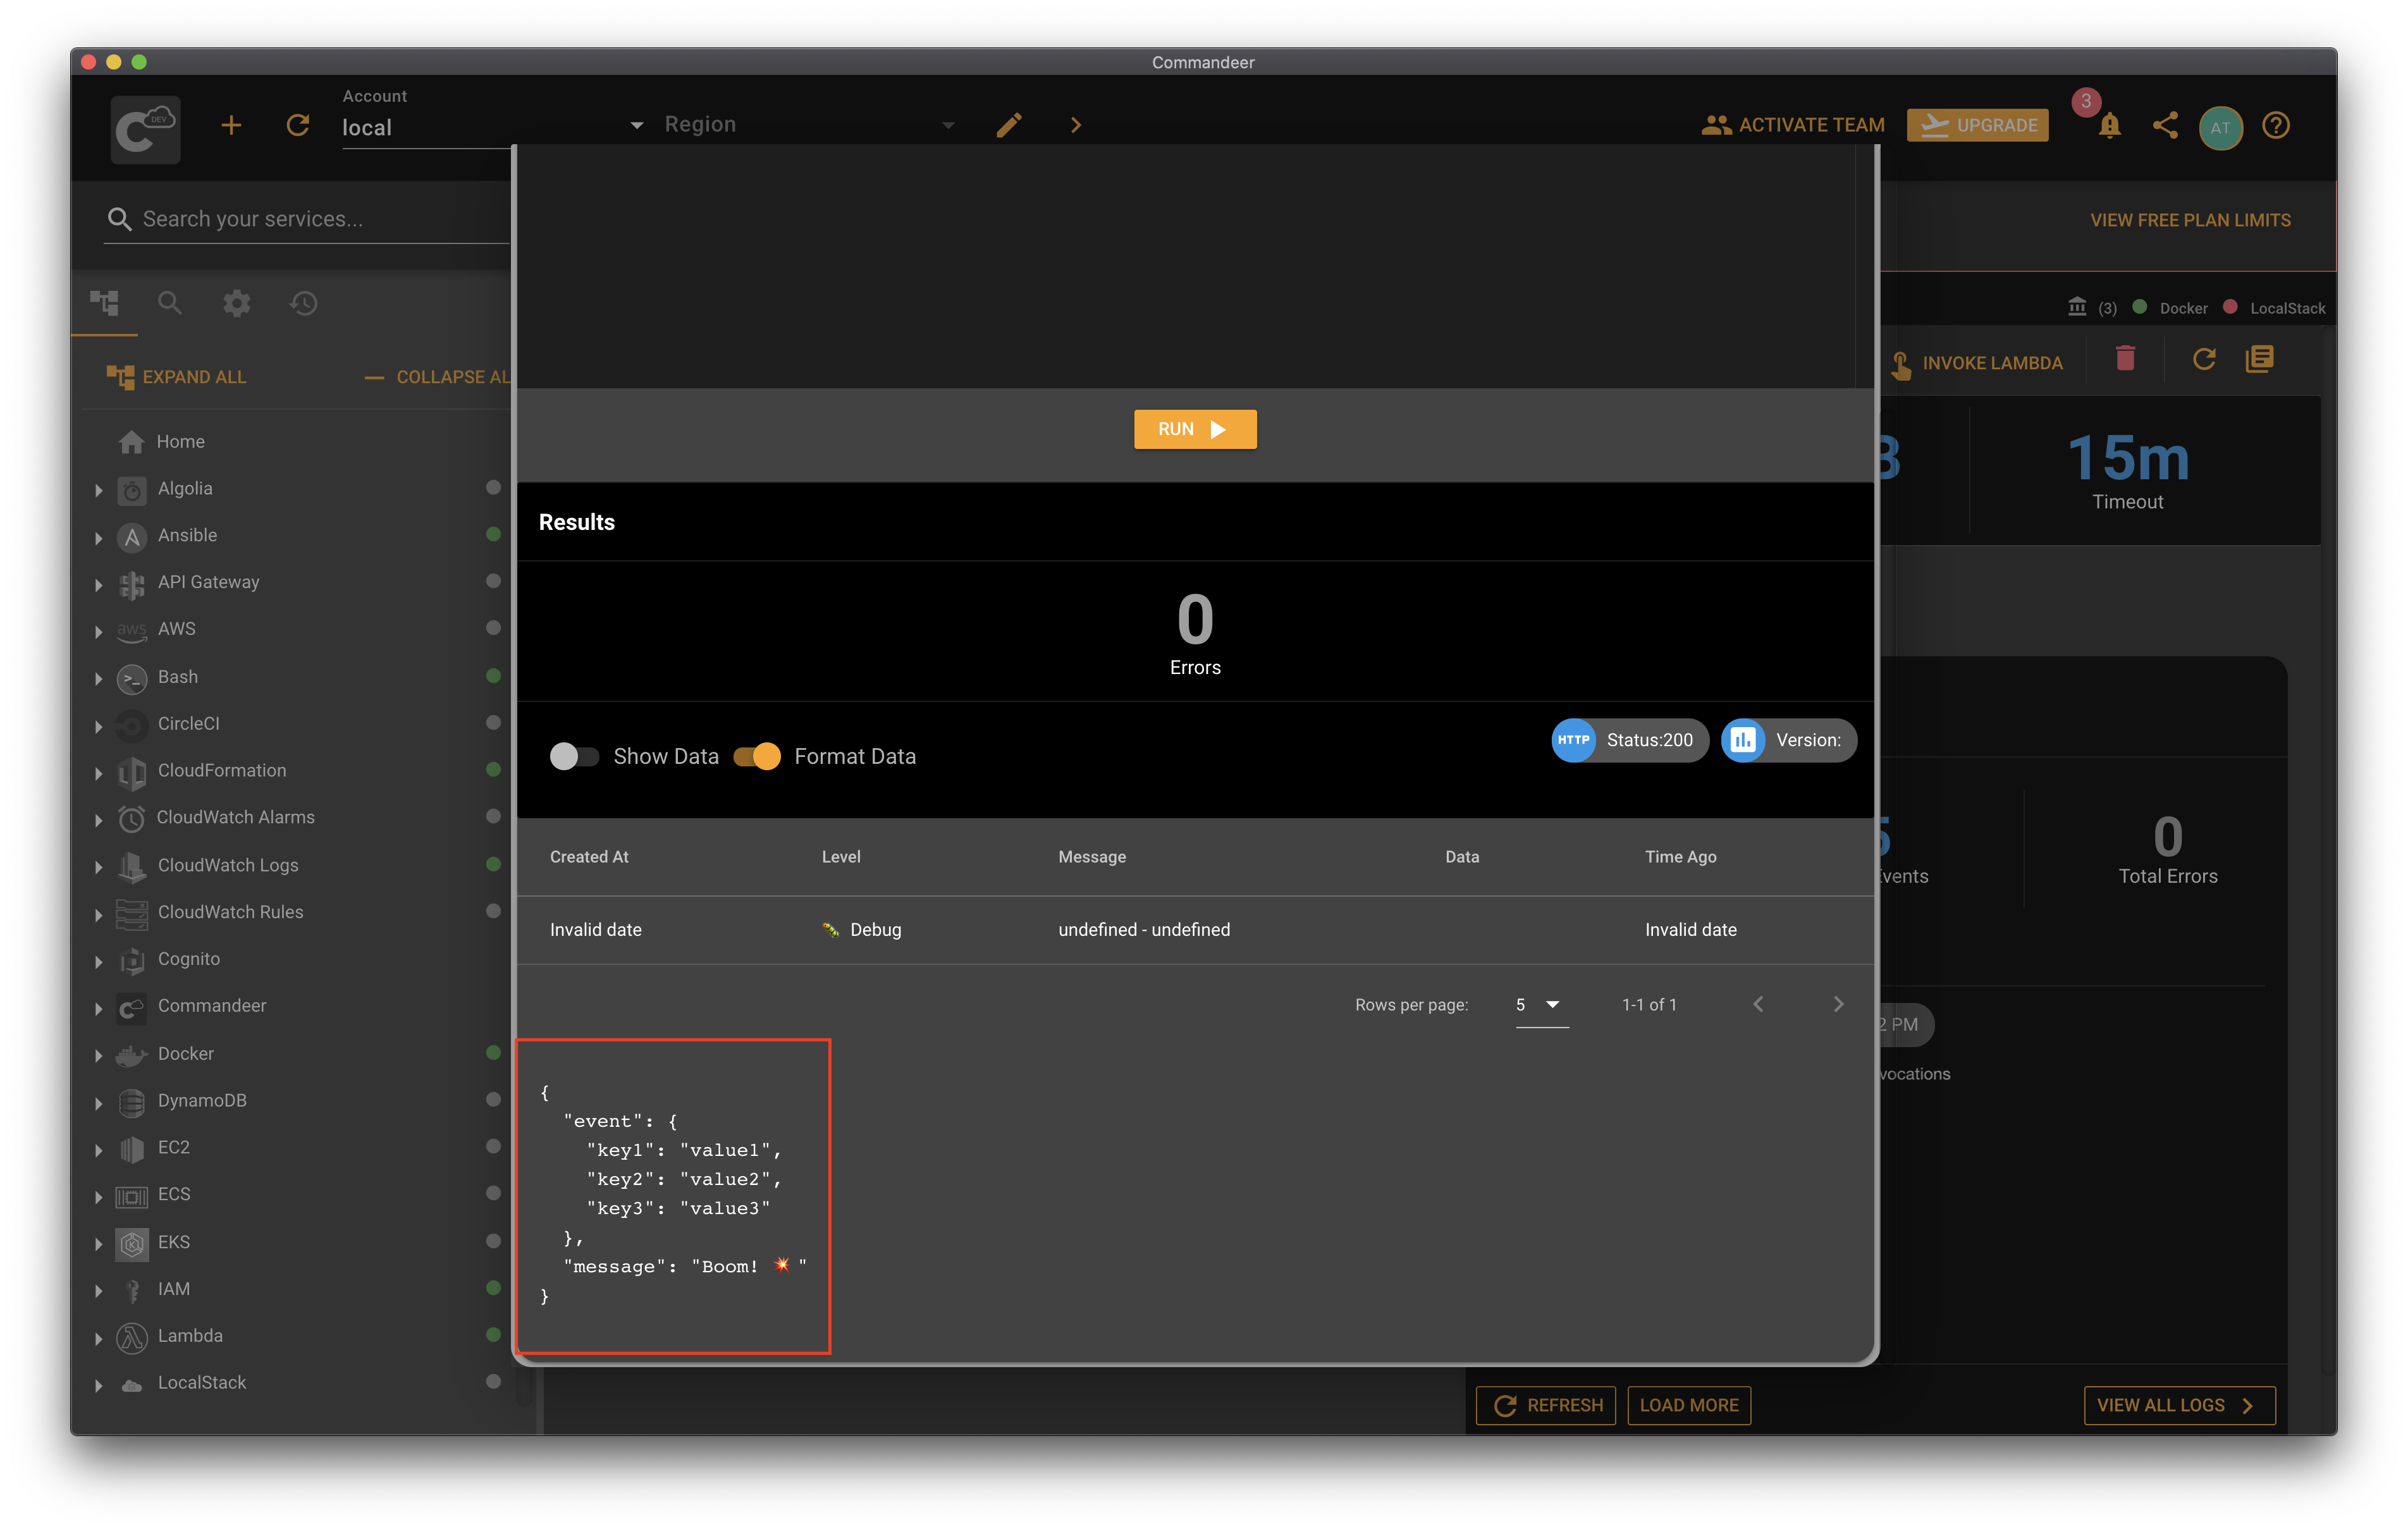
Now, let's invoke it and see the lambda result to make sure it's working. Click Invoke Lambda. Feel free to customize the incoming lambda payload as you wish. The default test payload will work just fine too. Click invoke. Once the lambda is invoked, you'll see your event and our result message printed as expected.
# Conclusion
LocalStack is an amazing piece of software allowing you to develop your cloud applications locally. You can deploy your Lambdas using Serverless Framework into LocalStack to test your Lambda handlers on your local machine. It greatly increases your development speed and makes debugging easier. Commandeer gives you a graphical interface so you can see your local lambdas as well as edit and deploy your Serverless configuration with ease. Go ahead and give it a shot 🎖.
