Deploy To LocalStack
# Deploying Ansible to LocalStack
Running AWS services locally allows you to develop your code, before provisioning it to the AWS cloud environment. Using LocalStack facilitates this local programming by providing an easy-to-use test/mocking framework for developing Cloud applications locally. Ansible is a welcome addition to automate your local setup. Commandeer makes this dual process even easier and seamless.
# Overview
Ansible makes it easy to create and provision your infrastructure resources using YAML code. LocalStack allows you to run your AWS services locally so you can develop against them faster. Now, combining the two gives you the ability to automate your local setup every time you develop locally. Developing locally has numerous advantages including the ease of debugging as well as the increased development speed. This article goes over running Ansible against your local AWS environment powered by LocalStack. We'll deploy some S3 buckets and DynamoDB tables to LocalStack.
Why not create S3 buckets and DynamoDB tables with Serverless Framework? Great question. Serverless does offer the ability to create some durable resources like S3 buckets and DynamoDB tables. That being said, we recommend creating durable resources (i.e. the resources containing some useful data) separately with a different IaC tool like Ansible. Serverless is great for creating ephemeral resources that don't retain any data and can be recreated at any time. The reason behind it is that Serverless uses a CloudFormation stack under the hood. In case you'll need to recreate your Serverless infrastructure, deleting the CloudFormation stack will also delete all resources in it. So it's better to keep your durable resources separate.
# Make Sure Docker is Running
If you don't have Docker installed, download and start Docker using our Docker Install guide. Commandeer uses Docker under the hood to run Ansible and LocalStack on your machine.
# Start LocalStack
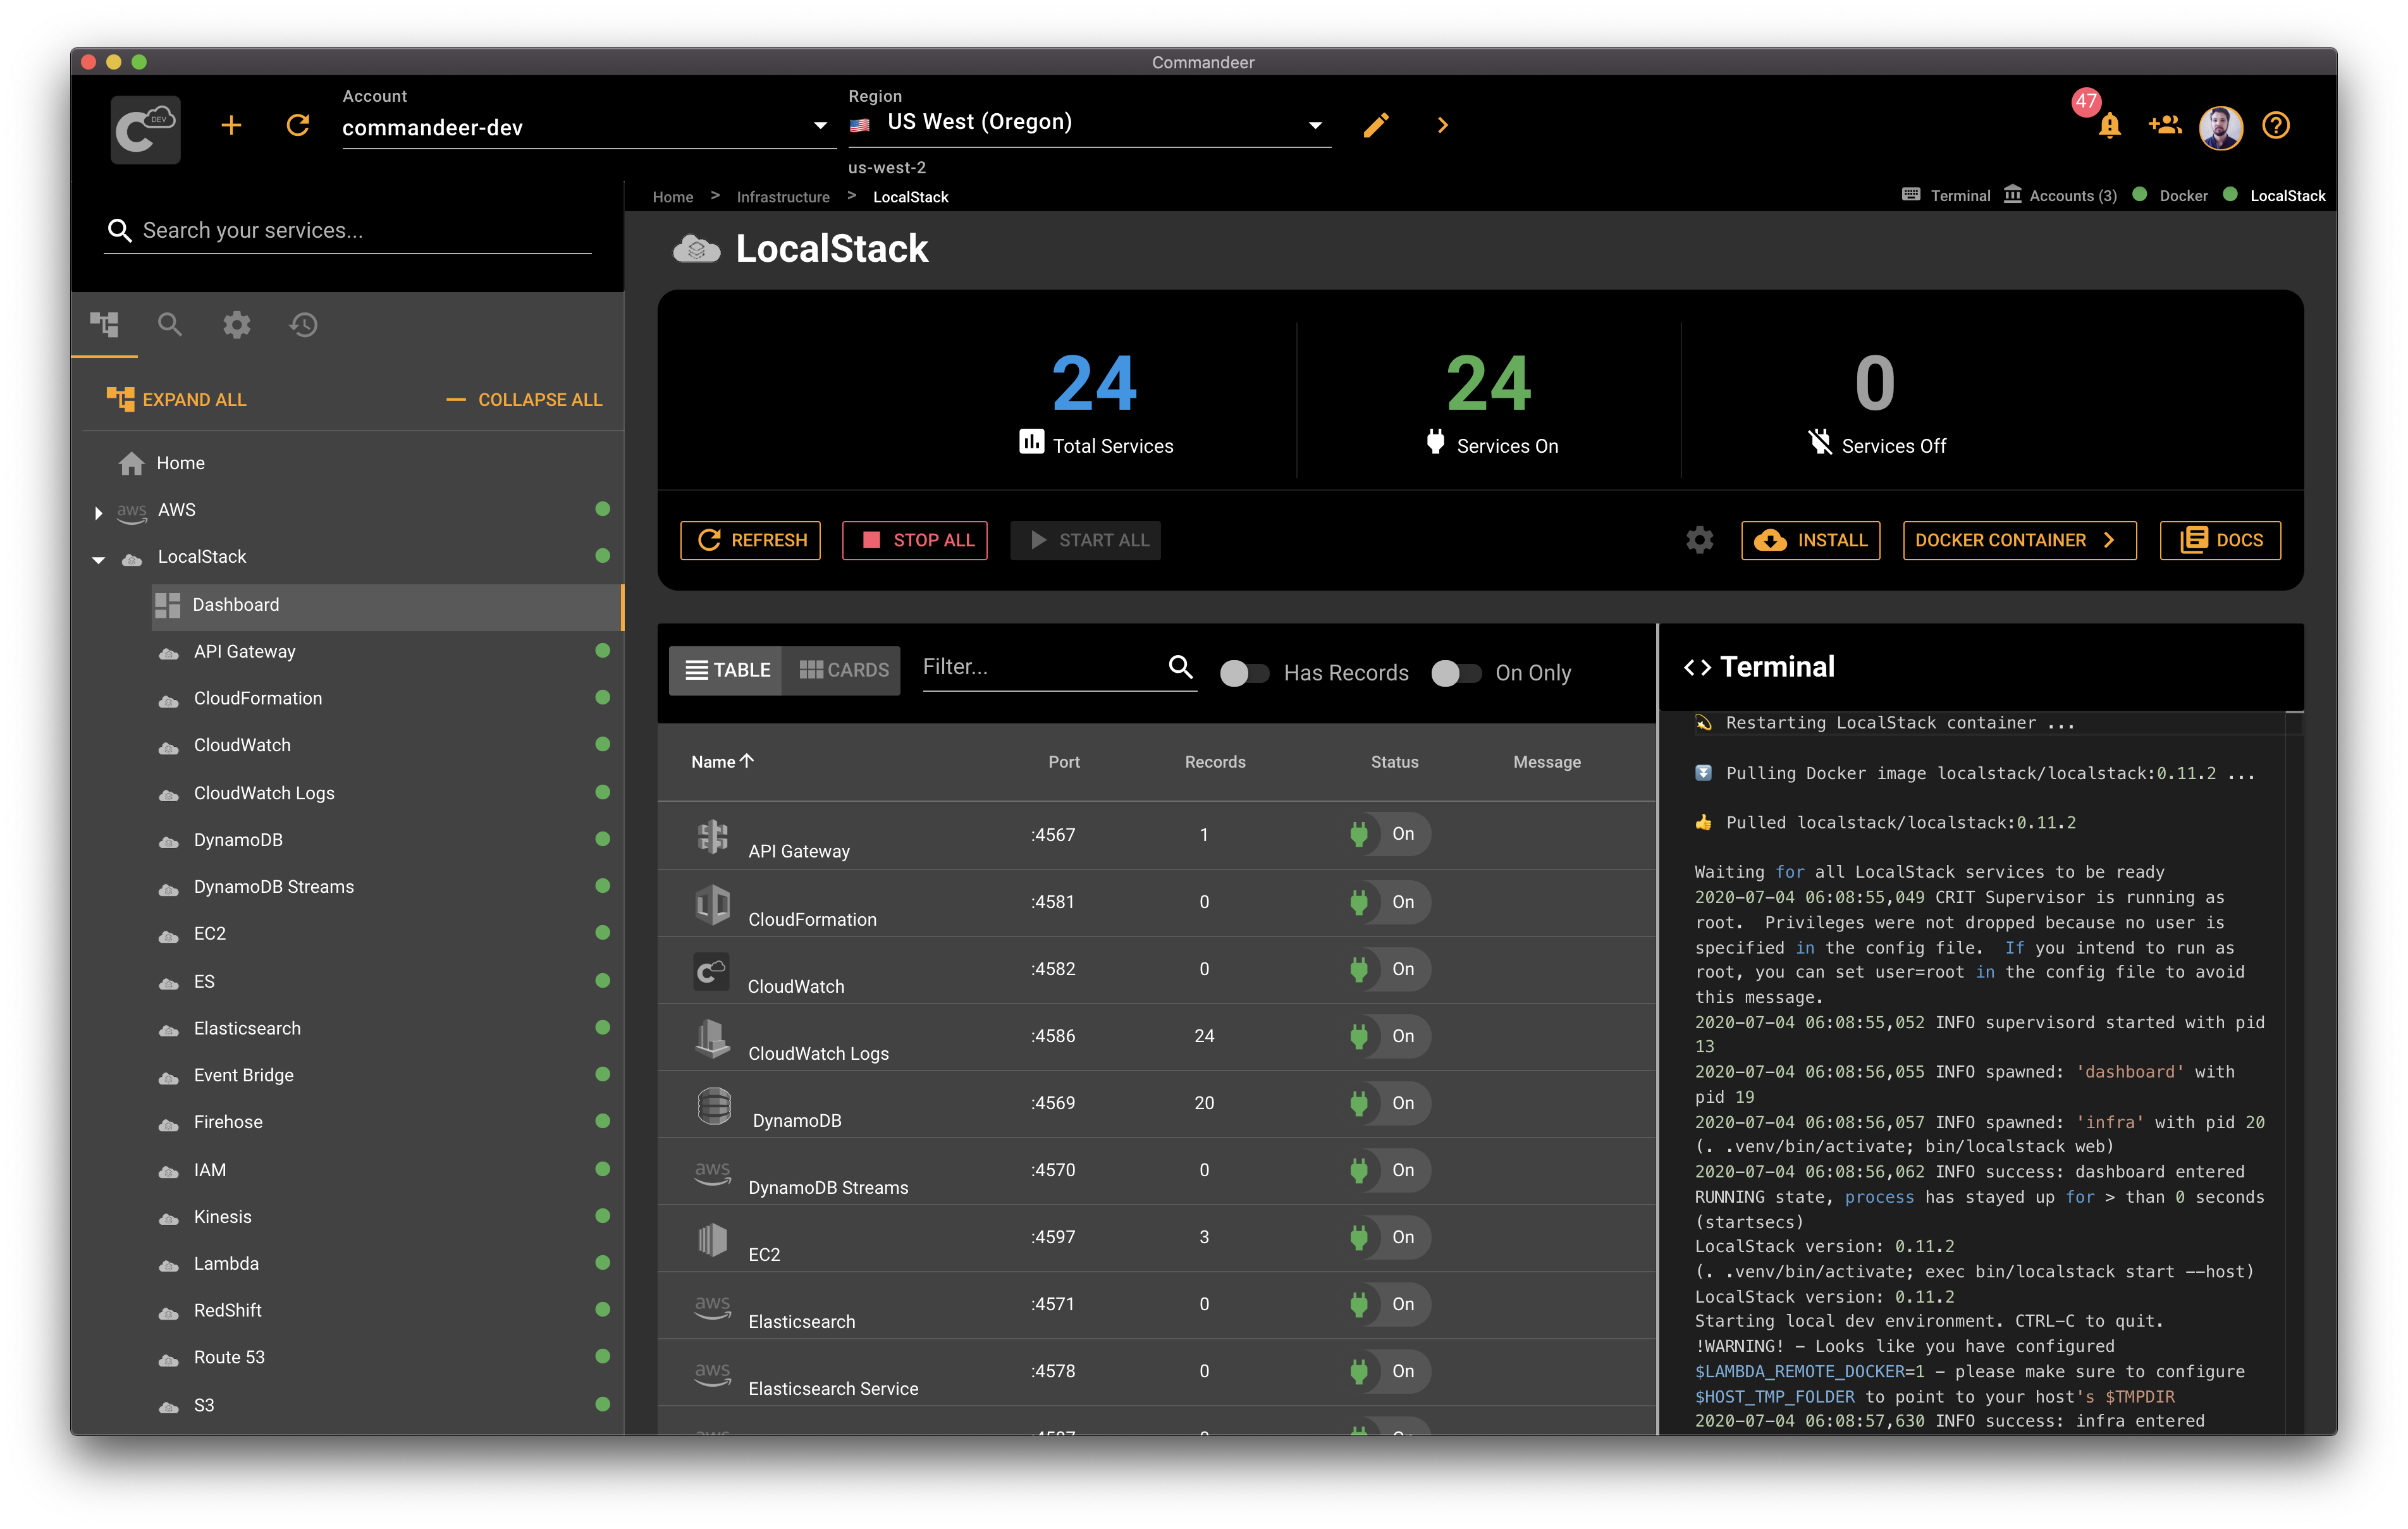
First, let's check if LocalStack is running. Open Commandeer, navigate to LocalStack Dashboard and click Start All if it is not already running. This will start all services. You can find more details in our Start, Stop, Search LocalStack Services tutorial about starting individual services.
# Ansible Files
Now to Ansible, let's start with the configuration. Here we create our durable resources holding some data. Let's start with playbook.yml, our main entry point:
    ---
    - hosts: localhost
      remote_user: bob
      tasks:
        - import_tasks: tanks-bucket.yml
        - import_tasks: tank-history-s3-bucket.yml
playbook.yml - the main entry point
First, we define our main host under the hosts key. We give it a value of localhost since we'll be running against our local environment. Next, we define 2 tasks. Using import_task, we import tasks from a couple of other files called tanks-bucket.yml and tank-history-s3-bucket.yml. Here is what they look like.
- name: Create the S3 Tank bucket
  s3_bucket:
    name: commandeer-tank
    versioning: yes
    tags:
      name: Tanks
      type: demo

- name: Upload tank A1 configuration
  aws_s3:
    bucket: commandeer-tank
    object: tanks/a1.json
    src: "./a1.json"
    mode: put

- name: Create a hangar folder for tanks
  aws_s3:
    bucket: commandeer-tank
    object: tanks/hangar
    mode: create
tanks-bucket.yml - creates S3 Tank bucket, uploads a tank configuration.
Here, we create one S3 bucket called Tank. It'll hold our tank information. Next, we upload our a1.json file containing our tank configuration. Last but not least, we create a folder named hangar for our tanks.
Here is the code for our tank configuration for our A1 tank.
{
    "name": "a1",
    "status": "active",
    "health": 100
}
a1.json - A1 tank configuration
We use the JSON format for our tank configuration so it's easy to consume it in our Lambda. Javascript runtime supports JSON files out of the box.
- name: Create commandeer-tanks-history S3 bucket for saving history of tanks
  s3_bucket:
    name: commandeer-tank-history
    versioning: yes
    tags:
      DEPARTMENT: MACHINERY
      ENVIRONMENT: DEV
commandeer-tanks-history.yml - creates S3 bucket for saving history of tanks
# Run Ansible
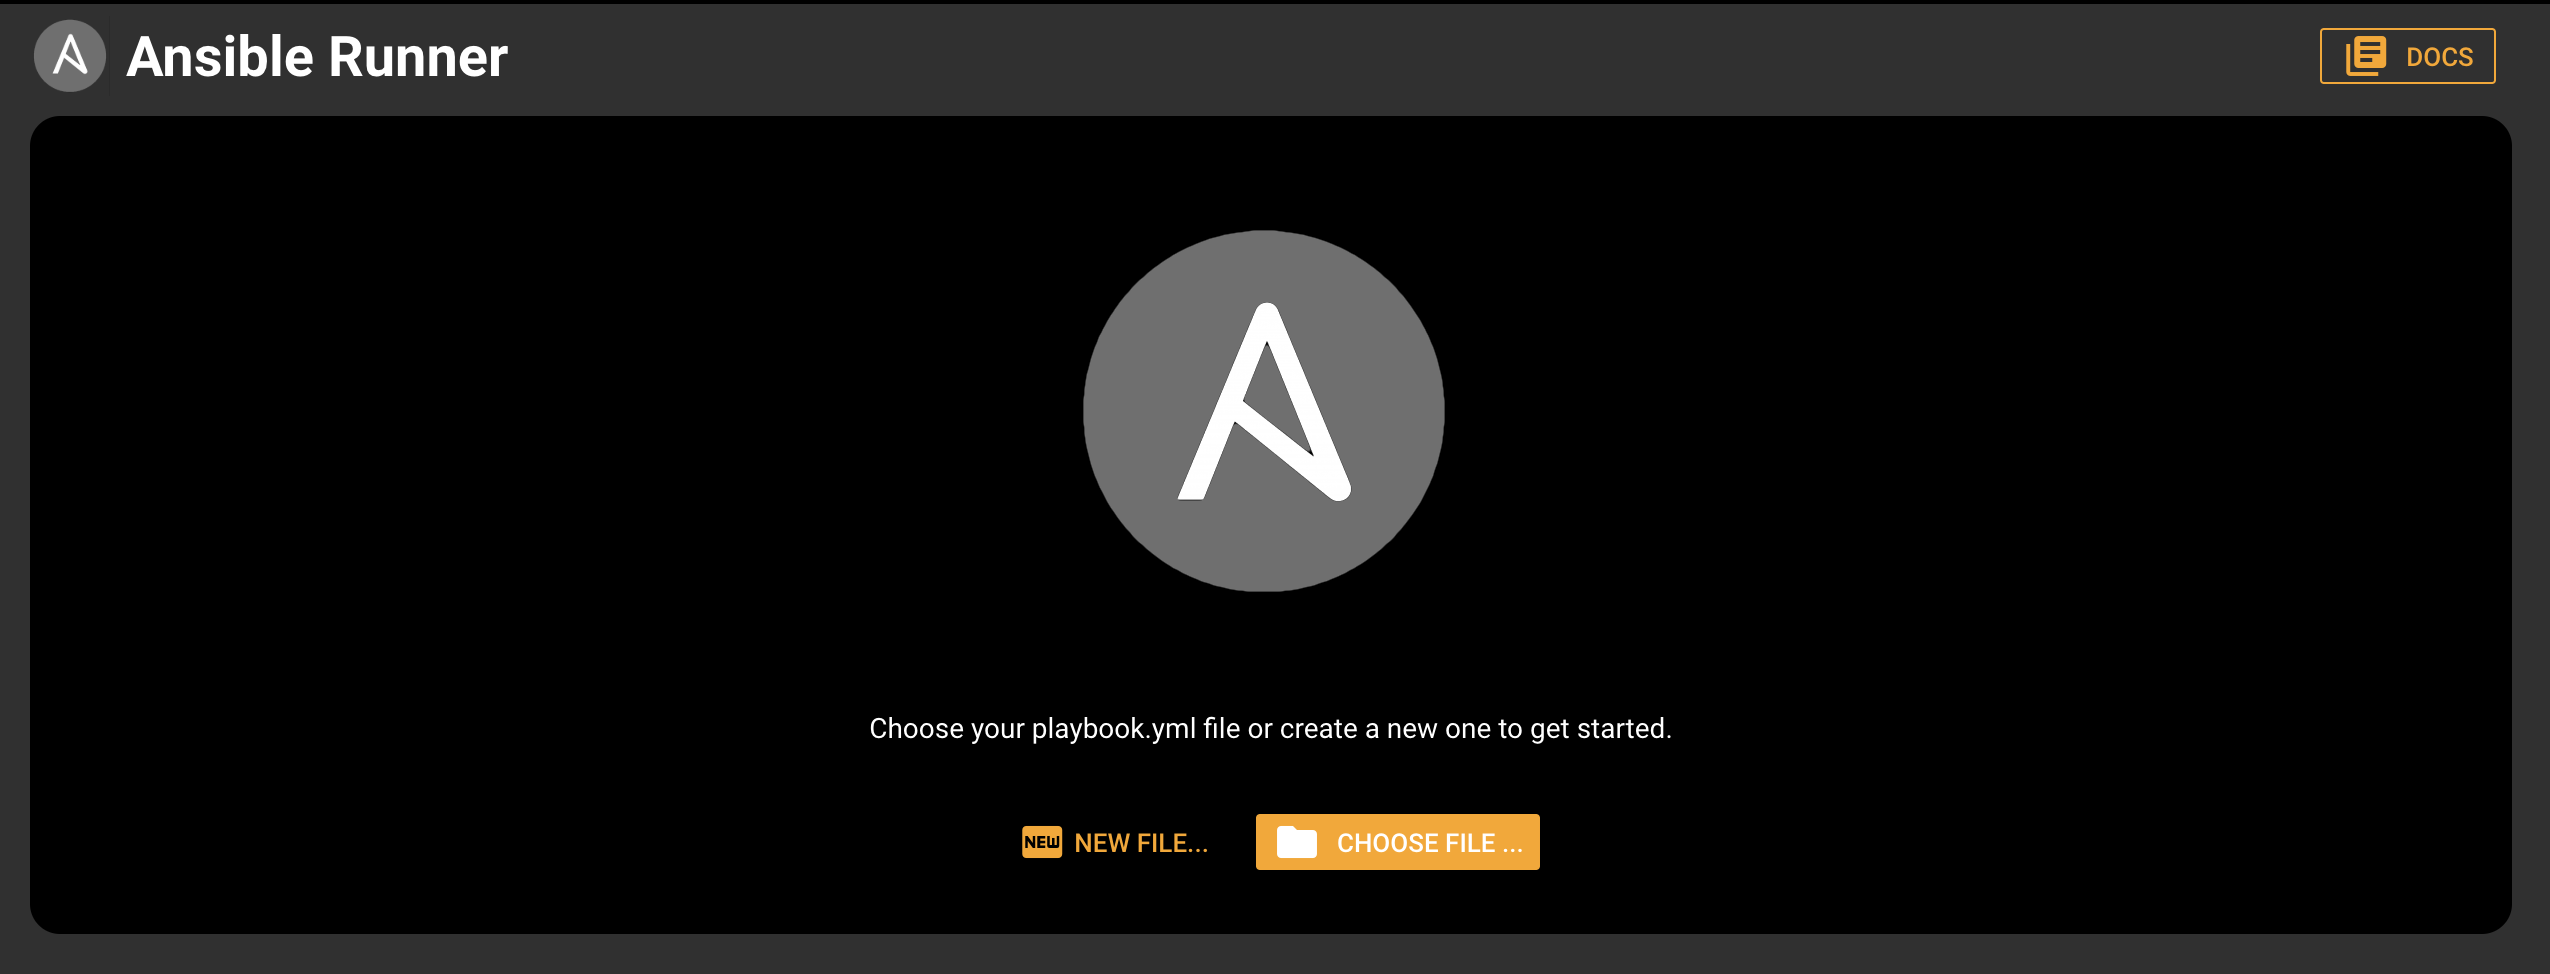
Now it's time for some running action! First, download or clone our open source repository from GitHub. Next, open Commandeer, navigate to Ansible and choose Runner. Once the Runner is open, choose your playbook.yml file. If you downloaded our repo, it's located under ansible/playbook.yml.
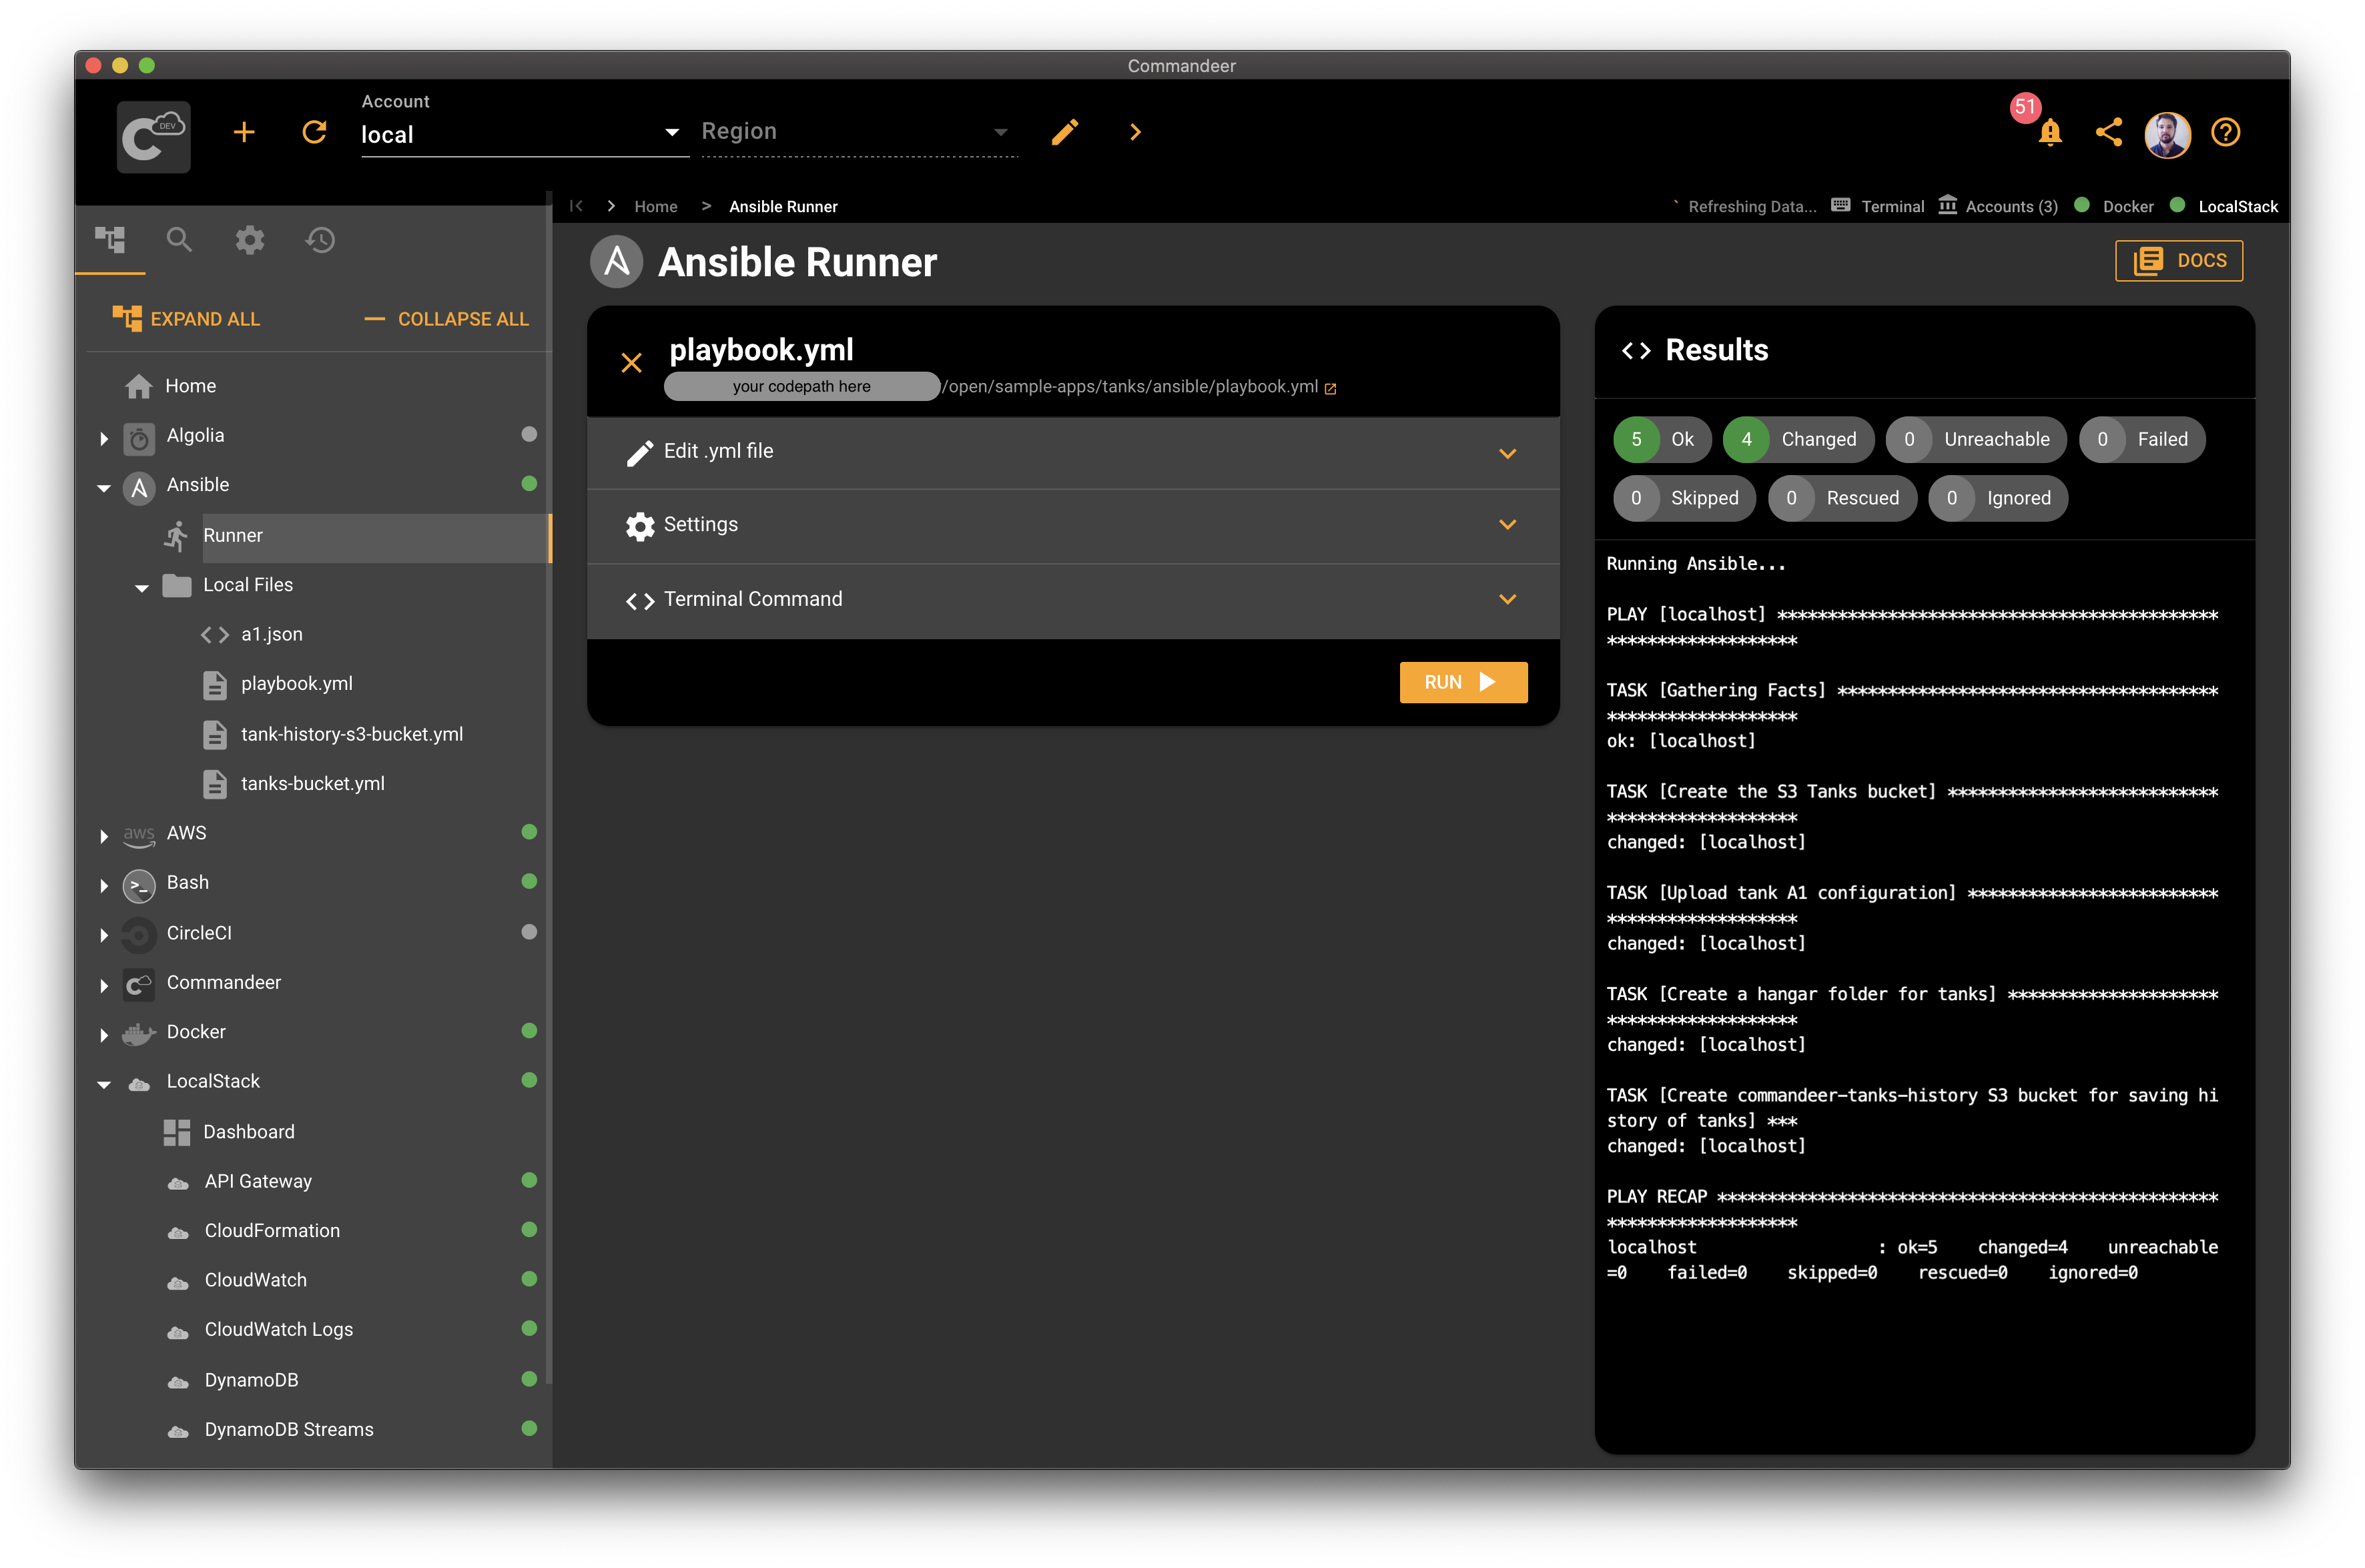
Once the file is chosen, you'll see the runner user interface. Make sure you have the local account selected in the account select dropdown at the top and hit the Run button. Commandeer will download the Ansible Docker image if necessary. Then it'll run your Ansible files against LocalStack.
# See Your S3 Data
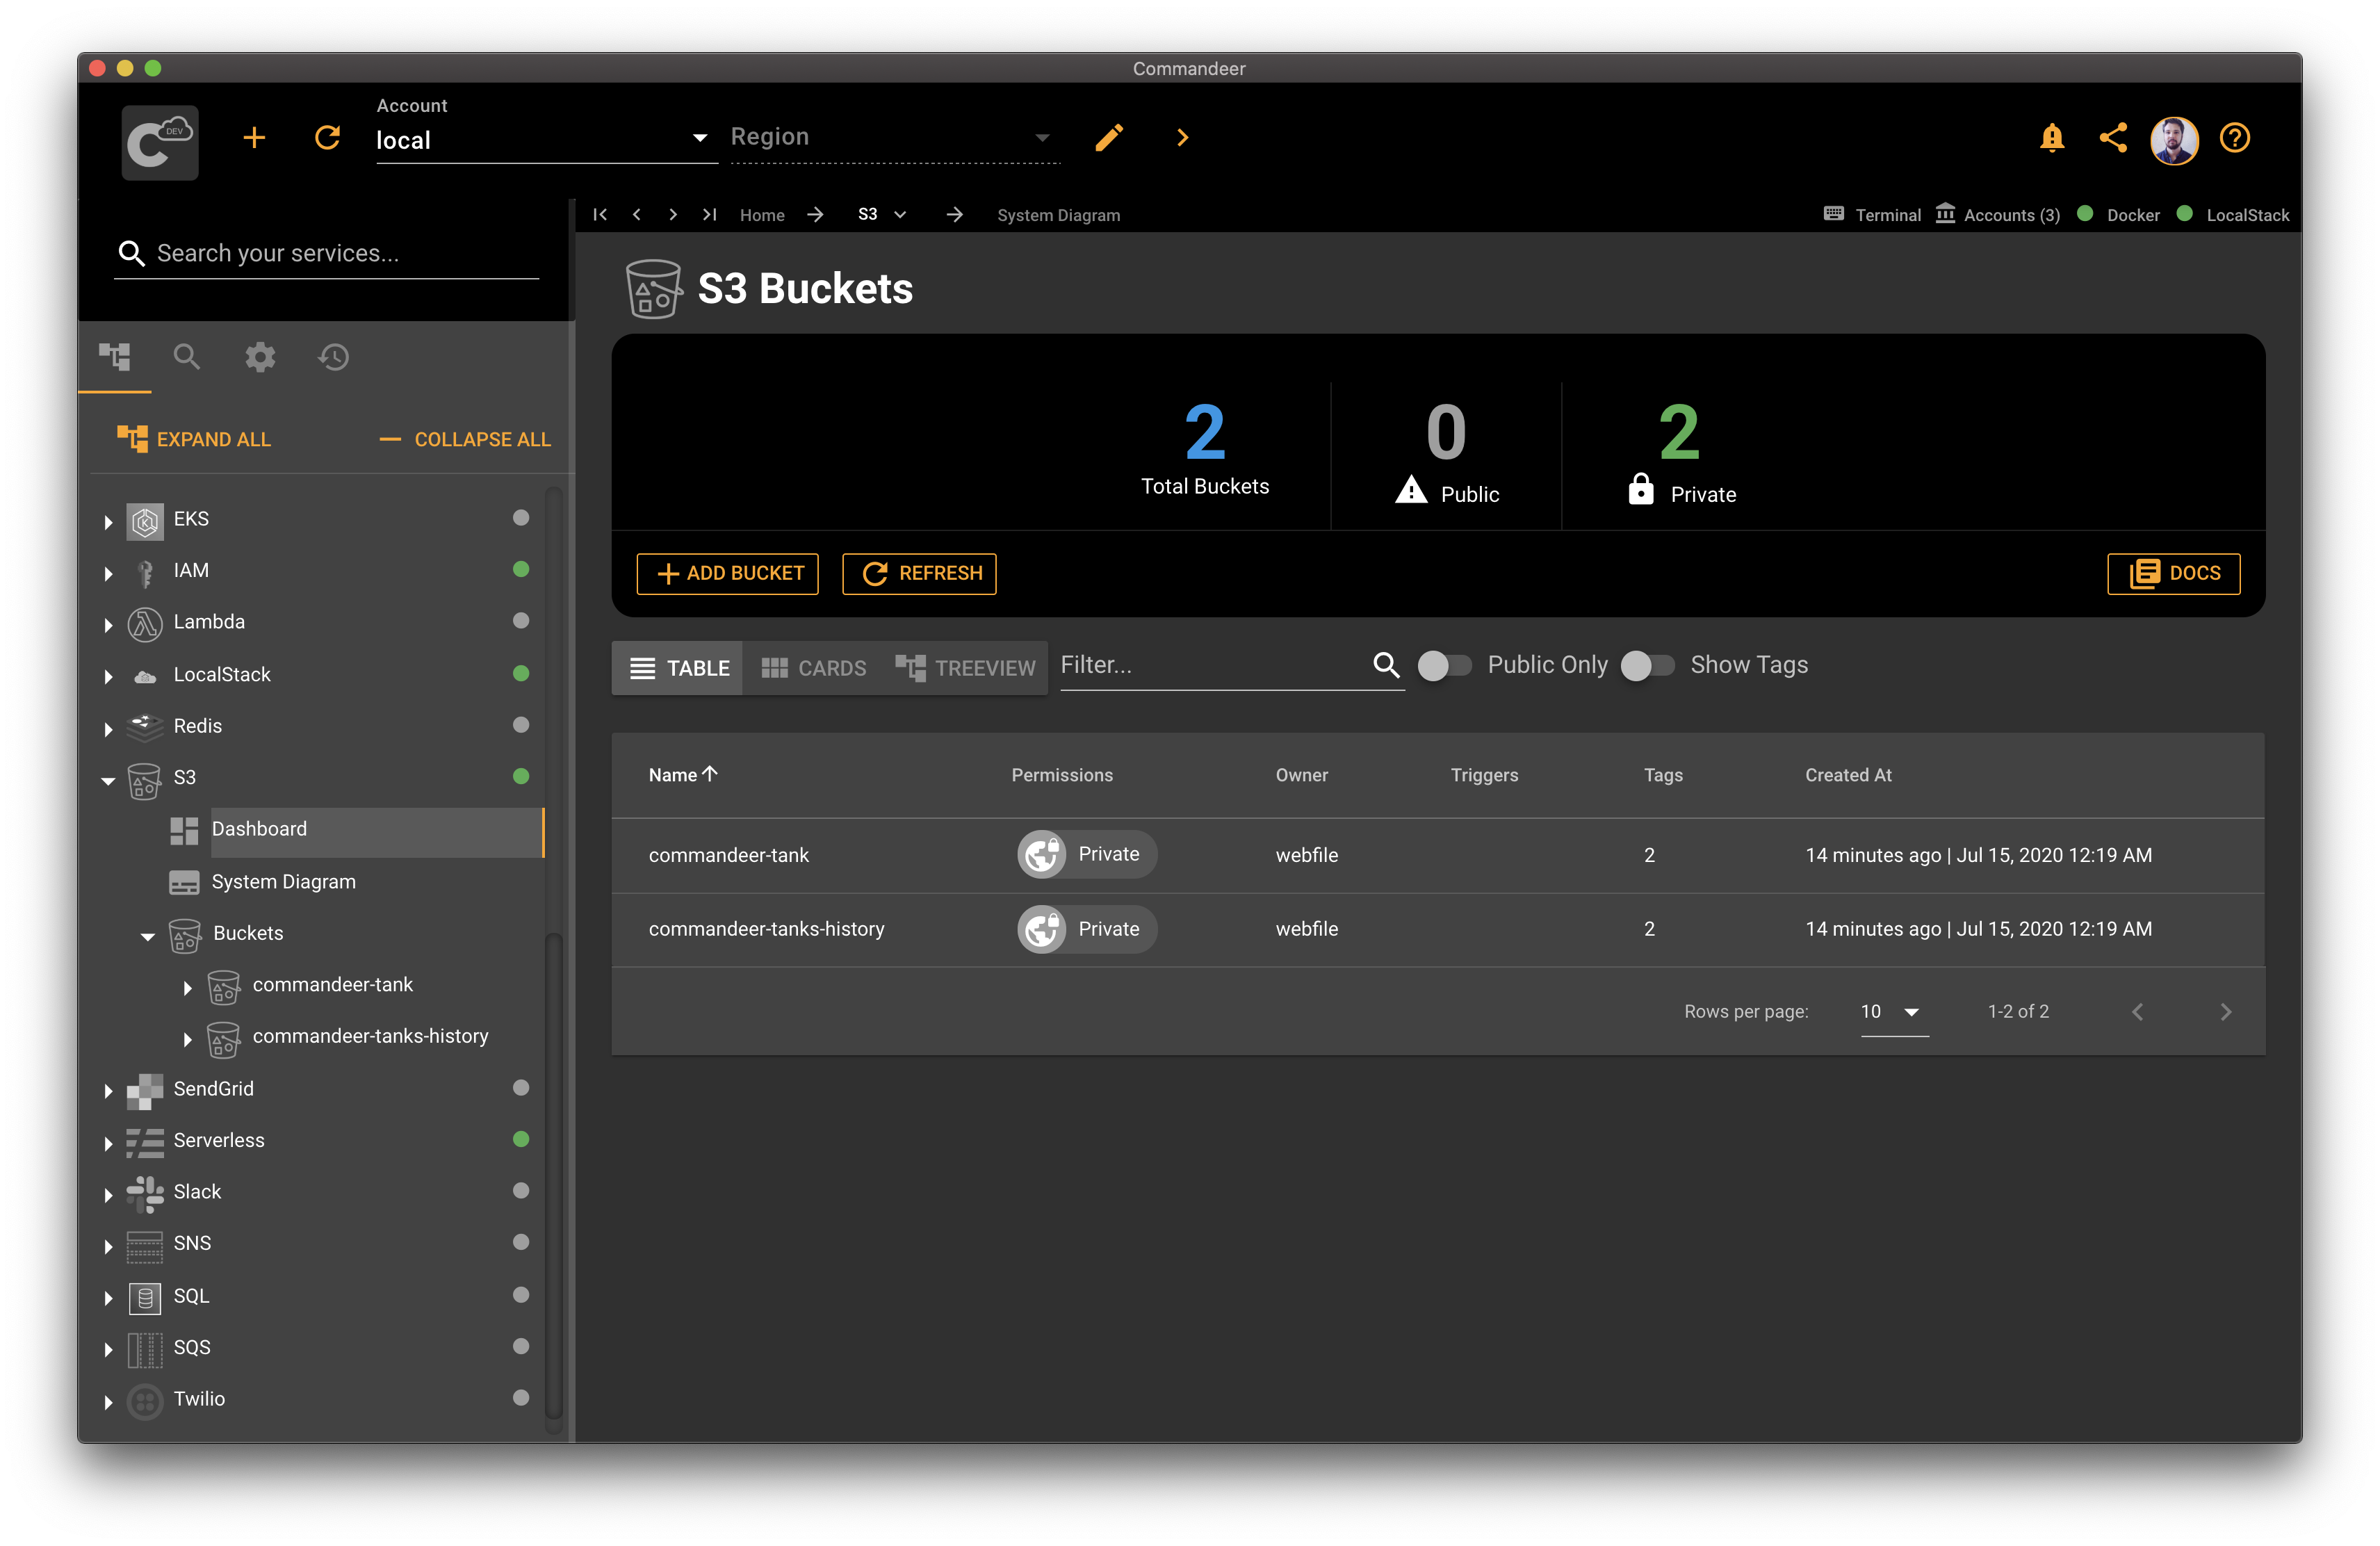
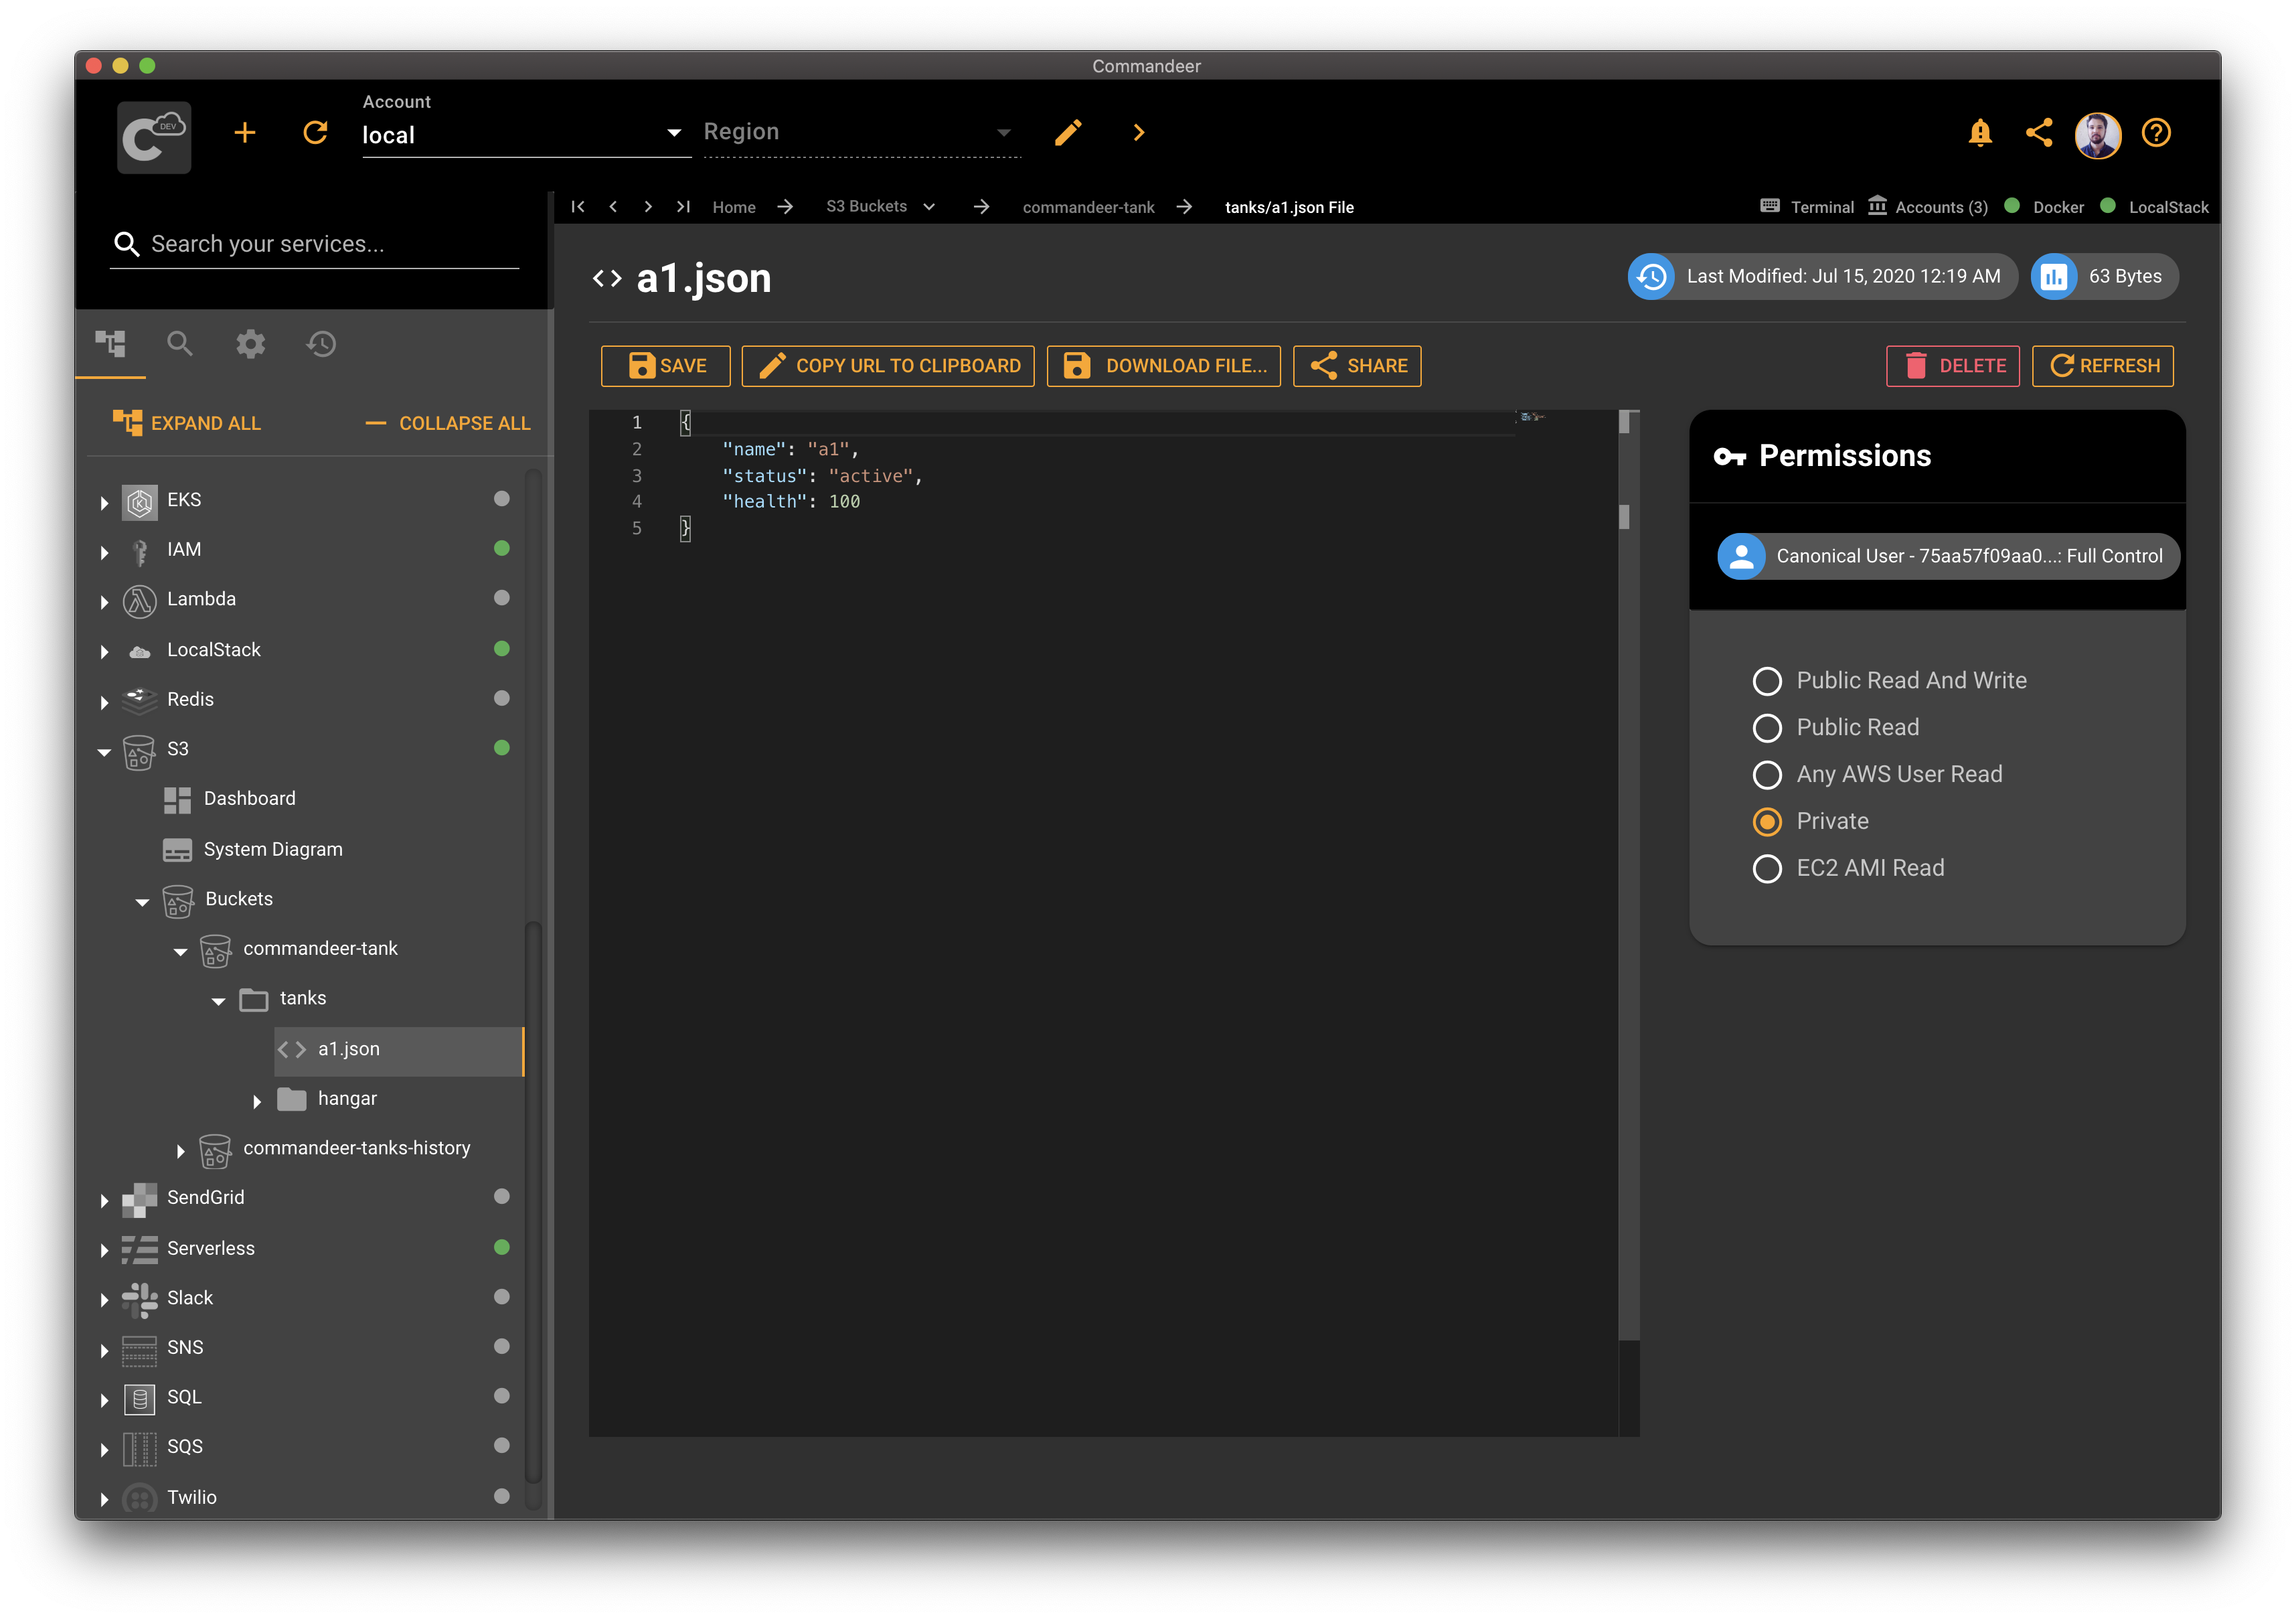
Now that we deployed our S3 buckets, let's check out our s3 buckets, folders, and our tank configuration file. Open S3 from the sidebar and expand the buckets. You'll see your commandeer-tank and commandeer-tank-history buckets created. If you expand your commandeer-tank bucket, you'll see your a1.json file, as well as the content.
# Conclusion
Ansible is a great tool to have in your development toolbox. With a simple YAML configuration written, you can create your cloud resources consistently. Deploying Ansible to LocalStack allows you to develop your cloud applications on your local machine. This speeds up your development and makes debugging easier. Commandeer makes the process of deploying your local infrastructure easier from a GUI using the best engineering practices.
