Creating DynamoDB Tables using Ansible
# Creating DynamoDB Tables using Ansible
The Amazon DynamoDB database is a key-value and document database that provides a robust and secure cloud-based DBMS. DynamoDB is serverless with no server to provision, patch, or manage and no software to install, maintain or operate. Ansible enables you to easily create the DynamoDB database tables in the cloud and Commandeer makes the process even easier.
# Overview
We love the simplicity of Ansible. You write your IaC configuration in YAML and run it against the cloud. DynamoDB is an amazing NoSQL database from AWS with some great features like DynamoDB streams, automated backups, and infinite scale. Combining the two technologies together gives you the best of both worlds. You get the advantages of using DynamoDB as well as the consistency of your DynamoDB configuration across multiple environments with Ansible. In this tutorial, we'll go over deploying some DynamoDB tables to the cloud using Ansible code.
# Deploying To The Cloud vs Locally
We'll deploy our tables to a real AWS account. LocalStack supports DynamoDB. That being said, there is currently an issue with Ansible preventing us from deploying Ansible to LocalStack. Once the issue gets resolved, we'll update this tutorial with the instructions on how to deploy DynamoDB tables to LocalStack using Ansible as well.
# Enter Your AWS Account Credentials
If you don't have your AWS credentials added to Commandeer, just follow our getting started tutorial to do so. Once your AWS credentials are added to the account make sure your account is selected in the account dropdown.
# Write Your Ansible Playbook
We're going to write two files: playbook.yml and dynamo-tables.yml. Let's start with playbook.yml.
---
- hosts: localhost
  remote_user: bob
  tasks:
    - import_tasks: dynamo-tables.yml
playbook.yml - the main entry point.
The playbook file is usually the main file you run. You can put all your code inside the playbook file. We recommend including the tasks into your playbook from other files. This way you can extend your playbook file and keep it maintainable. In our case, our DynamoDB table configuration comes from the file named dynamo-tables.yml.
- name: Create Tank table
  dynamodb_table:
    name: Tank
    hash_key_name: id
    hash_key_type: STRING
    read_capacity: 1
    write_capacity: 1

- name: Create Battle table
  dynamodb_table:
    name: Battle
    hash_key_name: id
    hash_key_type: STRING
    read_capacity: 1
    write_capacity: 1
    indexes:
      - name: tankId
        type: global_all
        hash_key_name: tankId
        hash_key_type: STRING
dynamo-tables.yml - has the configuration for our tables
First, we define our Tank table. We name our hash key id with the type of STRING.
Tips
Each DynamoDB table has a primary key. The primary key can be a single field. (aka Hash Key). Or the primary key can be two fields (aka Hash Key and Range Key). More on DynamoDB keys can be found in AWS DynamoDB Documentation.
Then we specify read_capacity and write_capacity of 1.
Tips
Each DynamoDB table can scale individually according to your read and write throughput settings. We used the provisioned throughput setting in this tutorial because Ansible currently doesn't support the on-demand mode yet. What you can do instead is to use the provisioned capacity of 1 and set up some auto scaling rules on AWS console to account for some unexpected traffic spikes.
Next, we define the Battle table which will map our tanks to our battles. Since we'll most likely be querying our Battle table by tankId, we also create an index on the tankId field.
# Choose Your Ansible Playbook File
Clone or download our open source repository. In Commandeer navigate to Ansible -> Runner from the side navigation. Next, choose your playbook.yml located under the sample-apps/dynamo-ansible folder.

# Run it
Click the run button to run Ansible. You'll see the terminal output on the right-hand side. Once the run is complete, you'll see the results of the run as well.

# Check Your DynamoDB Tables
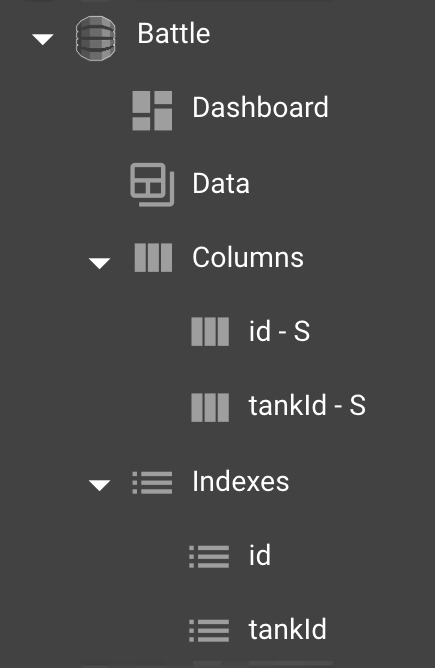
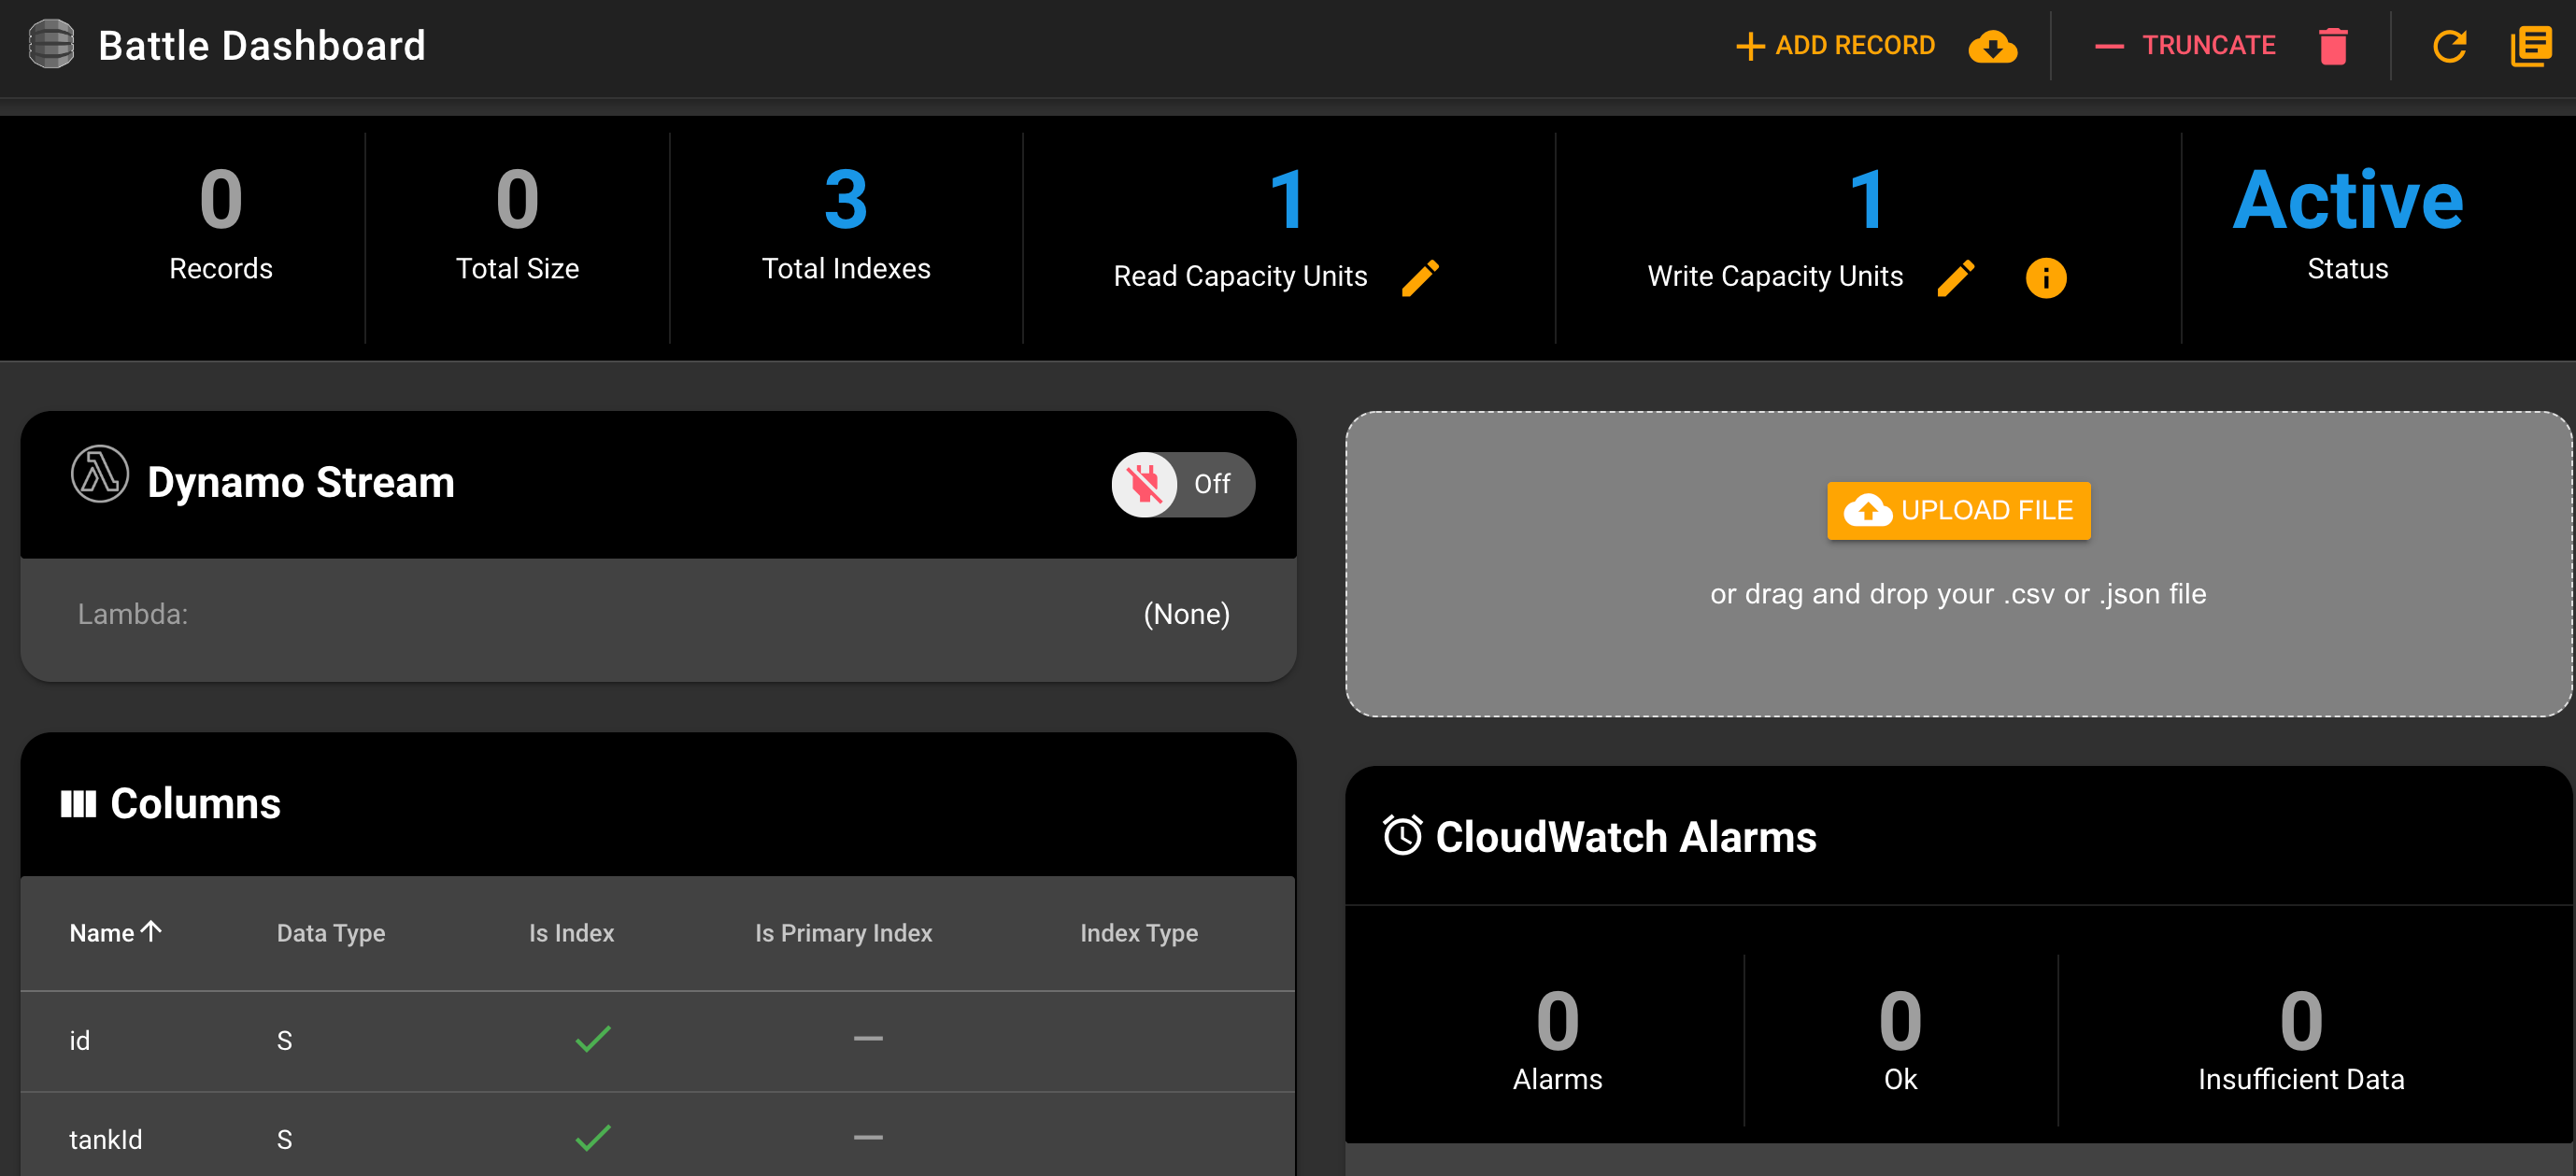
Navigate to DynamoDB Dashboard from the side navigation. You'll see a newly created table in the list of your tables. Clicking inside the table goes into the table detail page with some more information about the table. Below you can see the Battle table in the side navigation as well as the dashboard, showing the columns and indexes we defined earlier, as well as the read and write capacity units.


# Conclusion
Writing your Infrastructure as Code brings numerous advantages including automatic version control with a VCS like Git and the ability to run the same configuration against different environments. In this article, we went over deploying DynamoDB using Ansible from Commandeer UI. Commandeer helps you to be more productive to develop your software for the cloud. Go ahead and build something great with it!
